RPG Maker Unite (hereafter Unite) is the first RPG Maker in nearly 30 years of the series' history to use Unity.
The features of Unite are mainly based on the previous RPG Maker MZ, with a number of new functions added for additional convenience.
This guide will show you what is possible with Unite while introducing some practical use examples.
We assume that most viewers have some experience using one of the previous versions of RPG Maker. However, we would also like to do our best to support those new to RPG Maker, so those with no experience are welcome.
First, let's boot up Unite.
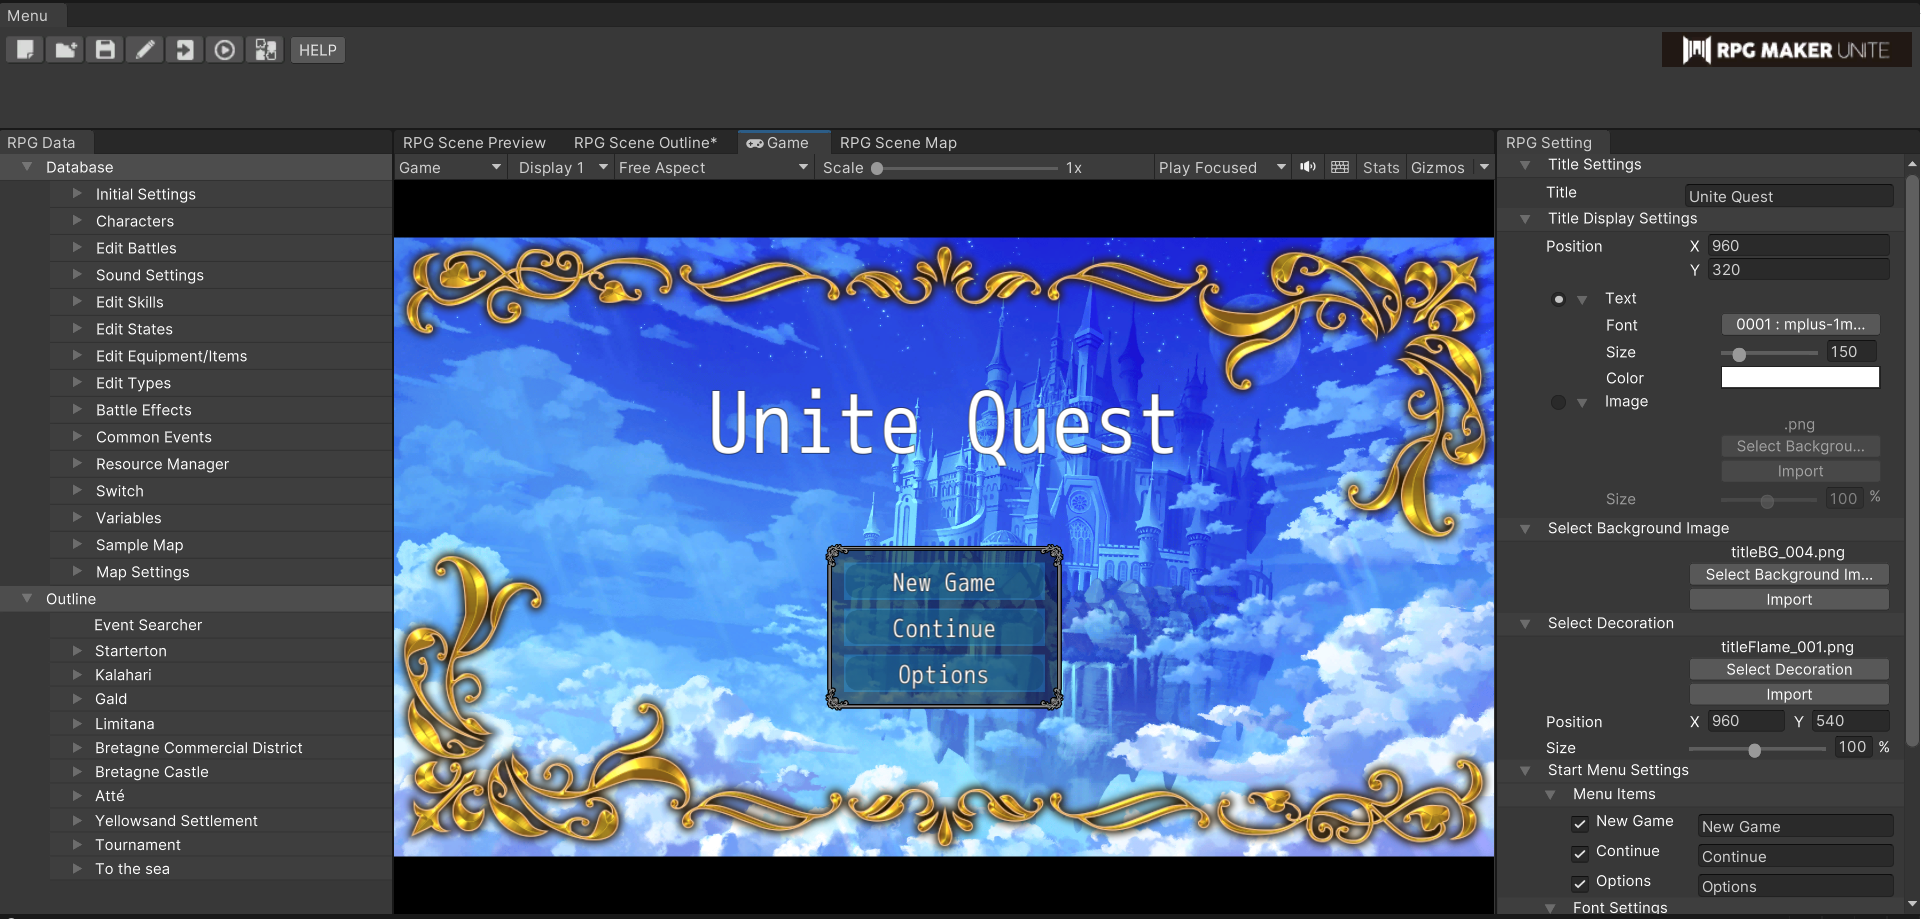
After launching Unite, a template project will be displayed. This is the default game data. The default game is a sample game made using certain necessary functions.
In this guide, we will reference this data while we explore the various functions within Unite.
The default game can be played immediately by pressing the Execute button.
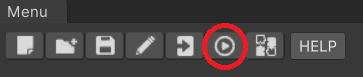
Click this icon displayed in the upper left corner of the screen to play the game.
Feel free to play the game right away or read through this guide first and wait until you have a better grasp of the basics first.
Just remember, if you follow along with this guide, you will be making edits to the default game. This means the default game will no longer be playable after advancing through this guide.
In this case, it will be necessary to create a new project and reload the default game with its original settings.
In Unite, there are some windows which are always visible, while others are only displayed under certain conditions.
Let's start by going over each of them.
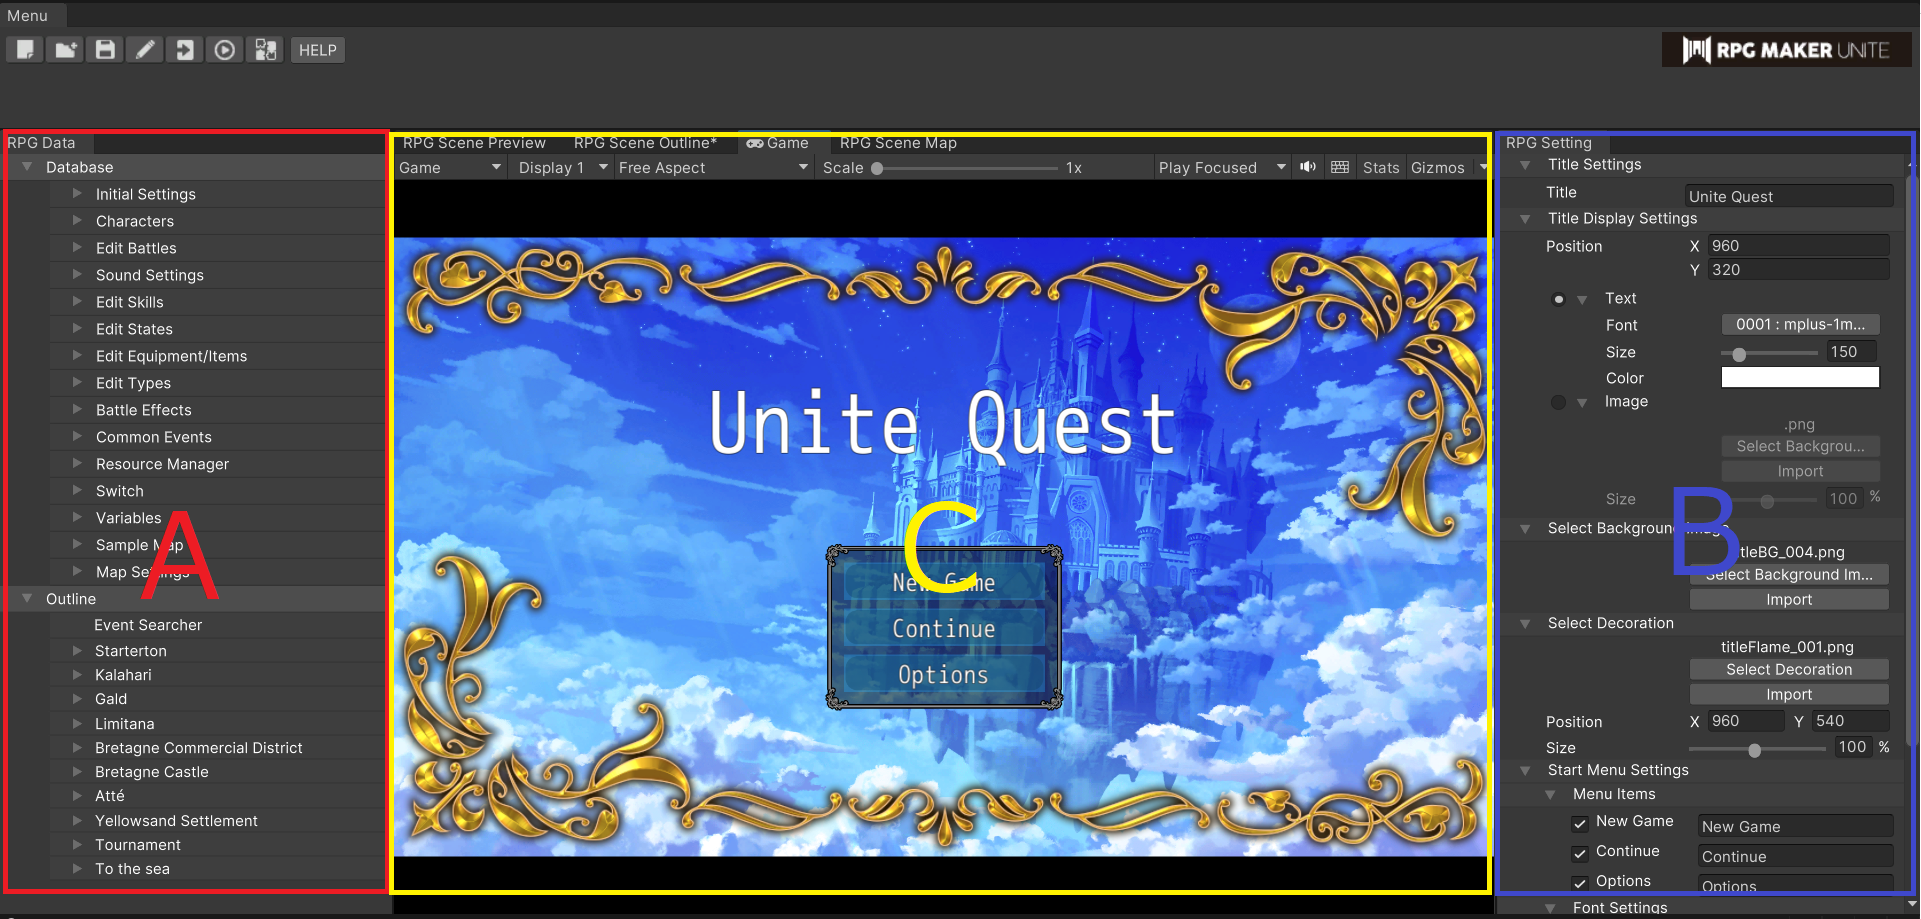
Section A in the image above. Here, elements are arranged in a tree view, making it easy to search for the parameters you wish to change.
Section B in the image above. This is where you can change the individual settings for the parameter you have selected in the RPG Data Menu.
Section C in the image above. This is a multipurpose window. It displays important information depending on the situation.
Here are some examples:A variety of windows are displayed in Unite depending on the situation.
We can't explain every possible situation, so we will instead introduce some of the windows you are likely to come across the most.
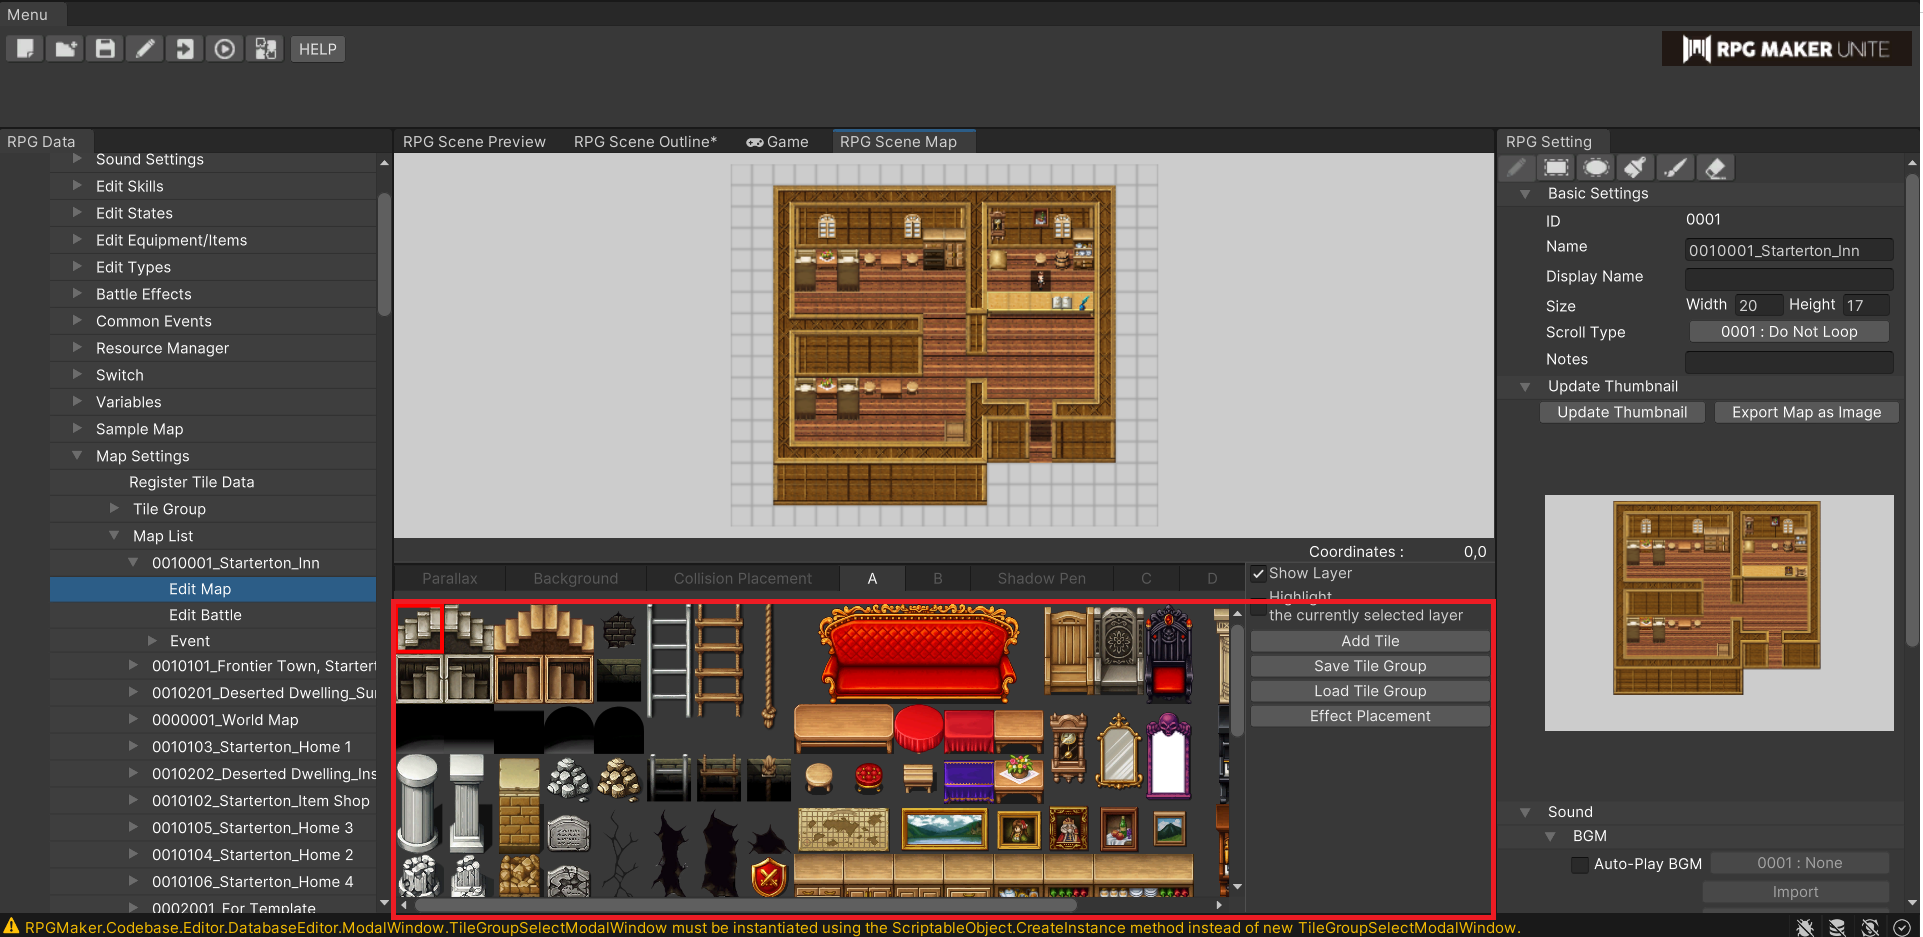
The section outlined in red in the image. This window is displayed when editing maps.
We will go into further detail later, but it displays tile groups you currently have loaded. By selecting tiles here,
you can create maps in the Scene View Window.
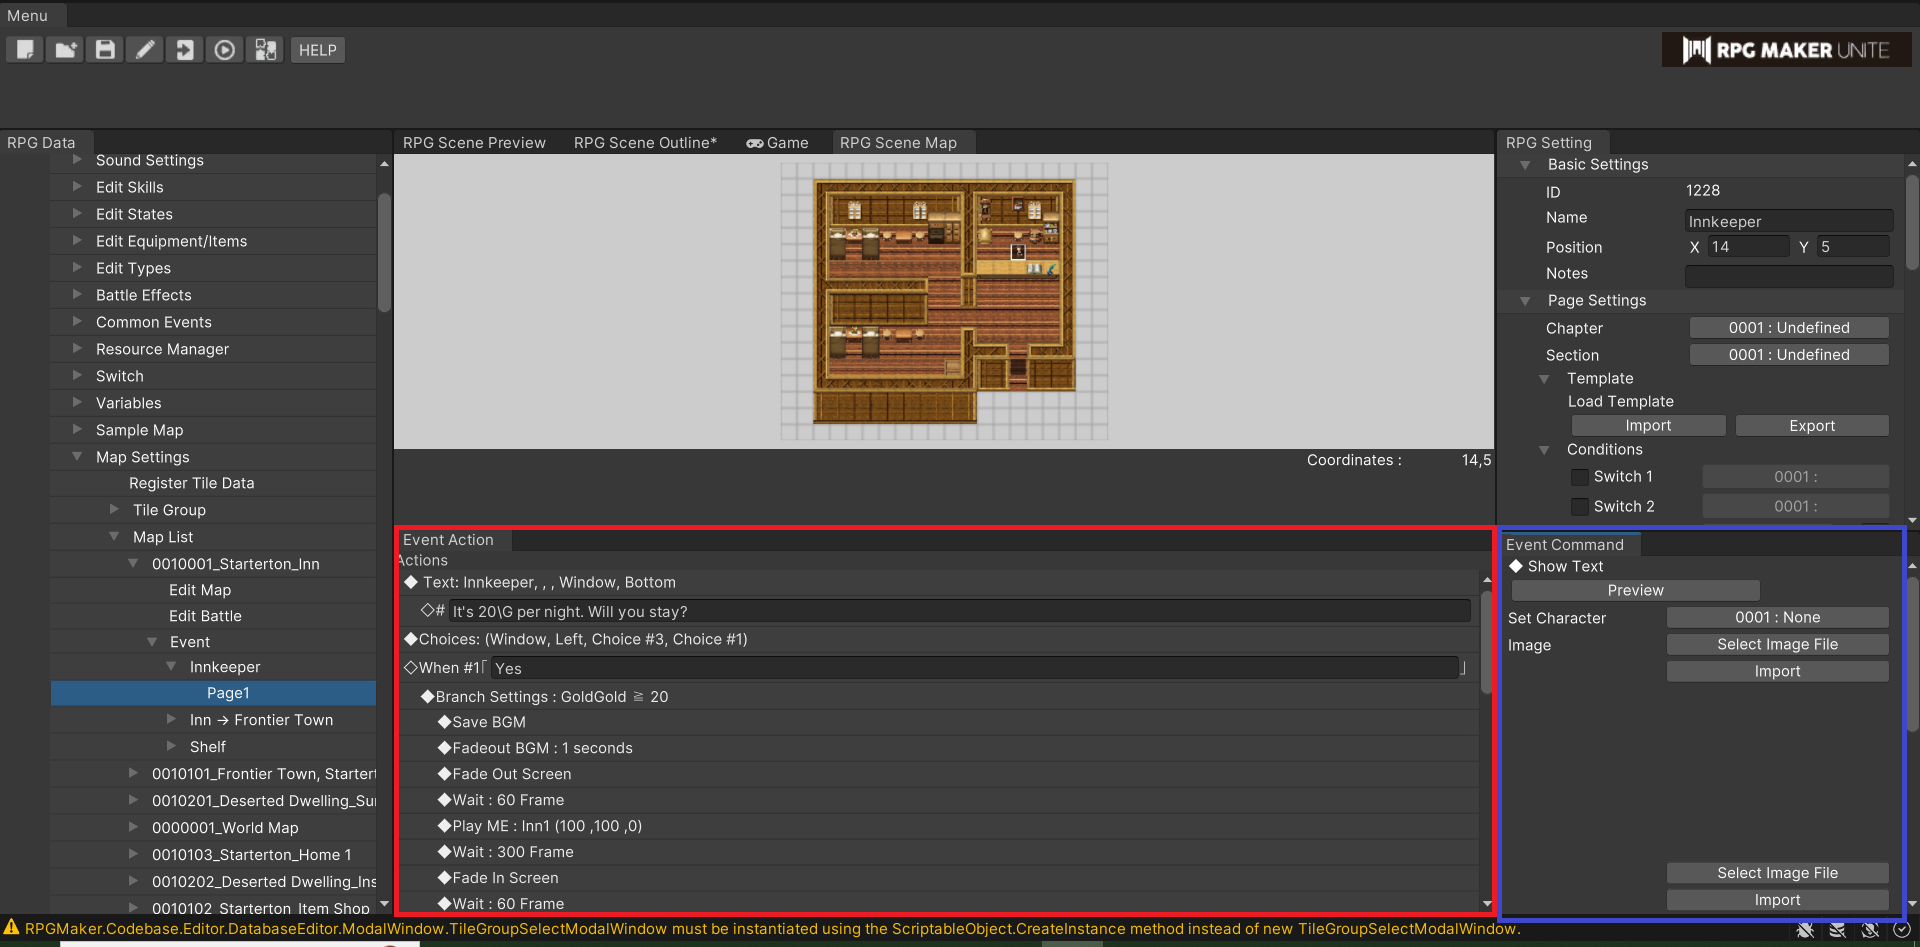
This window is displayed when editing Events, which will be discussed later.
The area within the red frame is for displaying and editing event commands to be executed.
The area within the blue frame is for adjusting the settings of currently selected event commands.