Traditionally, creating a map is done by placing tiles.
In Unite, however, there are other methods you can consider.
You can also configure how and when players encounter combat while walking around in places like fields and caves, also known as random encounters. This has not been discussed yet.
Therefore, we will now be explaining elements of the map-making process that have not been covered yet in this document.
In the basics chapter, we created a map from scratch. However, there is actually a simpler way to do this,
and that is to use a sample map.
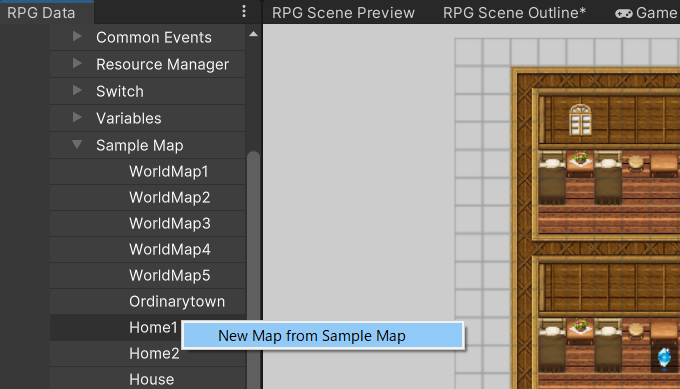
Go to RPG Data Menu > Sample Maps.
Here, you will find a number of already completed maps to choose from. Select the "Create From Sample Map" option above each map to
add a new map to your map list.
Now you can streamline your map-making process by simply adding some finishing touches to an existing sample map!
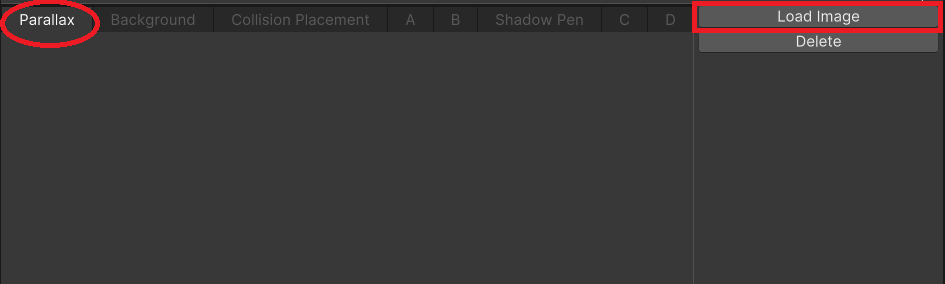
When editing maps, "Parallax Background" can be found at the far left of the tile layer tabs.
Parallax backgrounds scroll at a slower speed than player character movements, making them ideal for
animating scenery in the distance such as the sky above a mountaintop or a bizarre alternate world background.
To set up a parallax background, select "Load Image" from the "Parallax Background" tab.
Let's try configuring the settings for a parallax background now.
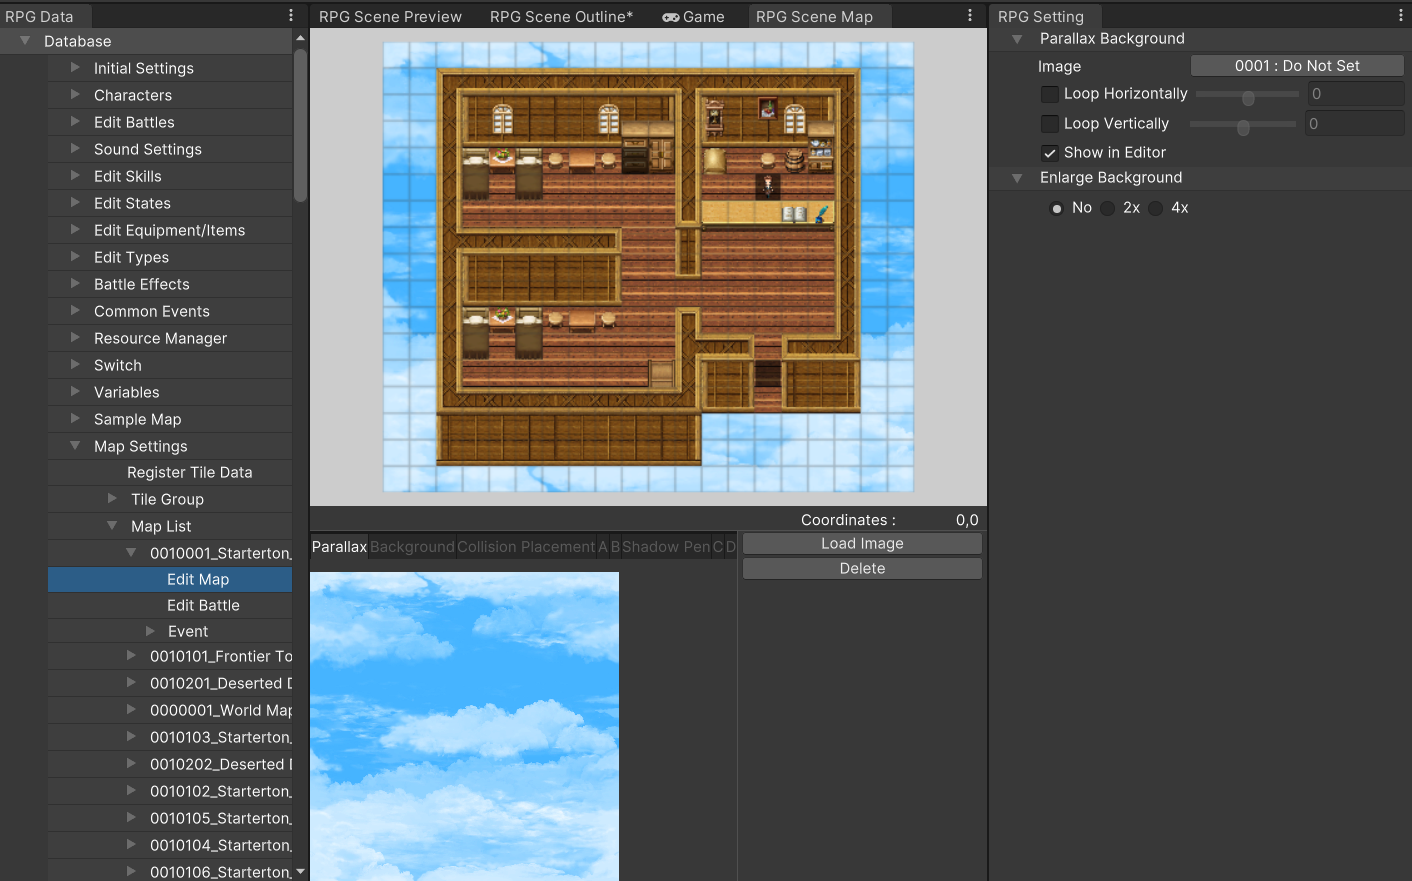
Open the map list. Select "0010101StartingInn", "Edit Map",
then "Parallax Background" on the far left.
Under "Load Image", select a parallax background to display it.
You can find preset parallax background images in the Assets\RPGMaker\Storage\Images\Parallaxes folder.
For now, load the file titled "parallaxes_001.png". As you can see, the background outside the building changes into a blue sky.
So far, we have been discussing how to create a map by placing tiles on it. However, there is also another way to do this
by using a single image as a map. This is what we'll be discussing now.
There is a map comprised of a single image in the default game.
As an example, locate "0010001StartingOutlyingTown_Full", the second item from the top of the map list.
Open this map and select "Edit Map".
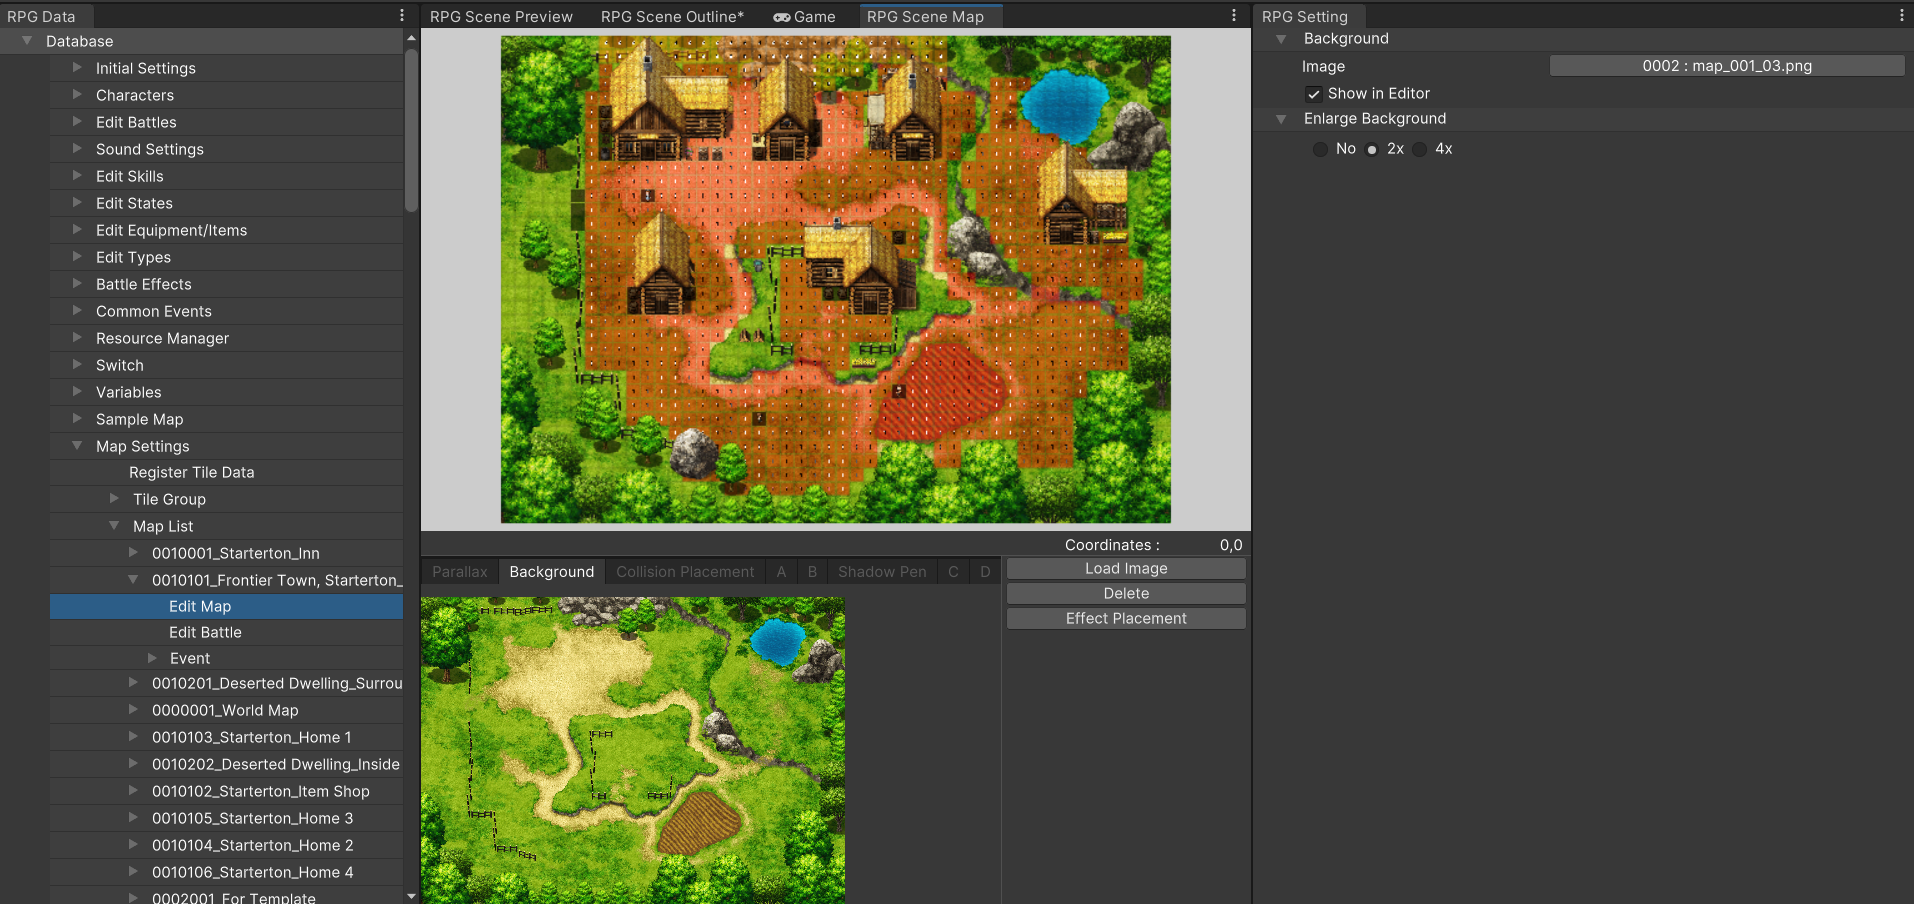
Go to the "Background" tab, the second tab from left in the map tile window, to set up a single image as background.
Passage determination settings will differ from traditional maps when using parallax maps.
To configure this, go to "Collision Layout", the third tab from the left.
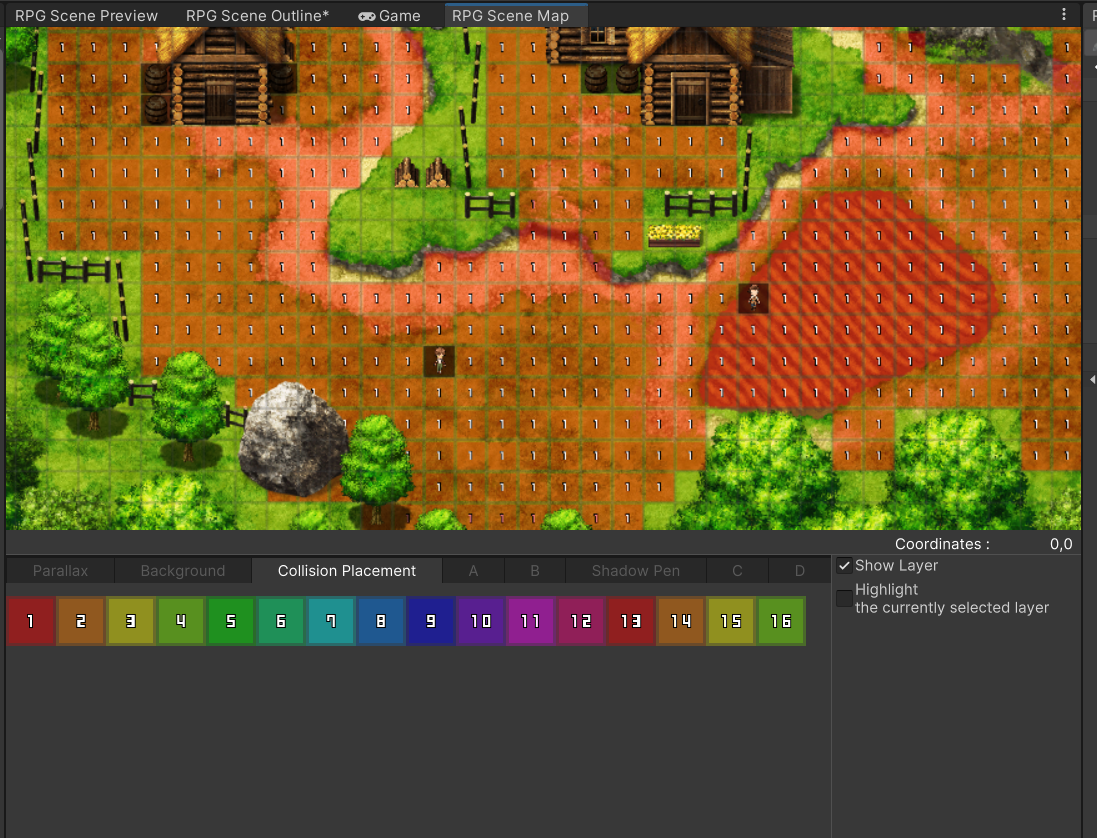
You are allowed to configure up to 16 types of collision layouts here.
The parameters of each layout, such as possible passage directions, damage floors, and more can be further configured in the RPG Setting.
As you can see, all of the possible passage locations on this sample map have been set to collision type 1.
Let's try configuring a map's random encounter settings using the RPG Setting.
Configure a map's random encounter settings by going to Map List > (Map Name) > Edit Battle in the RPG Data Menu.
Here are some main functions you will find in the RPG Setting and a brief overview of what they do.
In existing Maker tools, the only way to configure enemy groups to encounter was to set them up as a Enemy Group.
The new "Randomize" function gives you a new way to do this.
This section will discuss how to set this up in detail.
As explained in the Database section, you can configure details of the enemy units belonging to an enemy group, such as its composition and unit positions.
There are two main situations where you will need to set up an enemy group.
You can only configure up to 6 patterns of enemy groups, so it may be best to make use of other enemy grouping methods
for random encounters that do not fall under either of the above scenarios.
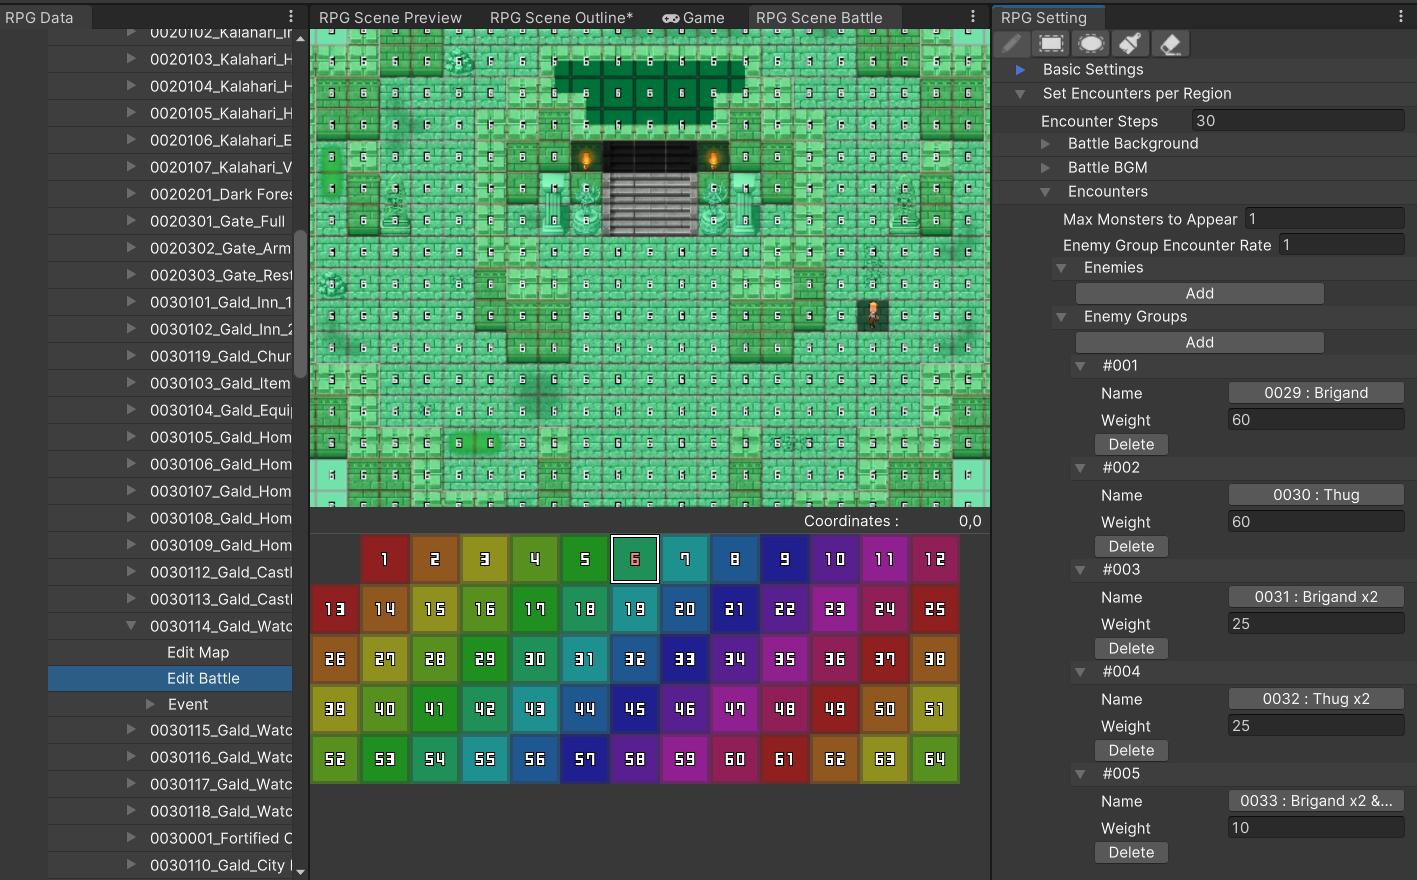
This method allows you to specify one or more enemies and the maximum number allowed for each. Alternatively, you can also specify the maximum number allowed for the entire enemy group instead.
The enemies in an encounter will be randomized based on these settings.
When setting up random encounters for existing enemy groups, you would normally have to define every parameter individually,
such as the type and number of enemies which will appear, for each different troop. This likely seems quite cumbersome to some.
Using the randomize function simplifies the process and allows for a greater variety of enemy group composition.
It is possible to set things up so that both randomized and fixed enemy groups will be encountered.
In this case, the Enemy Group Encounter Rate is a percentage that determines which troop type is more likely to appear.
For example, if the value is set to 25, it means there is a 25% probability of encountering a pre-configured enemy group
and a 75% probability of encountering a randomized enemy group.
If no specific settings are defined in the RPG Setting for the encounters on a certain map, players will have a chance of encountering enemy groups everywhere on that map.
However, this may not always be the best idea for field maps. To get around this, you can use regions.
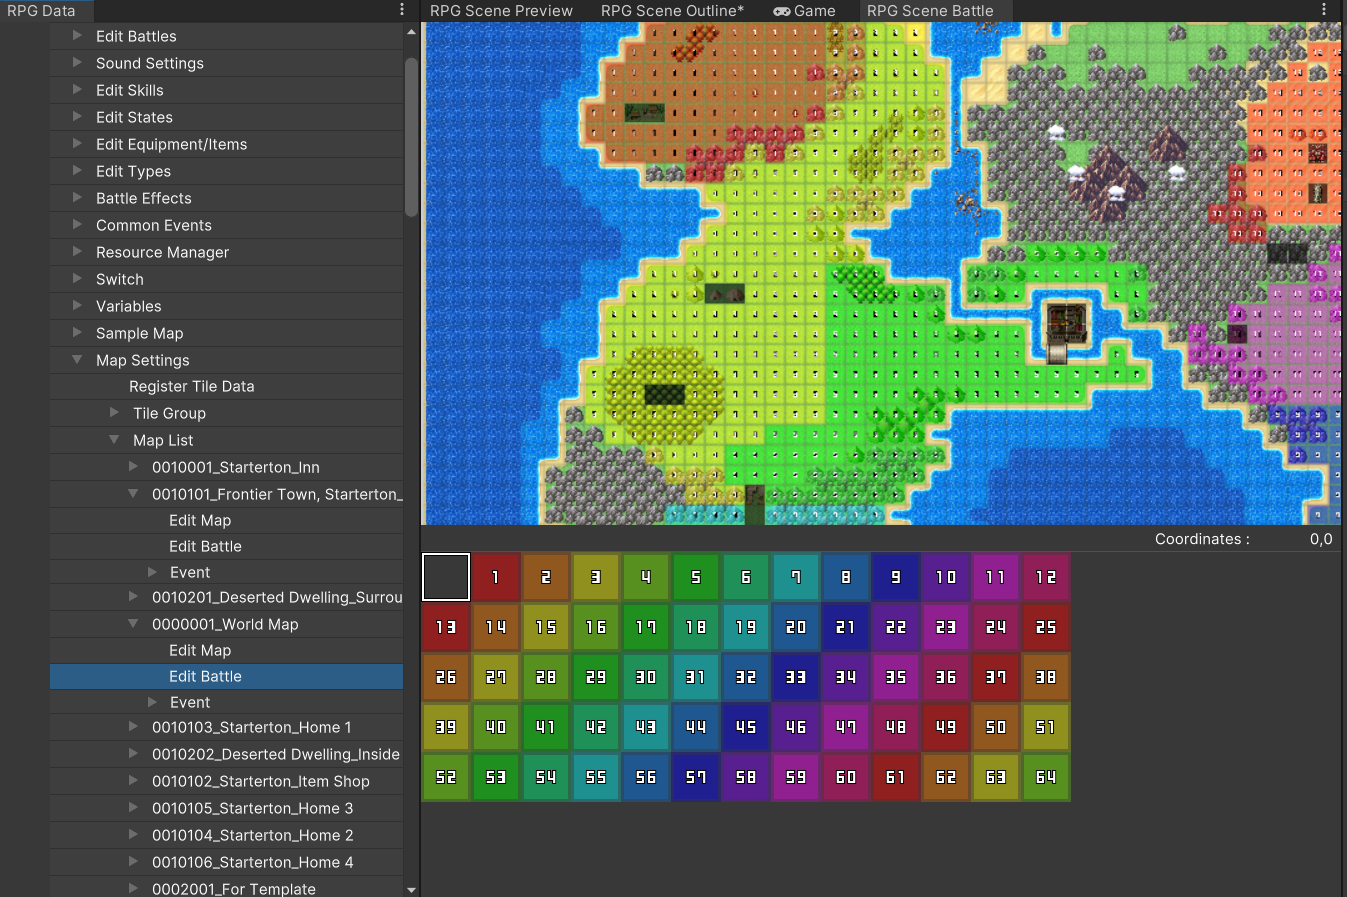
Select Edit Battle from the RPG Data Menu. You will see a map screen with tiles numbering 1 to 64. These numbers refer to individual regions.
Each coordinate on a map can only be assigned to one region.
Each region can be configured in the same way as a map's Edit Battle function,
and these settings will only apply to the tiles assigned to that particular region.
Using this function allows you to define which enemy groups will appear for the separate regions.
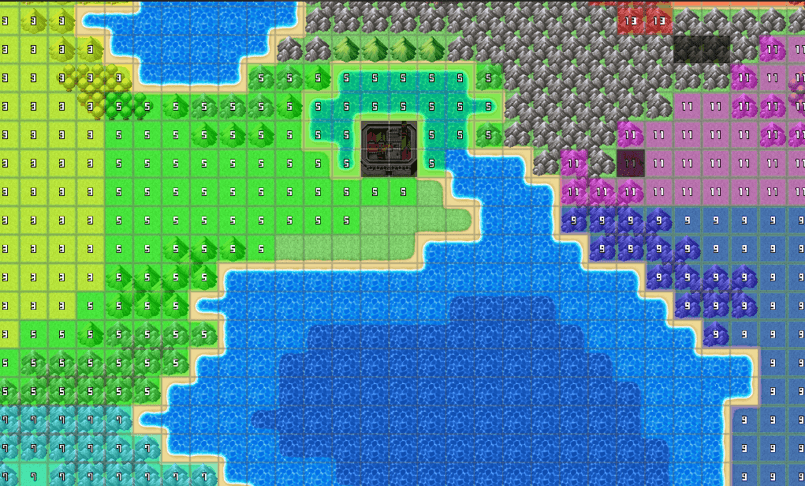
The "0000001WorldMap" file, located about 5th from the top on the map list, already has some detailed region settings defined.
Feel free to use it as a reference when creating your own world map!