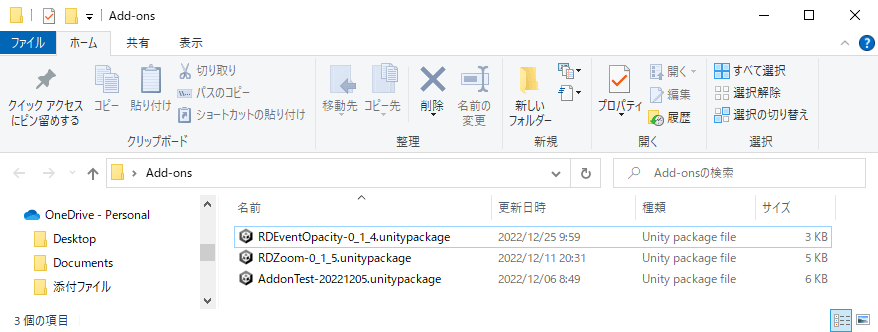
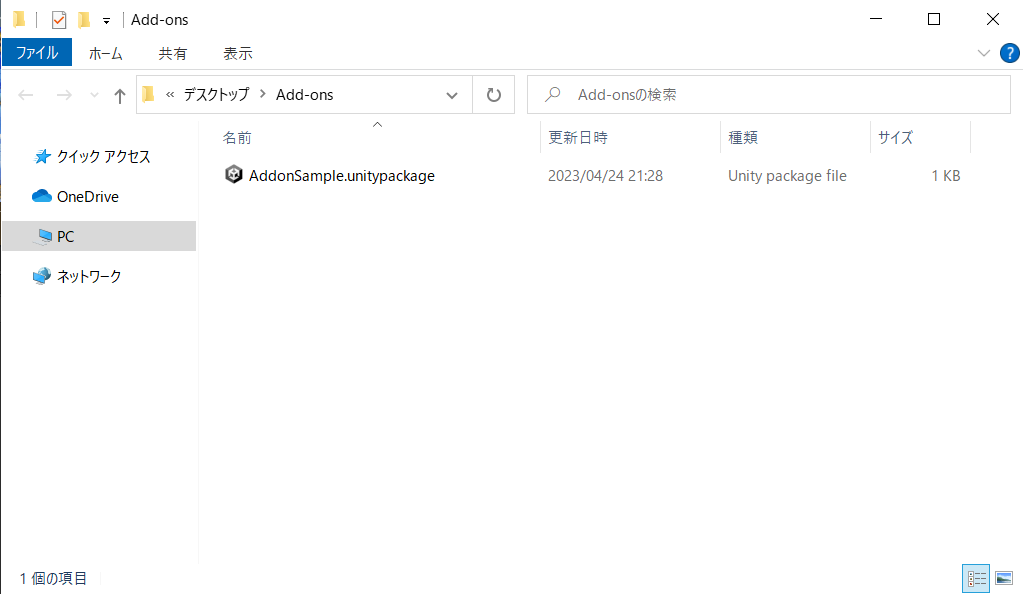
Examples of Add-On Files
Add-ons can be used in Unite to change game behavior or add new features.
The Unite system was written with the C# programming language. By altering the contents, new features can be added.
Add-ons are distributed as part of the Unity package under files with the ".unitypackage" extension.
Examples of Add-On Files
This section explains how to create a simple add-on and import an add-on into a project.
Unite add-ons work more or less the same as the plugin function of previous Maker tools.
In particular, they take heavy inspiration from RPG Maker MZ's plugin commands, so creators who are already familiar with Maker tools should find add-ons very easy to learn and use.
There is a major difference between add-ons and plugins. Plugins are contained within a single file (with a ".js" extension),
while add-ons come in a package that contains not only the programming source code, but other necessary assets as well.


Let's take a look at an example of how to create a simple add-on.
You'll learn how to create an add-on that turns Self Switch A from OFF to ON.
Although this can already be done with existing functions, we believe that following this example will help give you an understanding of the rough workflow necessary for creating an add-on.
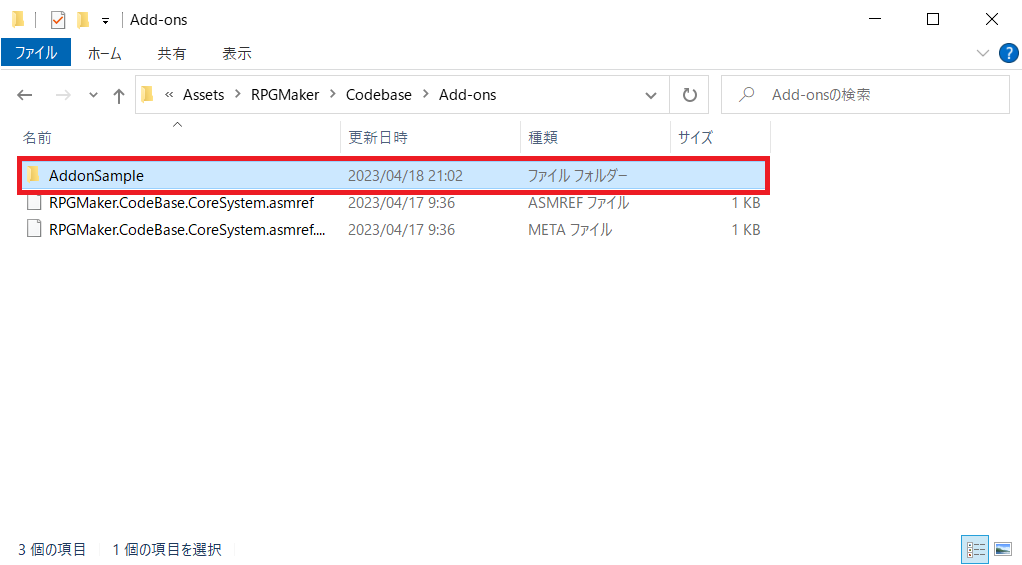
Create a subfolder under Asset/RPGMaker/Codebase/Add-ons in the project folder.
The folder name needs to be the same as the script we'll be writing later, so it's probably best to give it a meaningful name.
For this example, name it AddonSample.
In the folder you just created, create a ".cs" file with the same name as the folder.
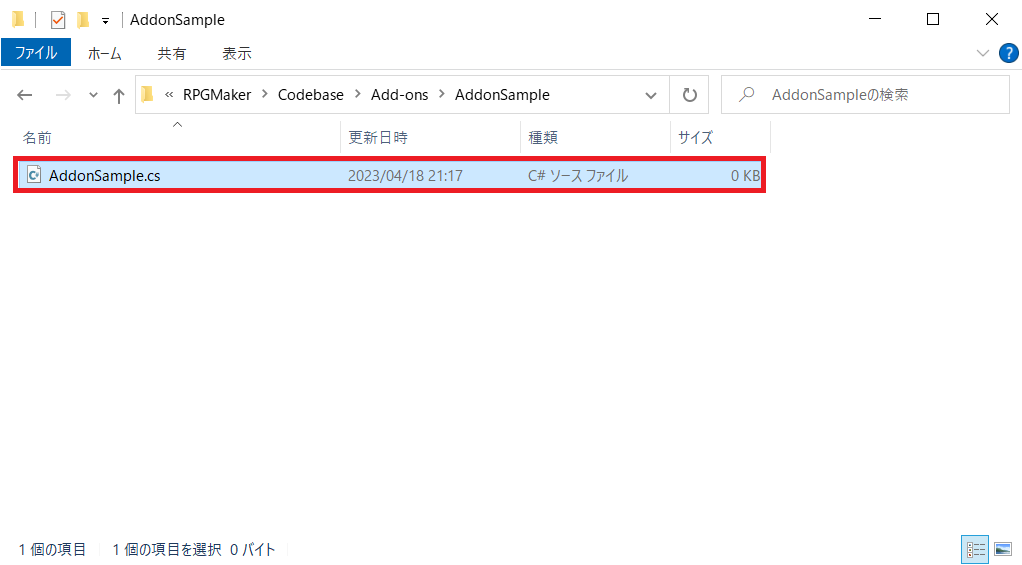
Open the file using any viable text editor and input the following lines:
/*:
*
*/

/*:ja
*
*/

namespace RPGMaker.Codebase.Addon {
  public class AddonSample {

  }
}
Here's what these lines are supposed to do:
Lines 1 to 3: Description of the add-on in English.
Lines 5 to 7: Description of the add-on in Japanese.
Line 9: Defines namespace. In Unite, the general rule of thumb for add-ons is to always specify namespace as "RPGMaker.Codebase.Addon".
Line 10: Defines the class name. This should be the same as file name.
Copy and paste the following comments in lines 1 to 3.
/*:en
 * @addondesc Turns Self Switch ON
 * @author Author
 * @help Turns a particular Self Switch ON/OFF
 *
 * @command SetSelfSwitchValue
 *      @text Change Self Switch
 *      @desc Assigns a value to Self Switch.
 *
 *  @arg SelfSwitch
 *      @text Self Switch
 *      @desc Specify Self Switch
 *      @type select
 *      @option A
 *      @option B
 *      @option C
 *      @option D
 *      @default A
 *
 *  @arg Value
 *      @text Setting Value
 *      @desc Specify Self Switch value
 *      @type boolean
 */
Copy and paste the source code below into lines 9 and 10.
To briefly explain what the code does: Self Switch (A to D) and a boolean value (true/false) are taken as arguments. The Self Switch value is then overwritten with the specified value.
using System.Collections.Generic;
using RPGMaker.Codebase.CoreSystem.Knowledge.DataModel.Runtime;
using RPGMaker.Codebase.Runtime.Addon;
using RPGMaker.Codebase.Runtime.Common;

namespace RPGMaker.Codebase.Addon {
  public class AddonSample {
    public void SetSelfSwitchValue(int selectSelfSwitch, bool selectValue){
      var eventId = AddonManager.Instance.GetCurrentEventId();
      var saveDataModel = DataManager.Self().GetRuntimeSaveDataModel();
      var selfSwitchData = saveDataModel.selfSwitches.Find(selfSwitch => selfSwitch.id == eventId);
      if (selfSwitchData == null){
          selfSwitchData = new RuntimeSaveDataModel.SaveDataSelfSwitchesData();
          selfSwitchData.id = eventId;
          selfSwitchData.data = new List<bool>() { false, false, false, false };
          saveDataModel.selfSwitches.Add(selfSwitchData);
      }
      selfSwitchData.data[selectSelfSwitch] = selectValue;
    }
  }
}The comments at the top part of the script (text surrounded by /* */) are, for the most part, taken from annotations in RPG Maker MZ. RPG Maker MZ Planning Guide
However, please take note of the following points.
Implemented in more or less the same way as RPG Maker MZ.
However, the following annotations in RPG Maker MZ are not available for use in Unite (with no plans to be added later):
@dir, @require, @requiredAssets, @noteParam, @noteDir, @noteType, @noteData
2D arrays can be defined with [][].
Parameter type changes are noted below.
integer→int
number→double
boolean→bool
select→int
struct→string(JSON)
array→string(JSON)
Please note that some parameter types may have changed. For example, Map IDs were integers in RPG Maker MZ, but have been changed to character strings in Unite.
The total amount and types of arguments of an add-on's constructor must be the same as the add-on parameters in the annotations.
The total amount and types of arguments of an add-on command's method must also be the same as the add-on parameters in the annotations.
The DataManager handles the essential data of Unite. With add-ons, you can now create events not usually possible when using the DataManager.
Click on the following icon from the Unite Menu to see a list of add-ons.
If the script was made correctly, it should have been added to the list.
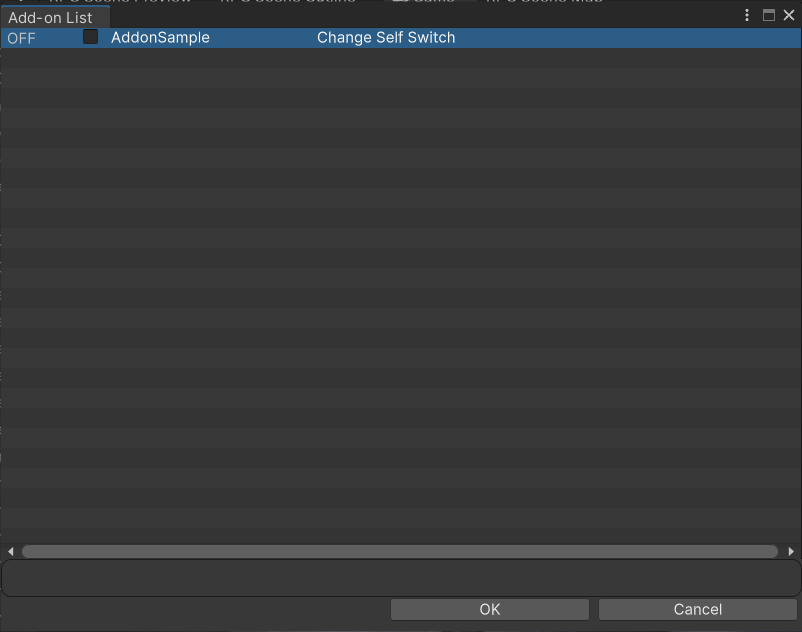
Double-click AddonSample to access the screen below.
This is where you can see the add-on help file and configure parameters settings.
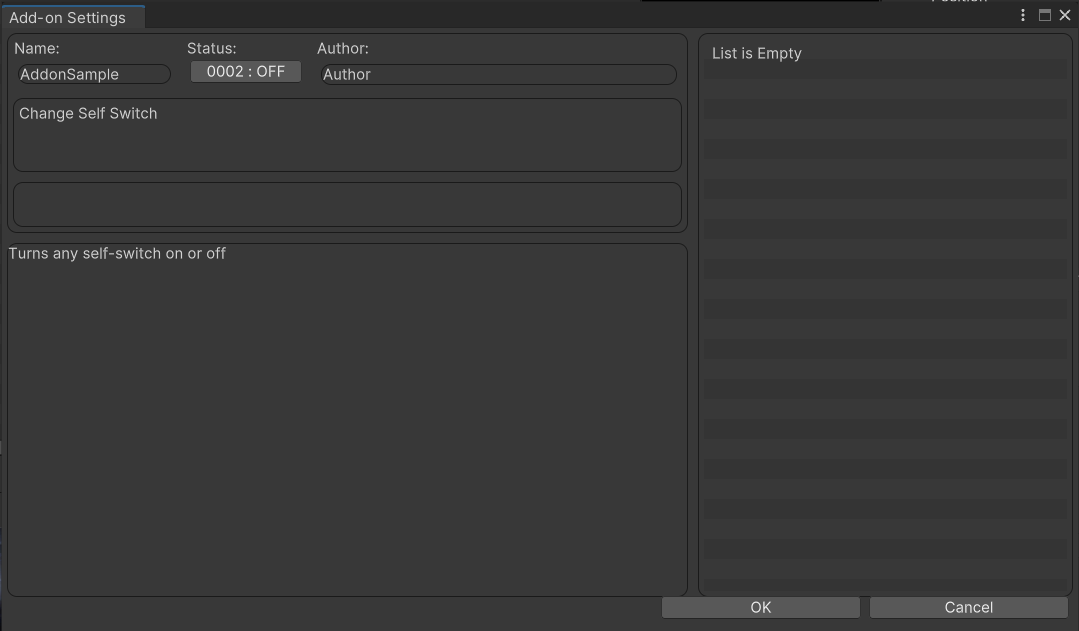
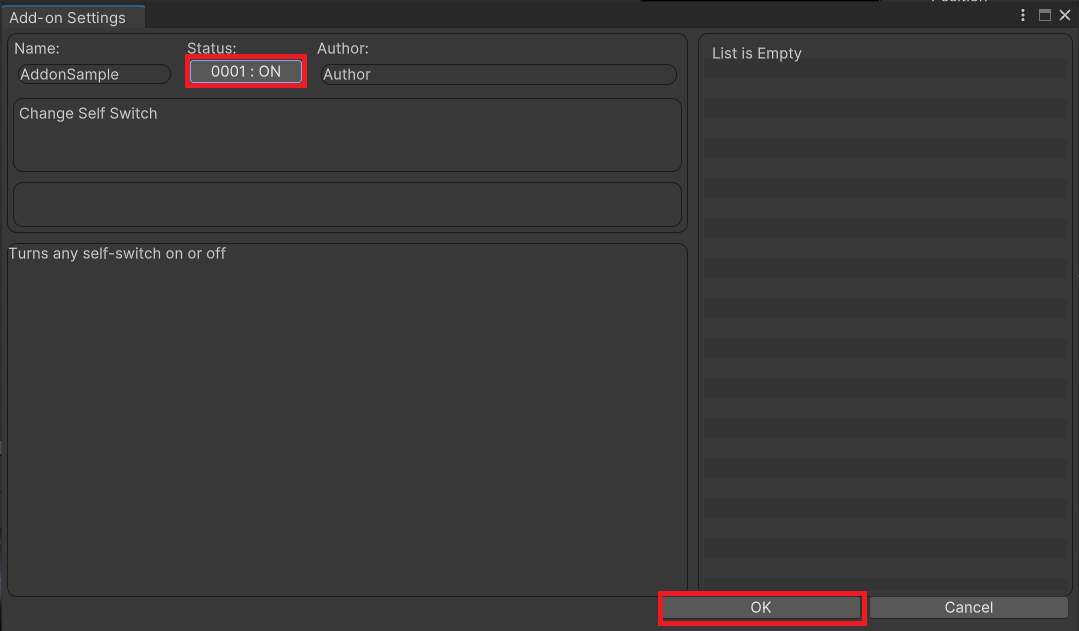
Change the add-on status from OFF to ON, then press the confirm button.
The add-on is now enabled for the current project.
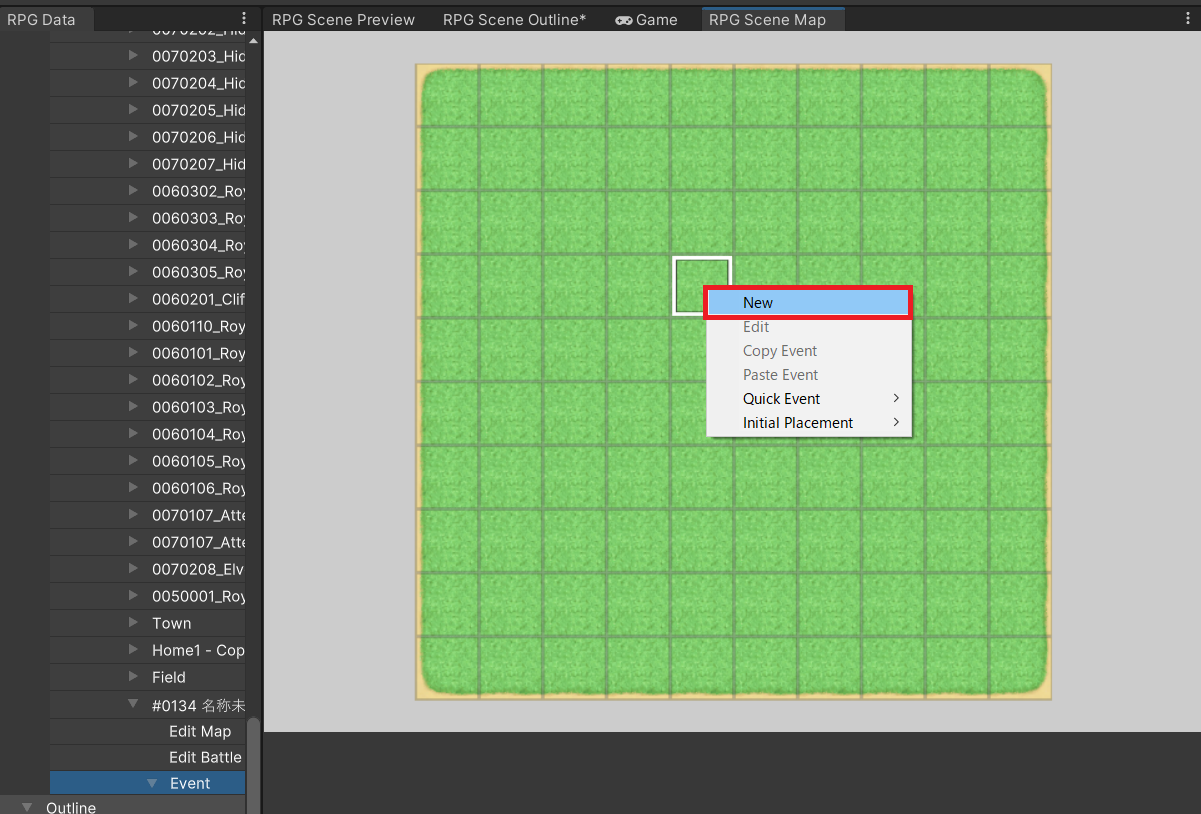
Create a map of any kind and switch to Edit Event Mode.
In Edit Event Mode, right-click anywhere and select New.
Right-click Event Contents and select New Event to access the Event Command Window.
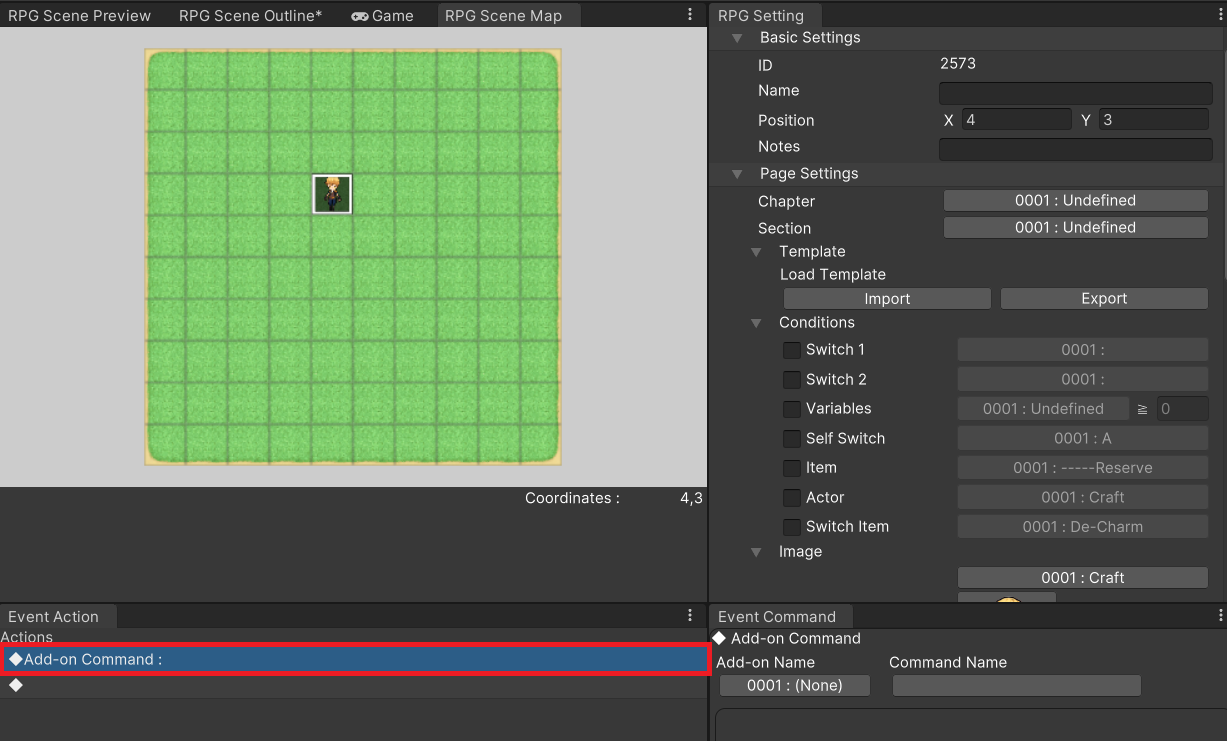
Select Add-On > Add-On Command from Event Commands.
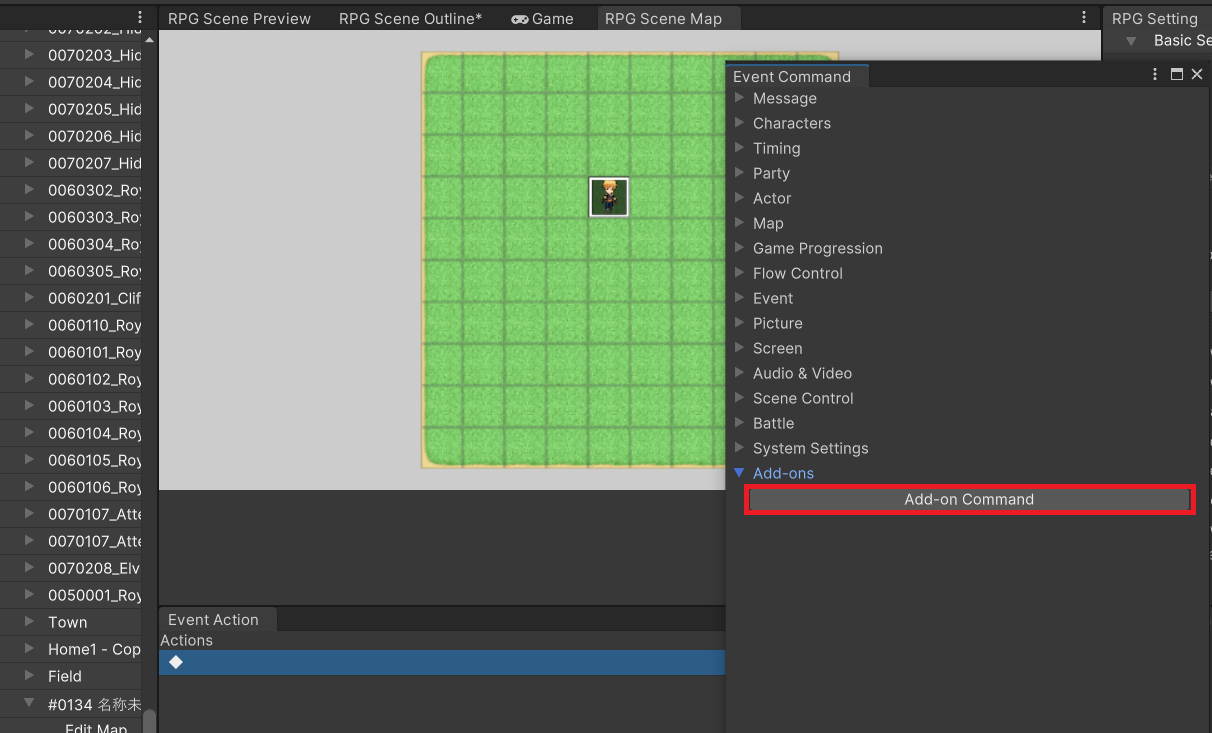
An add-on command will be added to Event Contents. This is what we'll be editing.
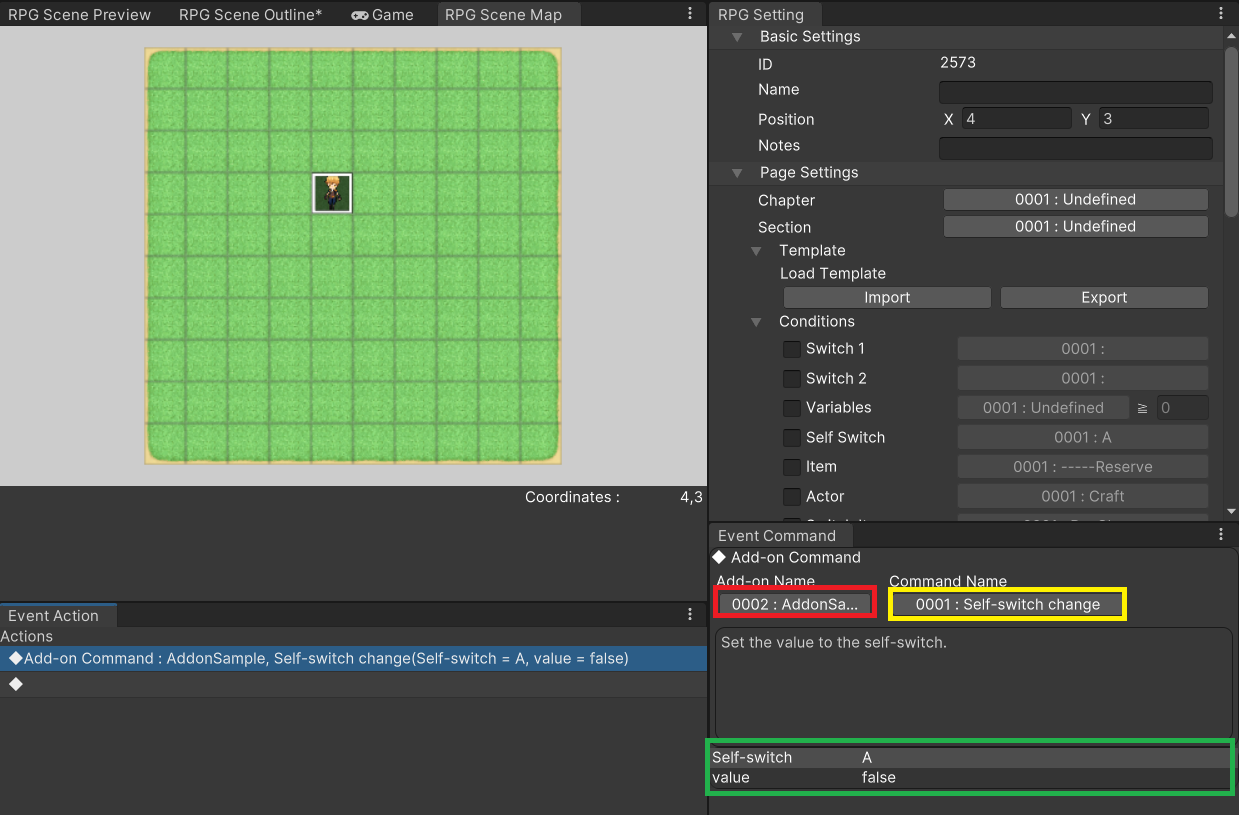
Select the add-on command and change its name from "0001:(None)" to "0002:AddonSample".
Now you can select Command Name.
From here, you can select the "Change Self Switch" option that was created using the script just now.
You can specify the arguments for the command at the bottom part of the screen.
For this "Change Self Switch" command, you may specify a self switch and its ON/OFF state via the "Setting Value" line.
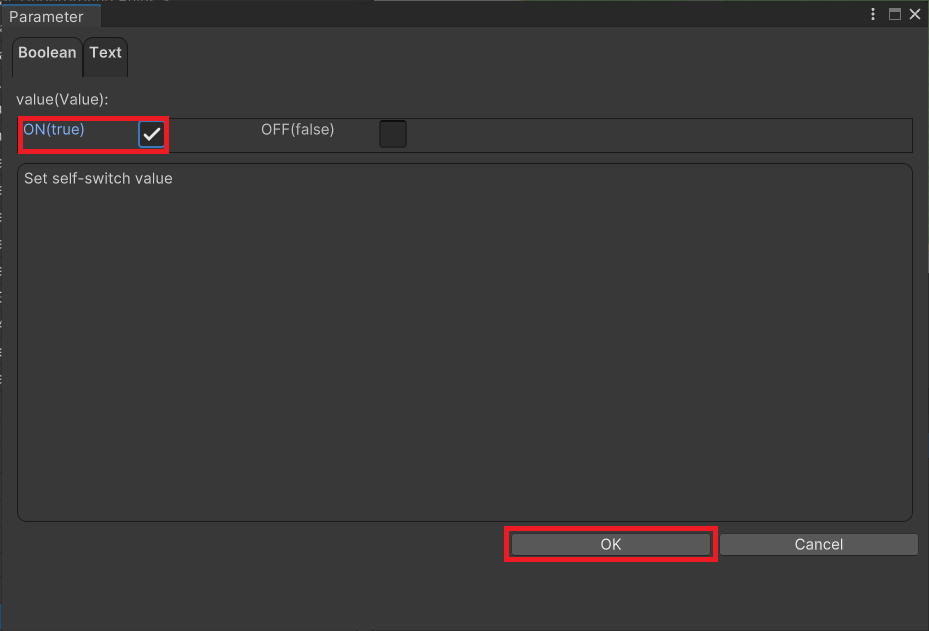
Double-click on the "Setting Value" to access the following screen.
The "Setting Value" is a bool type, so you can change it to ON or OFF.
We want to turn the self switch on, so select ON (true) and click the confirm button.
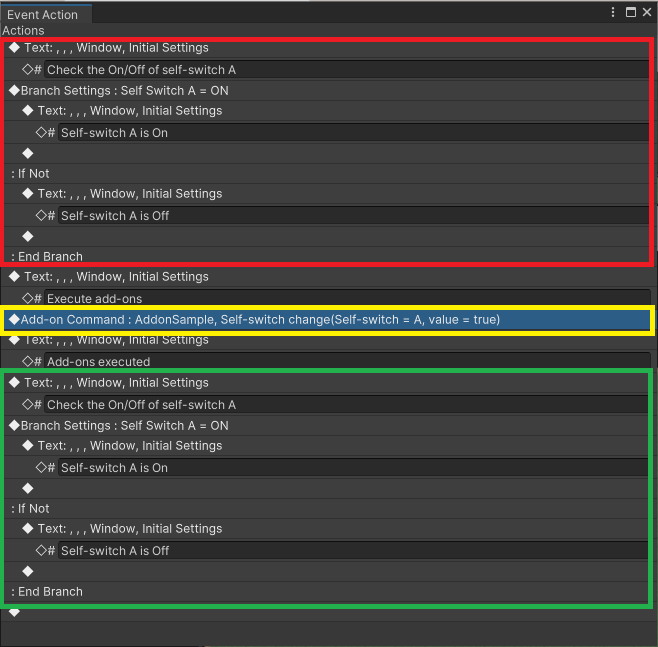
We will edit the event we just created as indicated in the screen below.
The contents in the red frame checks whether the self switch is ON or OFF.
The contents in the yellow frame calls the add-on that will change the self switch to ON.
The contents in the green frame rechecks whether the self switch is ON or OFF.
Set the initial location of a player somewhere near where you placed the event to check the behavior of that event.
When the event takes place, it will trigger a conversation like what you see in the image below.
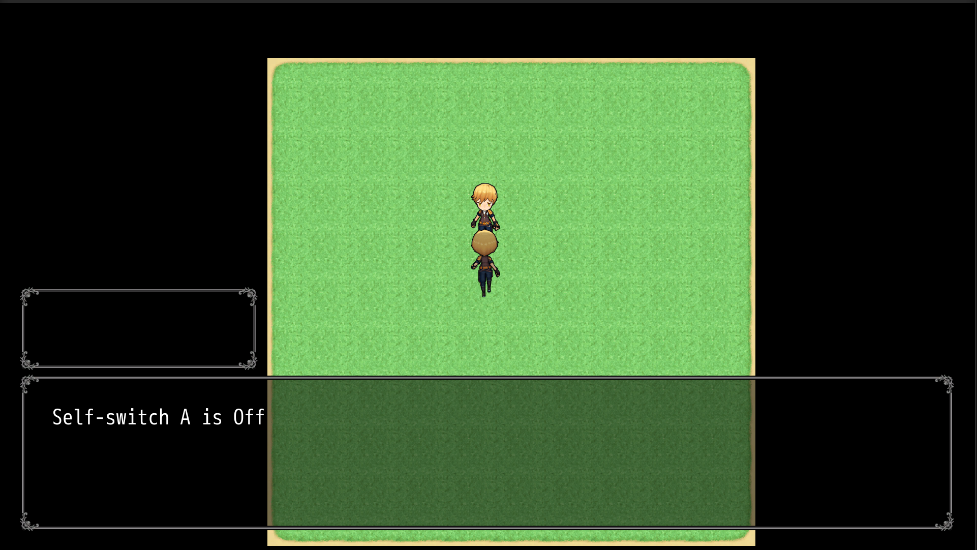
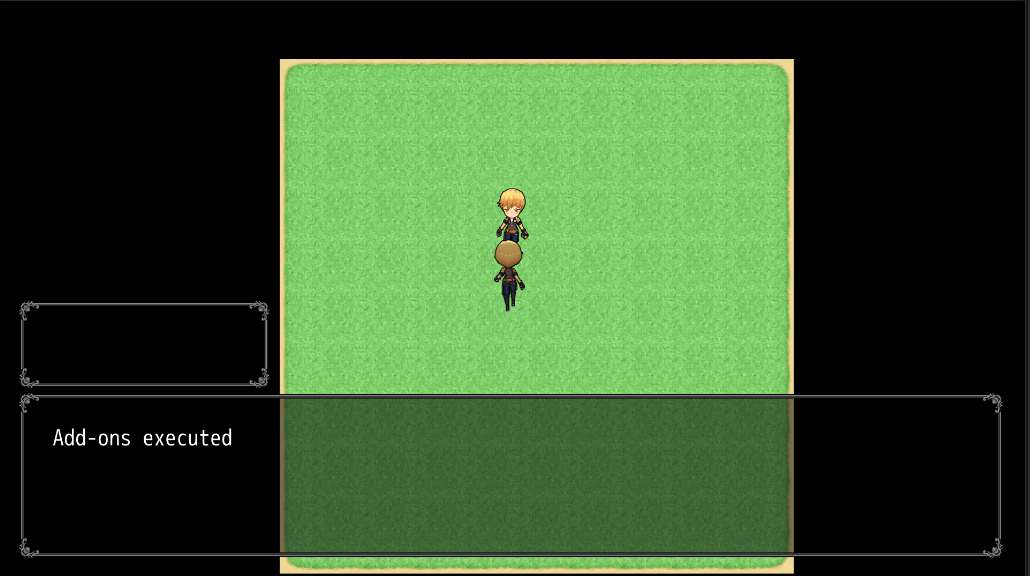

The self switch has been successfully turned ON.
This is the general workflow of creating an add-on.
Now you can package the add-on you created using a Unity function.
The following procedure is not necessary if the add-on is only for personal use, but you'll need to do this if you wish to make your add-on publicly available.
Select Window > RPG Maker > Mode > RPG Maker + Unity Editor from the Unity menu.
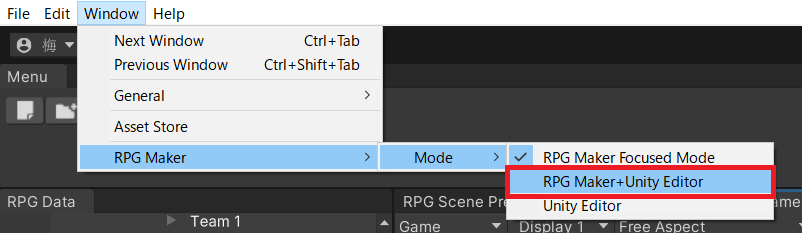
Wait for the UnityEditor to appear.
Click on the Project tab to open the Project window.

Navigate to the directory with the add-on you just created.
For this example, the directory would be RPGMaker\Codebase\Add-ons.
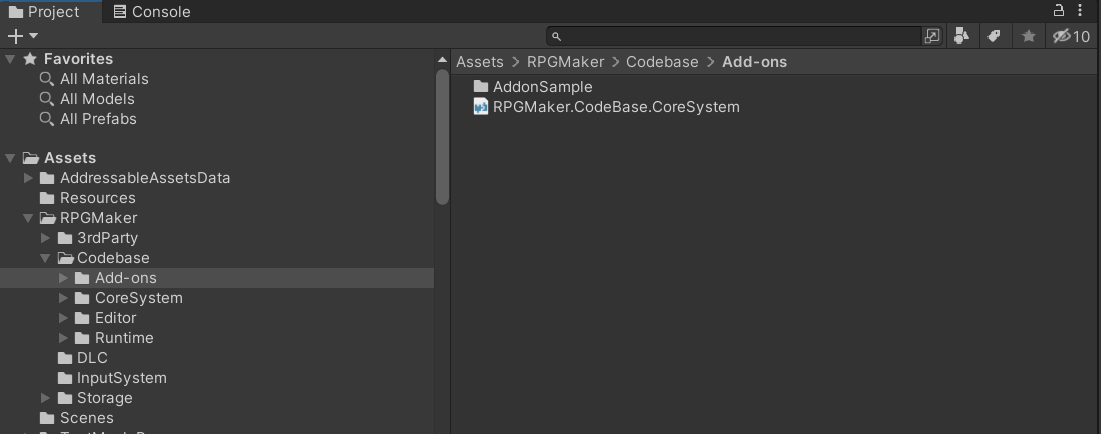
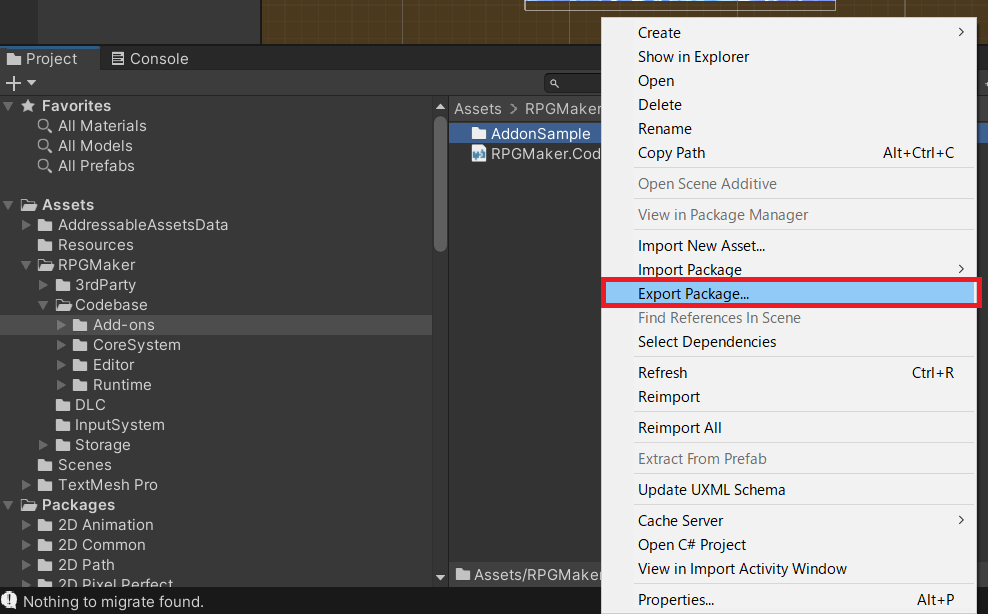
From the Project window, select the add-on folder you created to export it.
To do this, right-click the add-on folder and select Export Package.
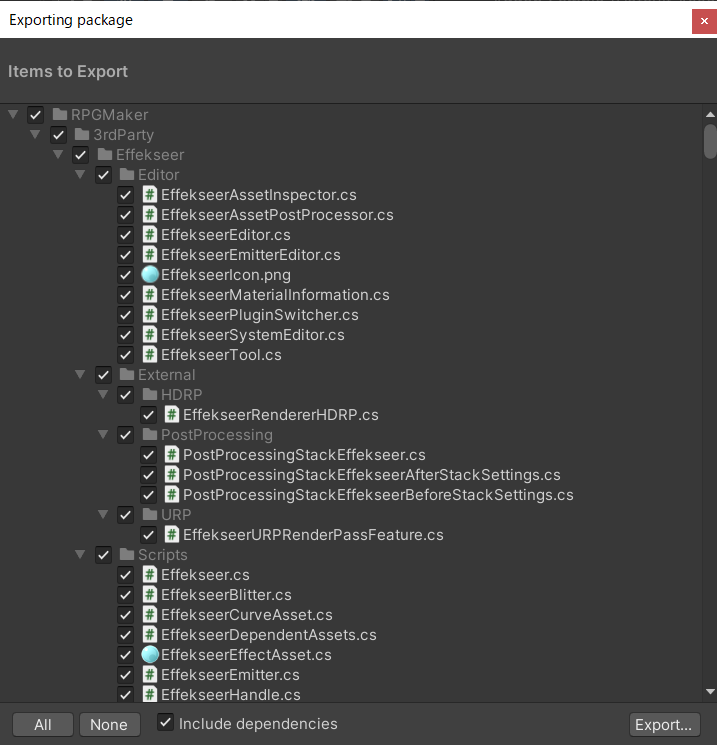
The "Exporting Package" window will appear. (Left image below)
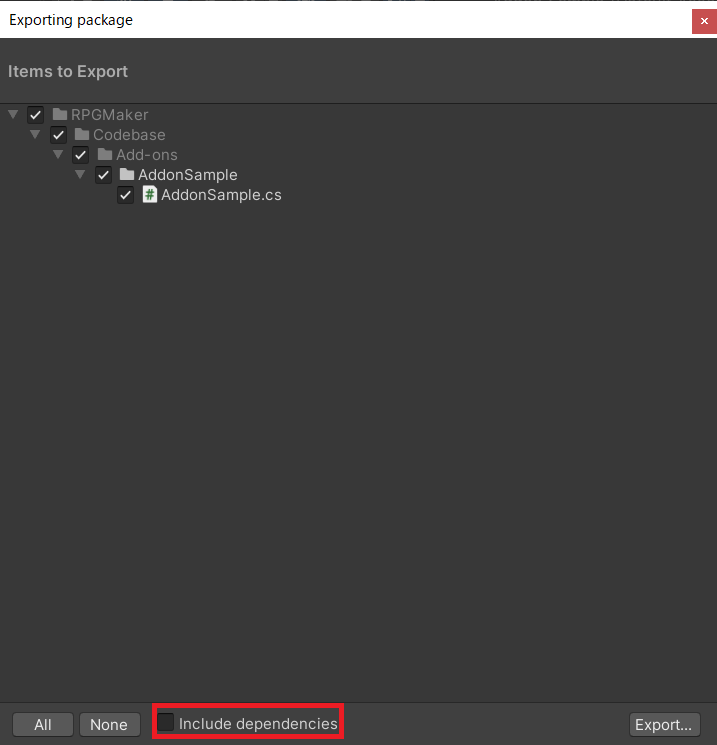
Uncheck the "Include Dependencies" option, then determine which folders are to be included in the package and press the "Export..." button. (Right image below)
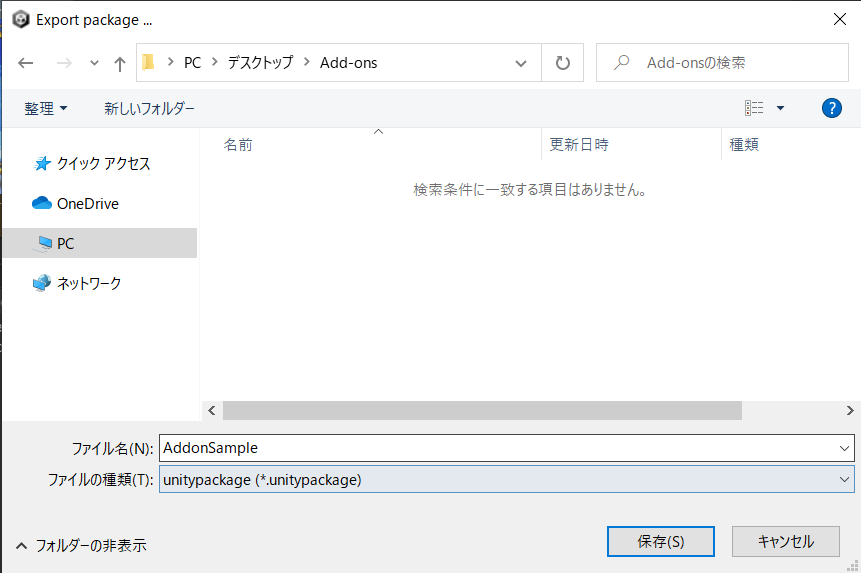
Choose a save location.
This is the general workflow of exporting an add-on package.
You may choose to include images, music files, and Unity Prefab objects in the package.
Create a Resources folder within the add-on folder, then load the Prefab inside. This allows you to access the objects via the Resources.Load API.
In brief, using Prefab allows you in-game freedom to place objects or show UI elements.
Definitely try it out when you get a chance!
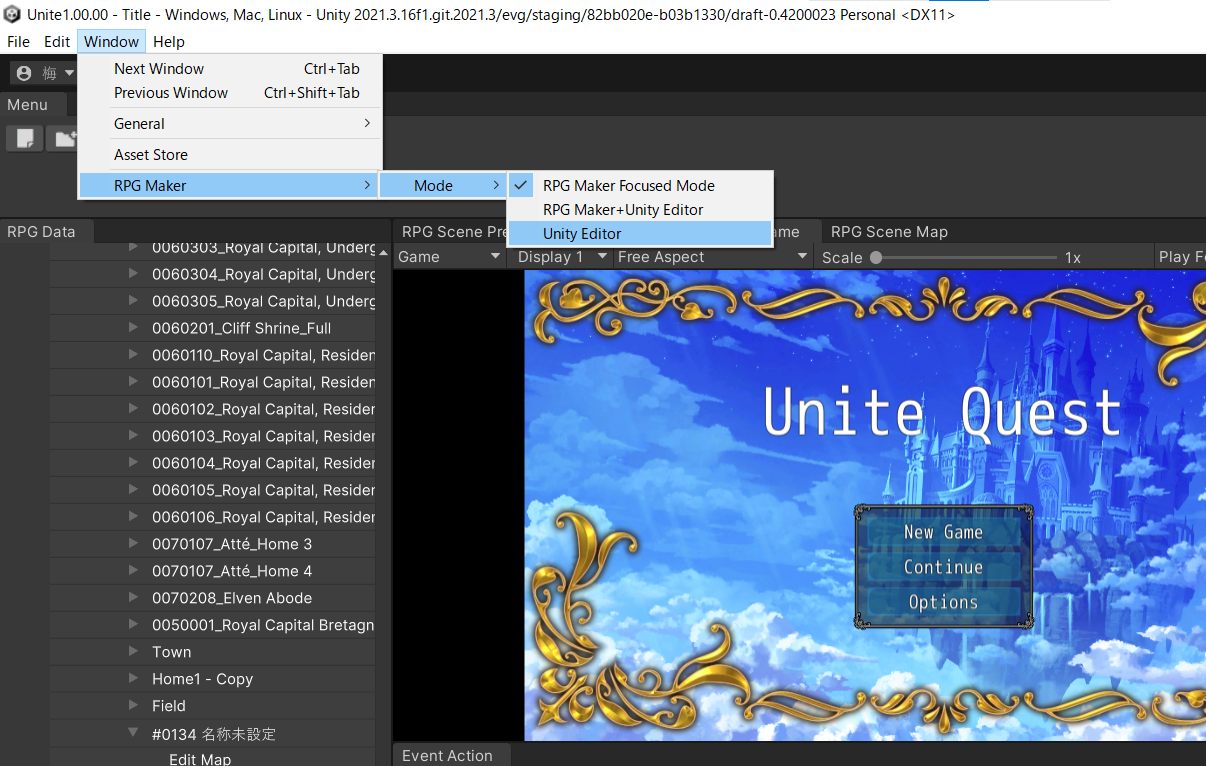
First of all, open the regular Unity Editor from the RPG Maker Unite editor. The third item on the list, "Unity Editor", is what we're referring to.
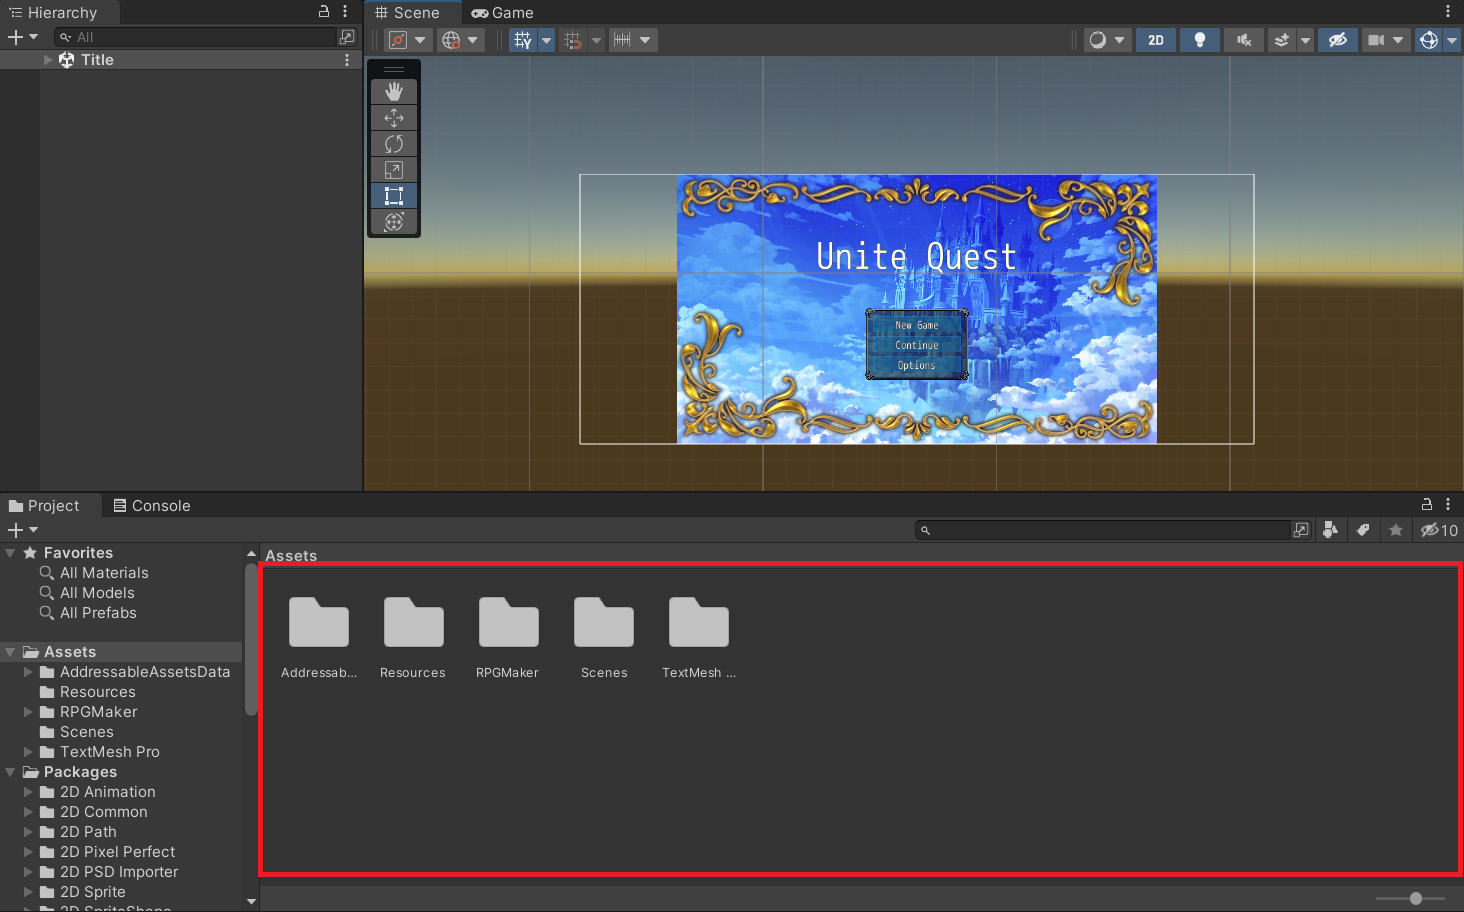
You've switched to the Unity screen.
There are two ways to import an add-on file. Use the one that suits you best.
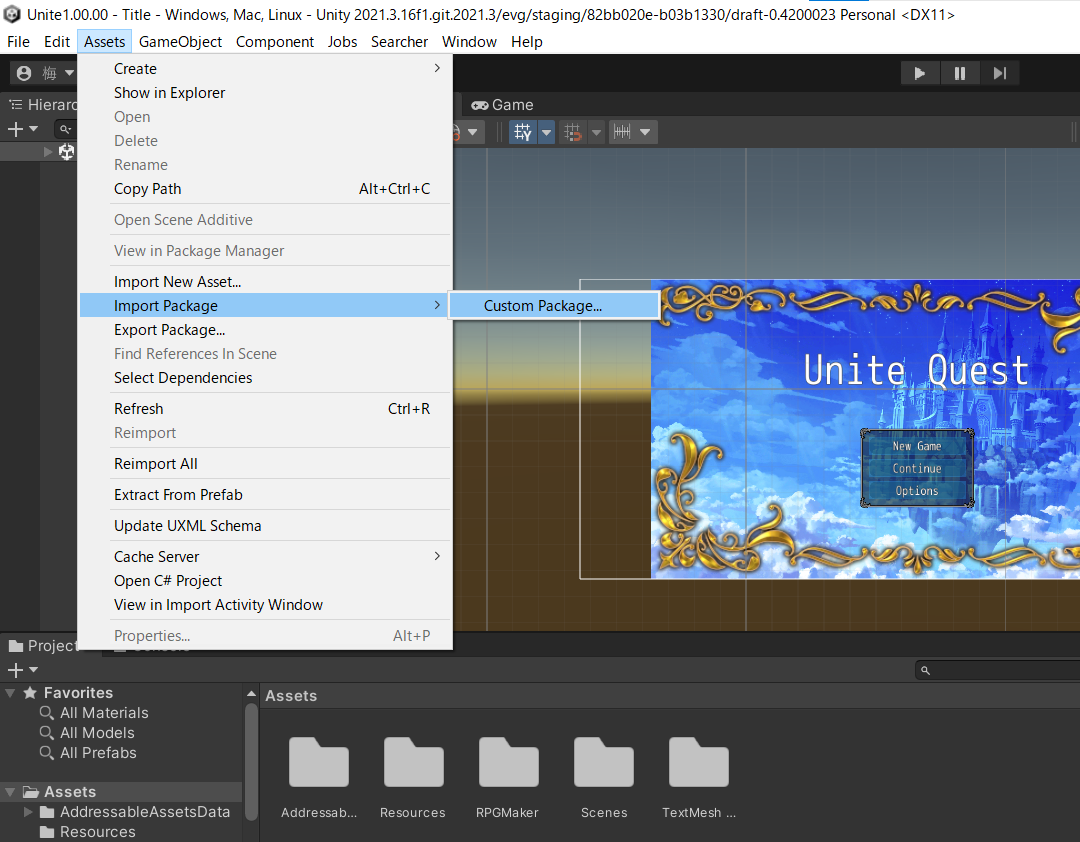
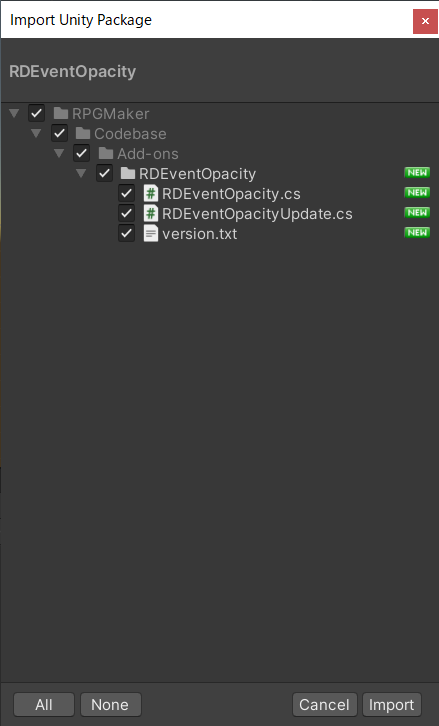
After selecting a file, the following window will appear.
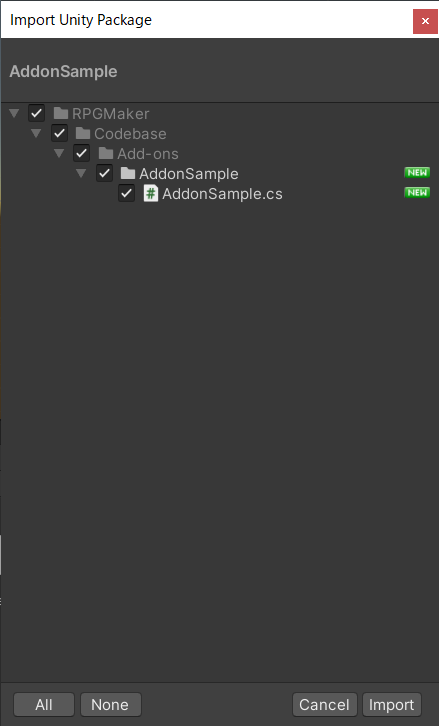
● Files and folders in the package are displayed.
Select "Import" to add the selected package.

To return to the regular Unite screen, open the menu and select Window > RPG Maker > Mode > RPG Maker Focused Mode.

Click on the add-on icon to bring up the list of add-ons.
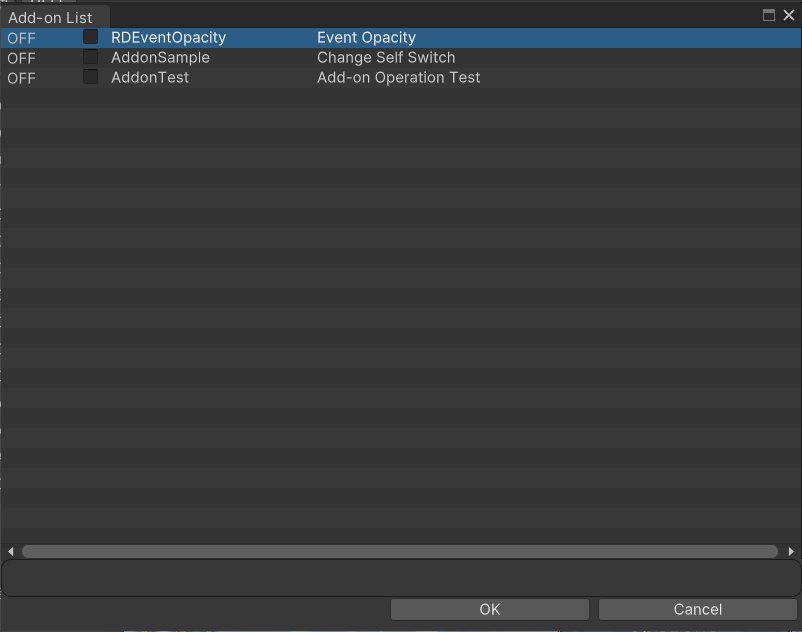
The three add-ons we just imported should have been added to this list. All add-ons are set to OFF by default. Turn the feature you wish to use ON when needed.
This has been a brief overview of how to set up add-ons.
Like the plugins of former Maker tools, anyone can create an add-on by analyzing the system's programming code.
Those who are familiar with Unity can absolutely do this as well.
Like plugins, however, you'll have to learn what some of the annotations mean in order to create an add-on. This part has been omitted here.
We hope the add-on feature can help you harness the full game-making potential of Unite!