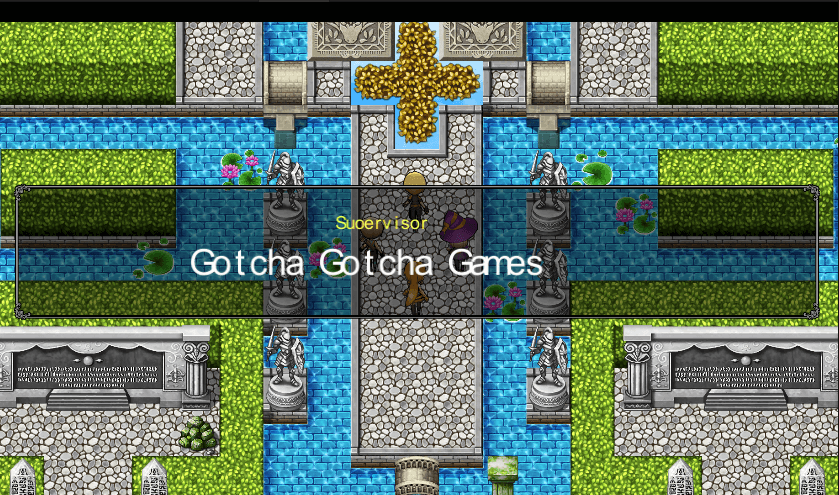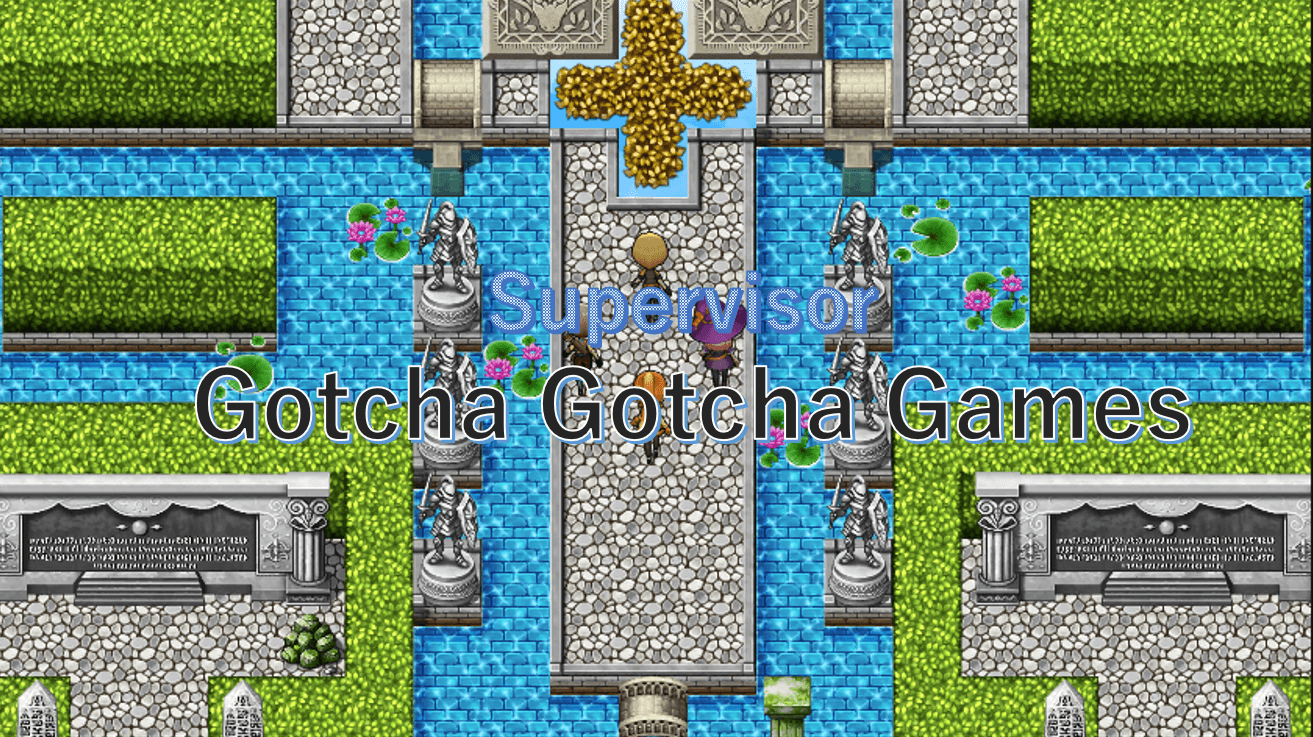
Next, we'll create an ending for the game that concludes it.
There are a number of different ways to animate the ending. The one thing they all have in common is that they will end by returning the player to the title screen.
This command ends the game and returns to the Title Screen. It's usually used for the game ending.
This method allows you to show staff credits alongside important scenes from the game.

You may also adjust the color into sepia tones from Tint Screen.
Text in message windows is not affected by this color change. Therefore, it may be better to display such text in a borderless message window.


Pictures refer to images that are shown in the game via an event.
Each picture is assigned a number, and up to 100 pictures can be shown.
Picture images are imported into the (Project Name)\Assets\RPGMaker\Storage\Images\Pictures folder
Here are a few event commands mainly related to pictures.
Pictures are assigned a number, then you select which number is to be used. Thereafter, simply specify this number to manipulate that particular picture.
Set the number of the picture to be moved. Then, set the end coordinates and how many frames it will take to finish moving there. (1 second = 60 frames)
Aside from the coordinates, you can also change opacity and scale.
In other words, you can use this to change an invisible picture (opacity 0) to a visible one (opacity 255) on a certain frame, or enlarge or shrink a picture within a specific number of frames.
This removes the picture of the specified number.
Well done! You've completed the RPG Maker Unite Beginner's Course!
We've only briefly touched on the basics of Unite so as not to overload you with too many details or advanced functions.
If you're game for more, however, head down to the "Event Command" section of the help files and see what else you can learn!
Practice makes perfect, after all. The best way to get better is to get your feet wet as soon as possible.
Aiming to create a massive game right from the start can be quite daunting, so why not start with a small and simple game first and challenge yourself to try new things from there?
You'll naturally get better after you complete a few games like that!
We hope this course has been of some help to you. Now get out there and make some fun!