

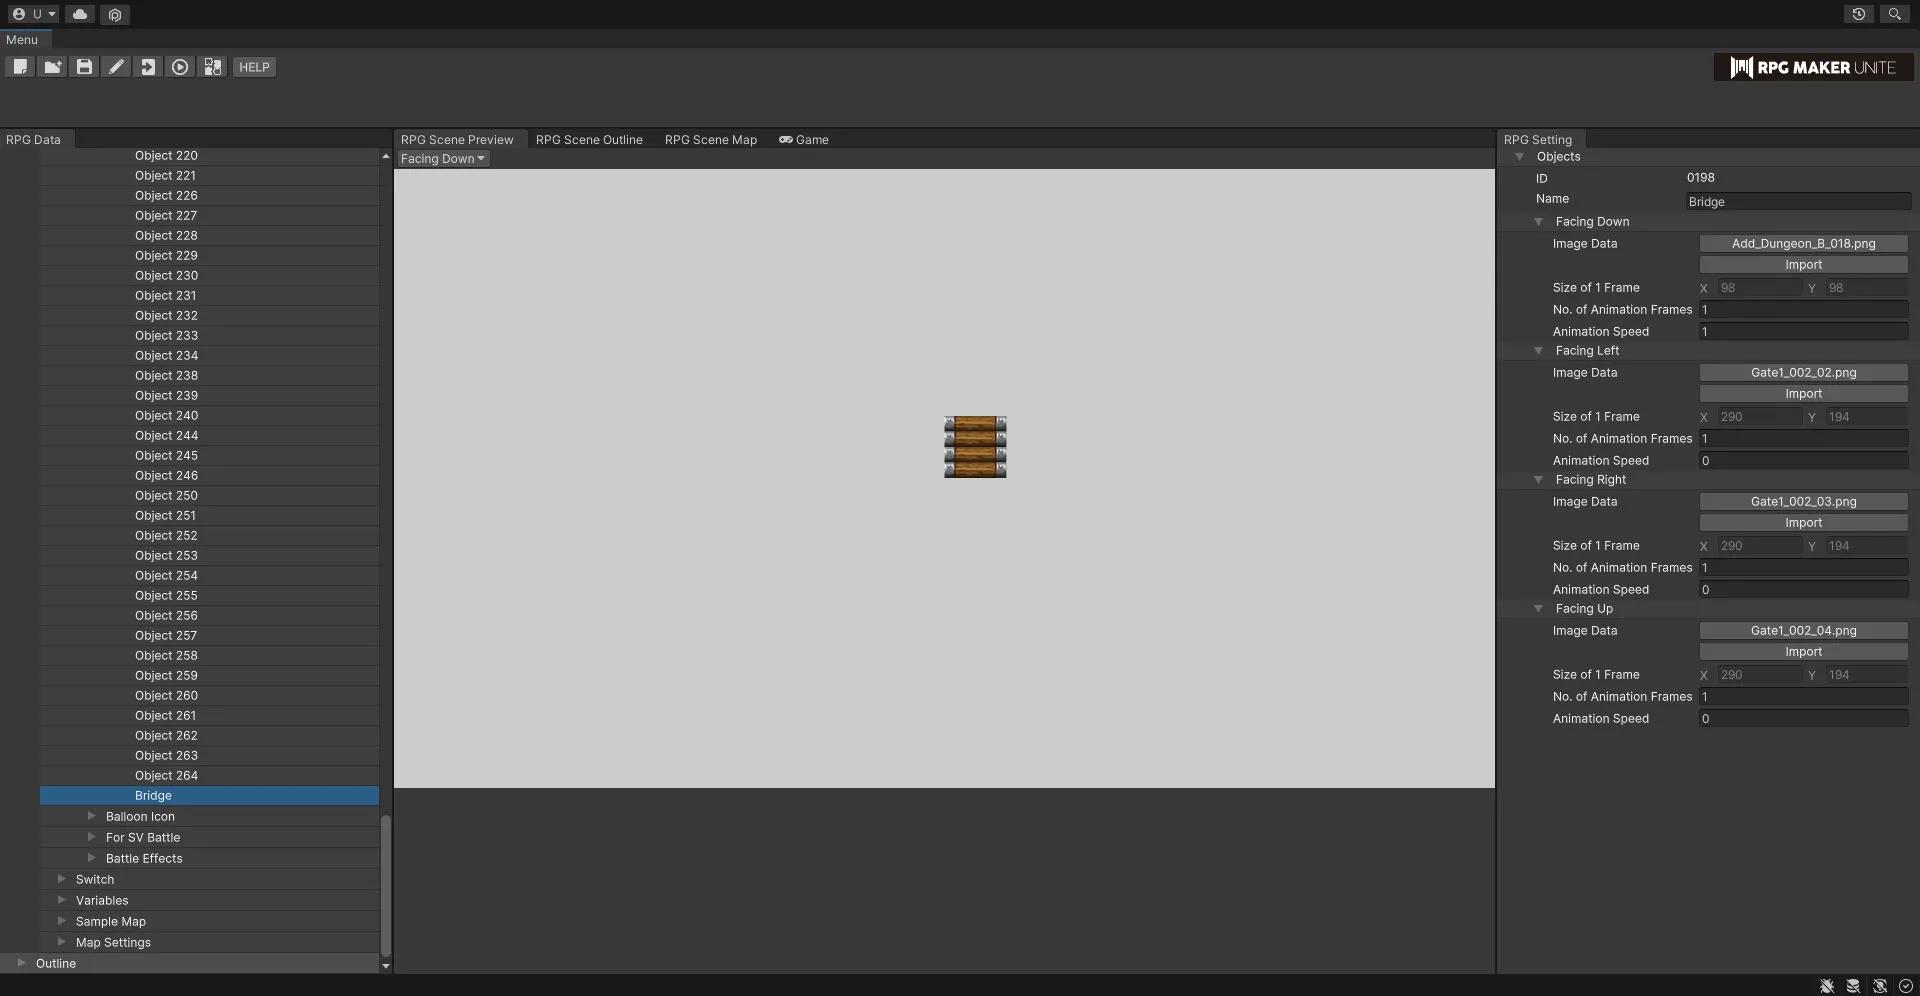
For an example of creating a bridging event
The first step is to register the bridge image in the material management object, etc.

Event Creation Flow 1. Register transparent tiles at the bridge locations and set them as accessible. In this case, we will place a "meadow" tile for clarity. Place the "grassland" tile on layer B. If you hide layer B, you will see that the "pond" tile is placed under the "grassland" tile (layer A).
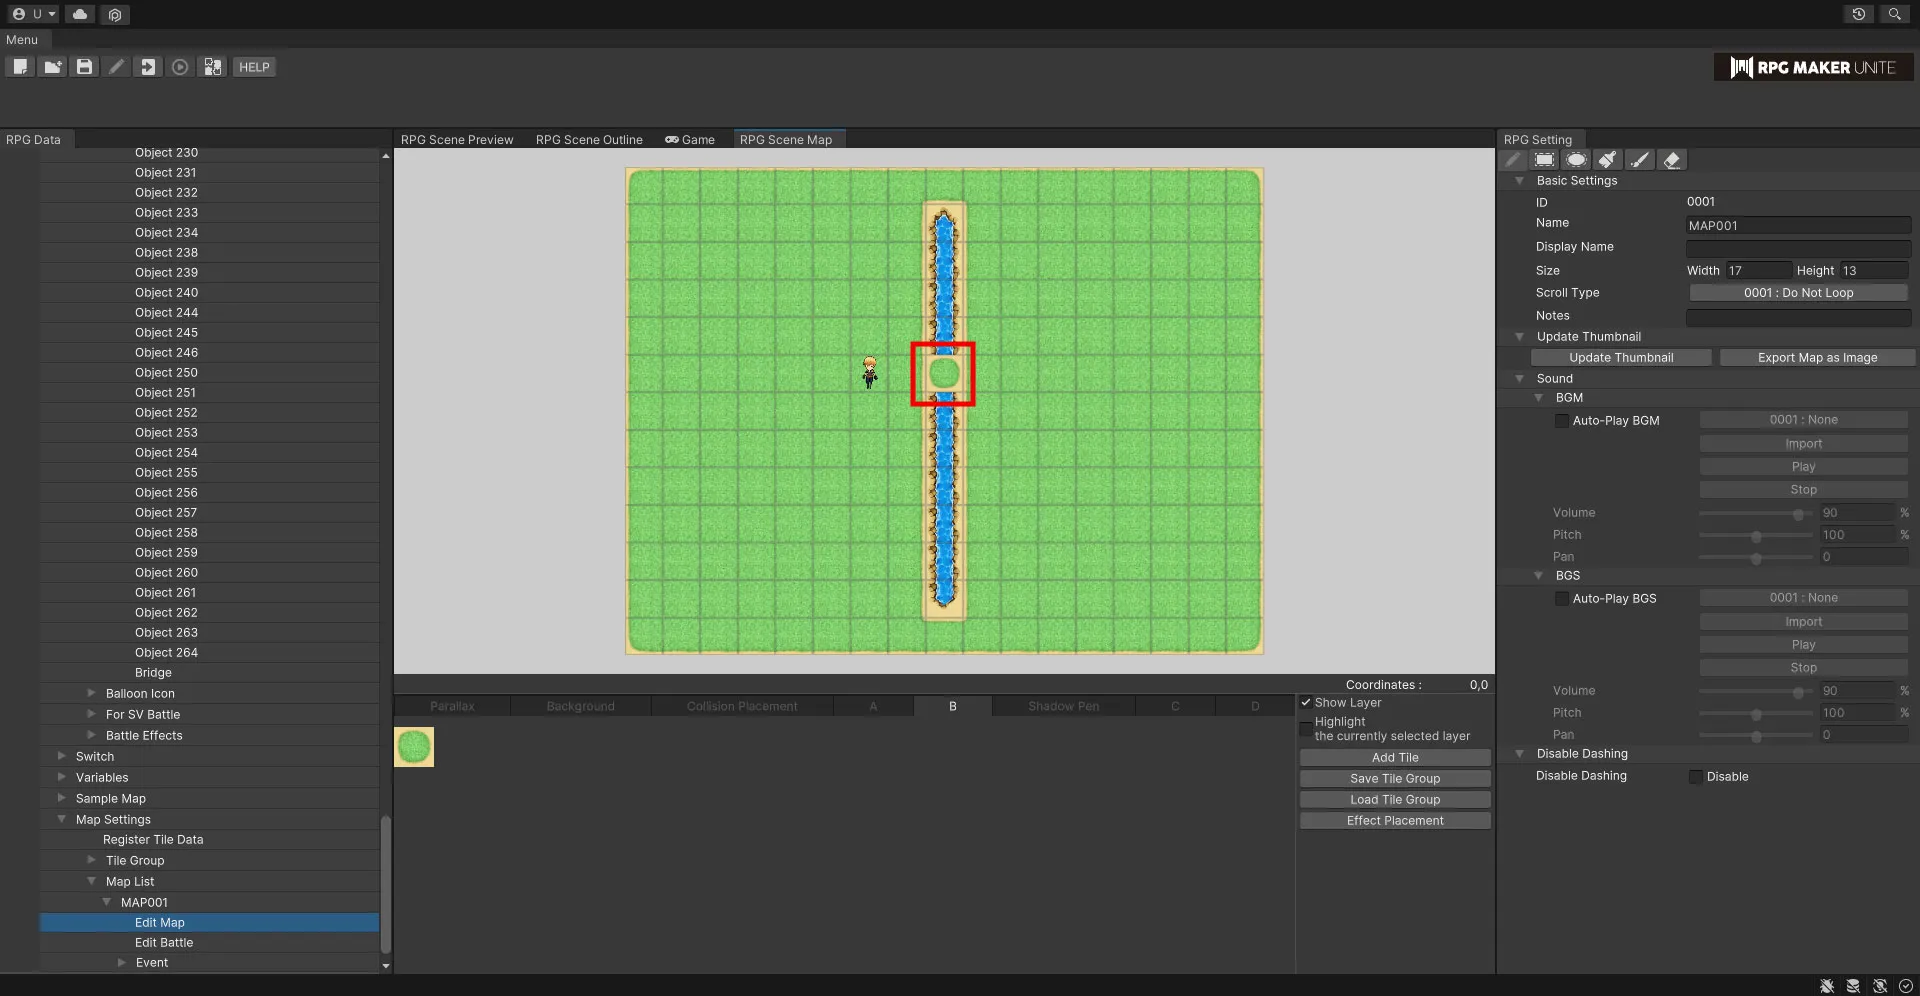

2. Place the event on the tiles painted above.
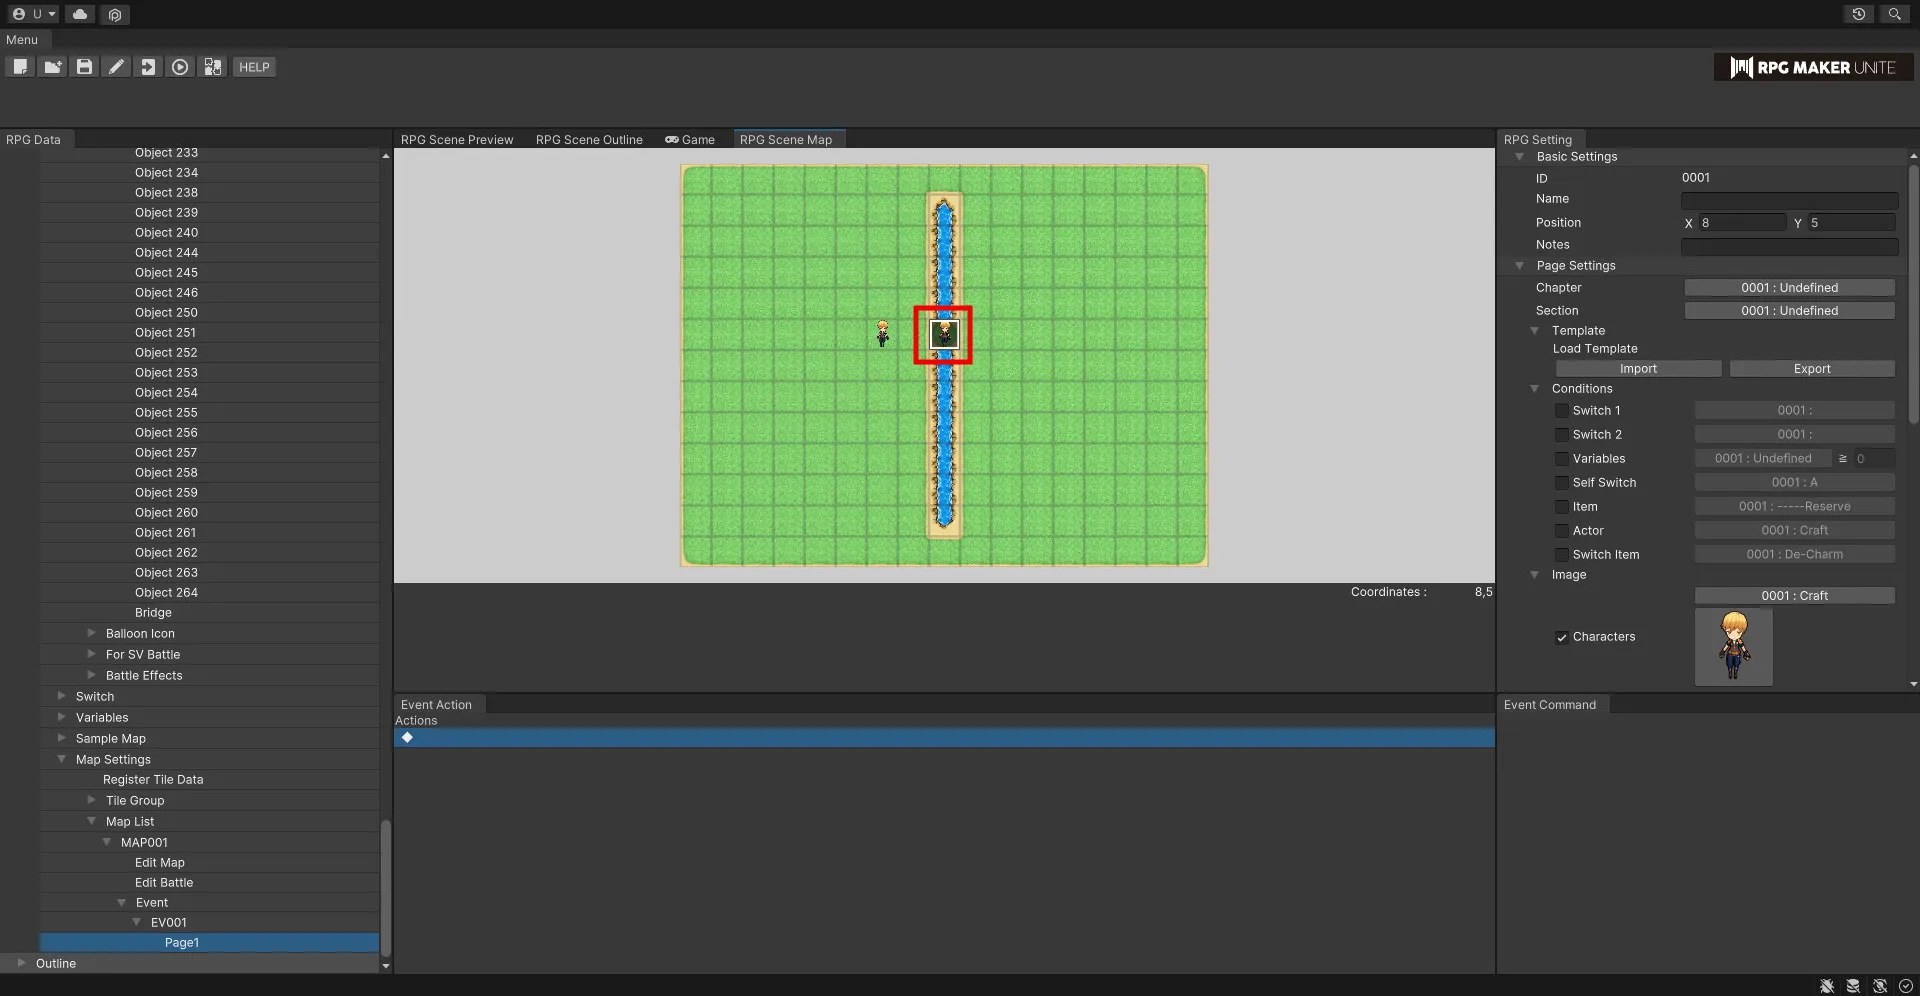
3. Add pages to the same event and make the following settings for each. ・Page 1 Uncheck "Character" in Image. Change Priority to "Same as Normal Character".

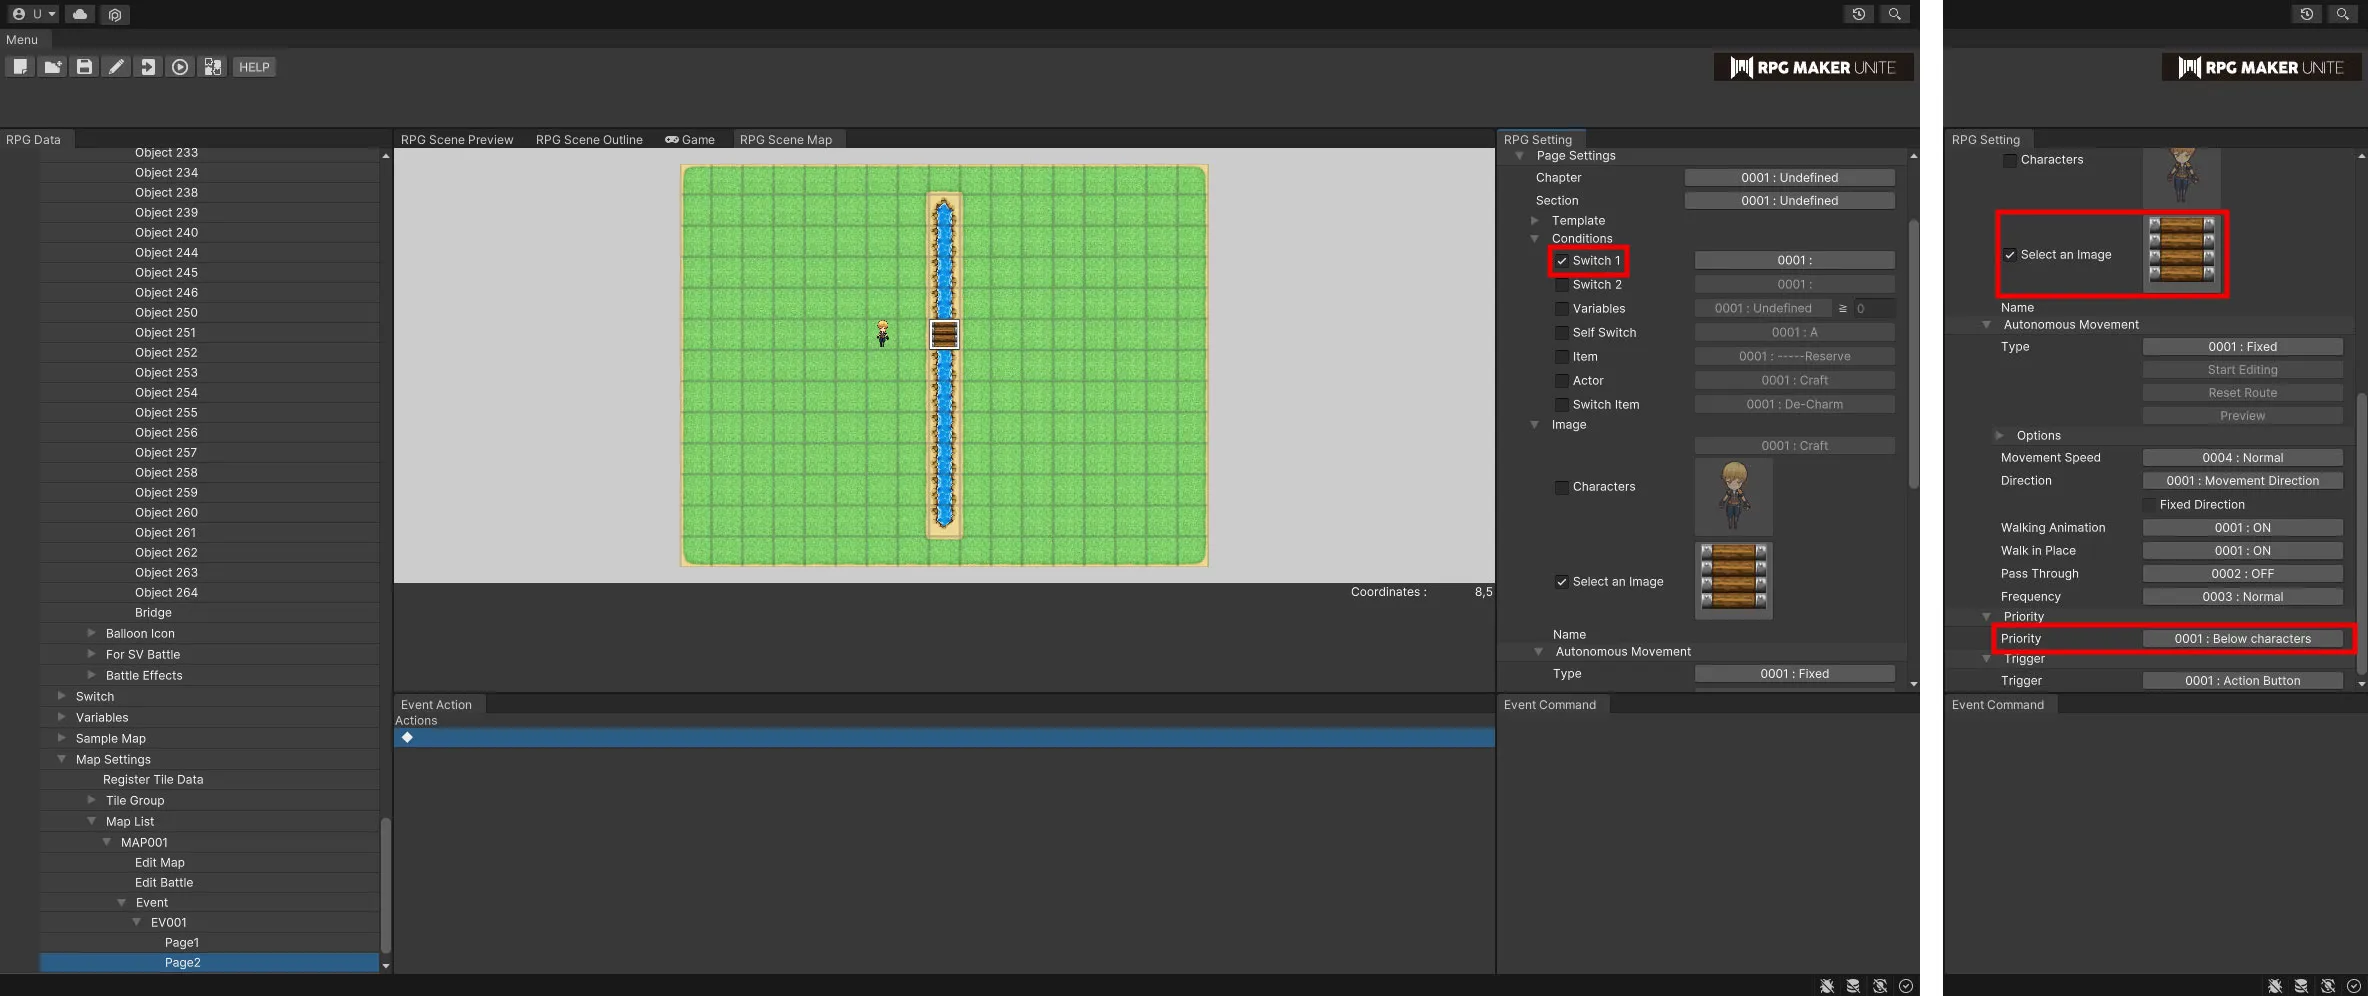
・Page 2 Check "Switch 1" in Appearance Conditions. In Image, check "Select Image" and set the image of the bridge you added in Material Management from Image Selection Change the Priority to "below the normal character".

4. Add the appropriate events and run the test play with the settings as attached.
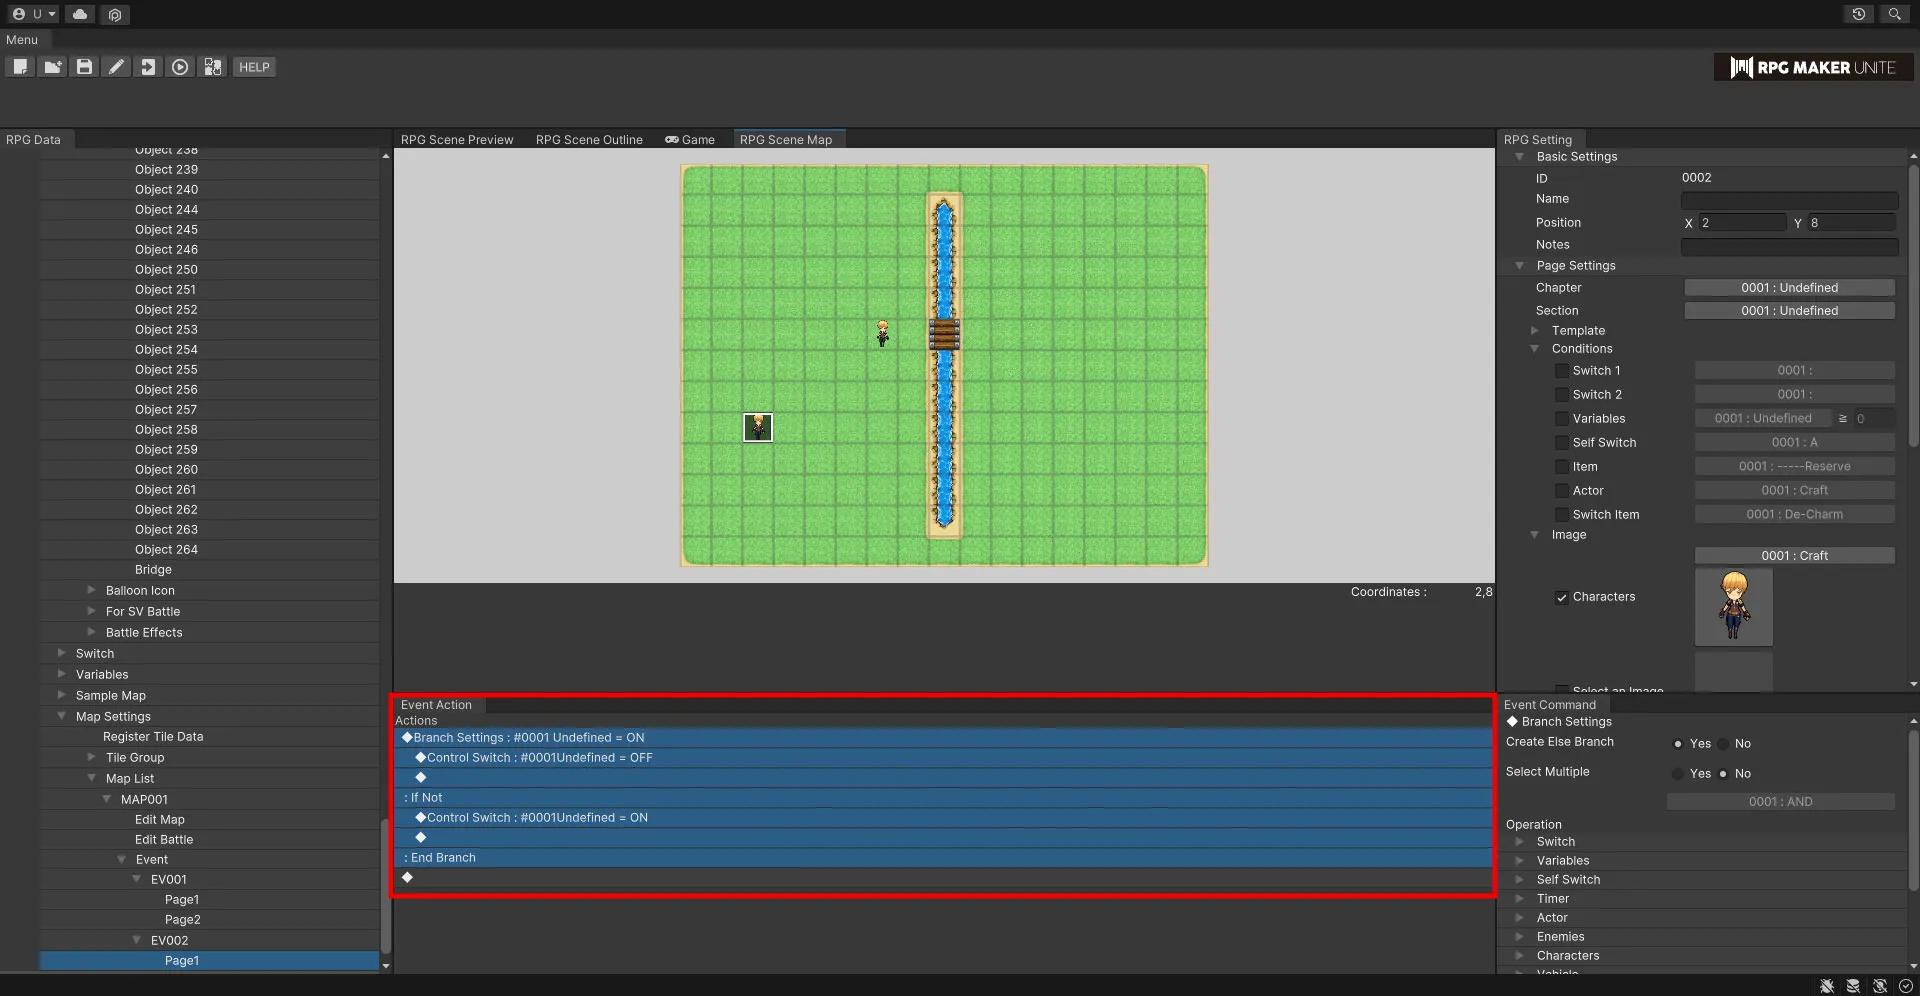
5. By switching the switch, it is possible to check whether the bridge is open or closed, and also to check whether the bridge is open when it is not open or closed.