Index
- Summary
- Calling a Unity scene from UNITE
- Accessing UNITE from a Unity scene
- About Asset
- Sample
Summary
This function allows you to go back and forth between scenes created in Unity and UNITE.
By using this function, you can create completely different expressions that are not bound by the restrictions of UNITE.
To use this function, you need to create a scene in Unity beforehand.
We have prepared a sample to check the operation, so please check it when you want to check it with something that works.
Calling a Unity scene from UNITE
It can be used from the [Scene Control] > [Call Unity Scene] event.

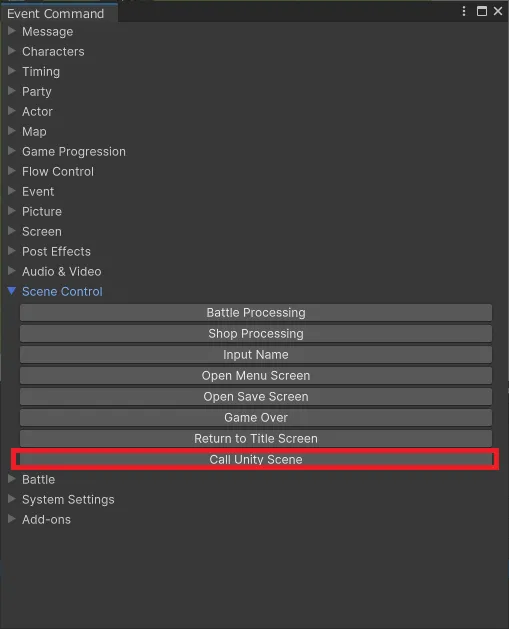
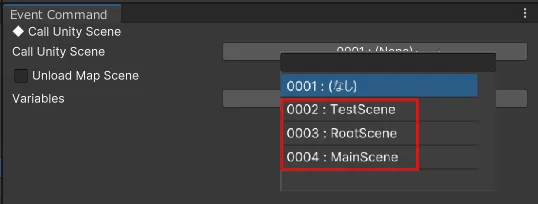
The “Call Unity Scene” event command has the following settings

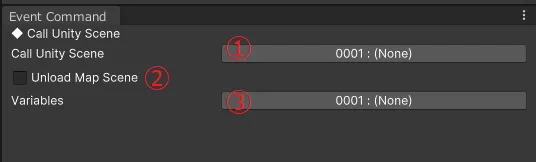
① Select the Unity scene to call.
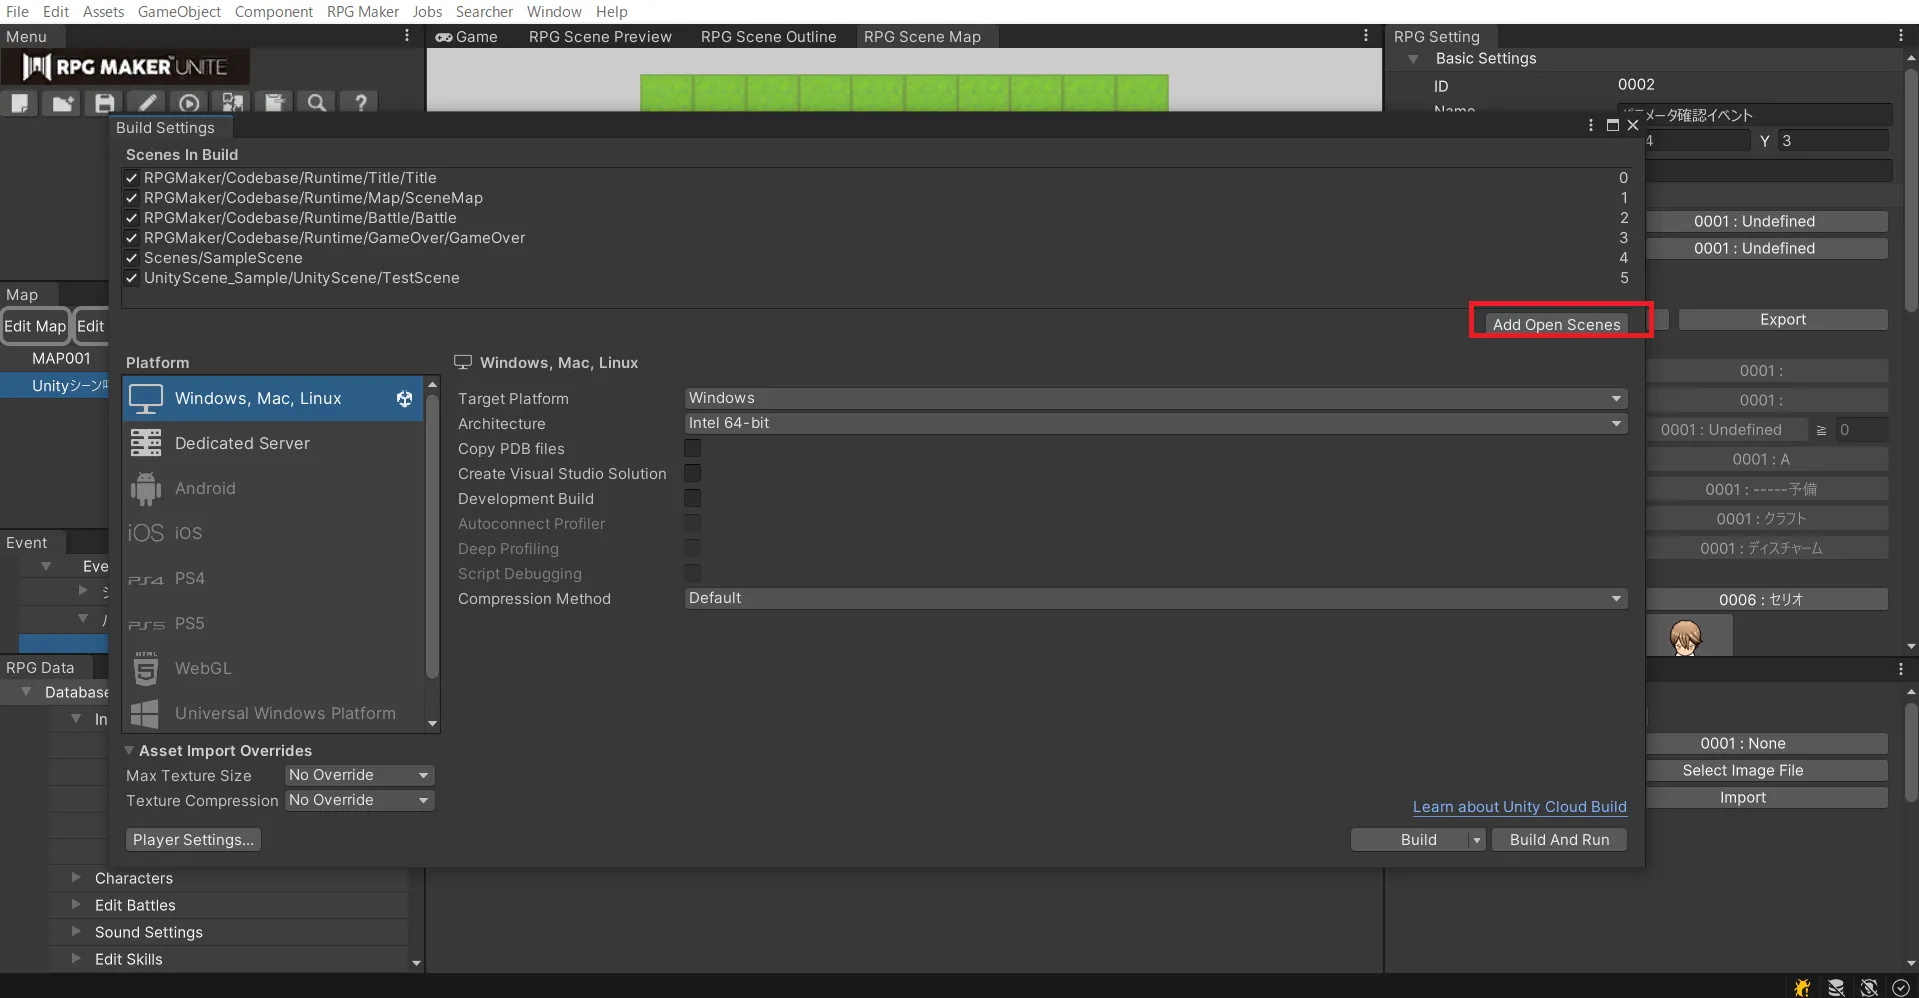
Open the Build Settings window

A previously created Unity scene must be added to the “Scenes included in build” in the Build Settings.

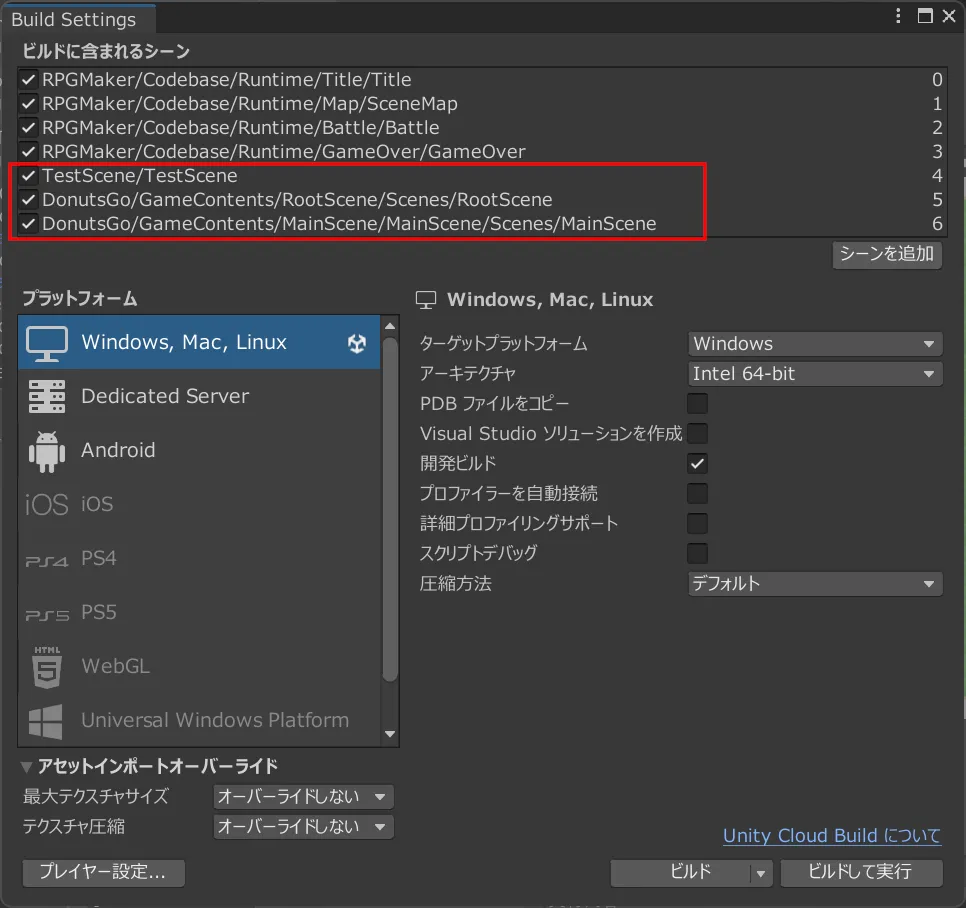
Doing so will allow the scene to be selected by the event command.

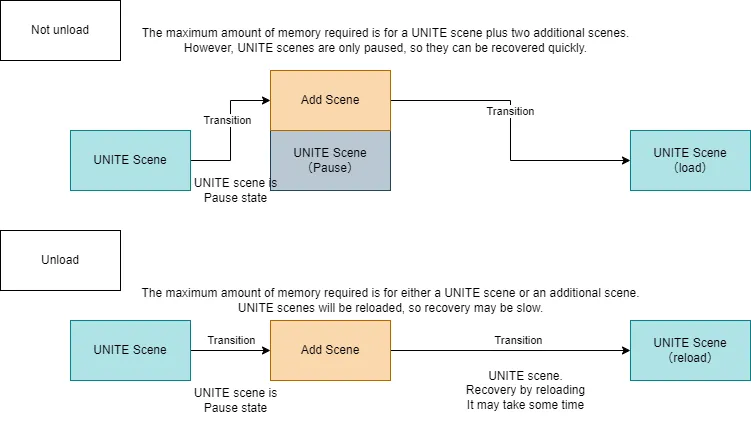
② Select whether to unload the map scene
Each unloading of a scene has its own advantages/disadvantages.

③ Specify variables to be passed
The variable specified here can refer to its value on the Unite scene side.
Also, when returning to UNITE, the resulting value of the Unity scene will be stored in that variable.
(If “(none)” is specified, the value becomes 0 when referenced, and the resulting value is not stored.
Variables are referenced and stored as int type.
Accessing UNITE from a Unity scene

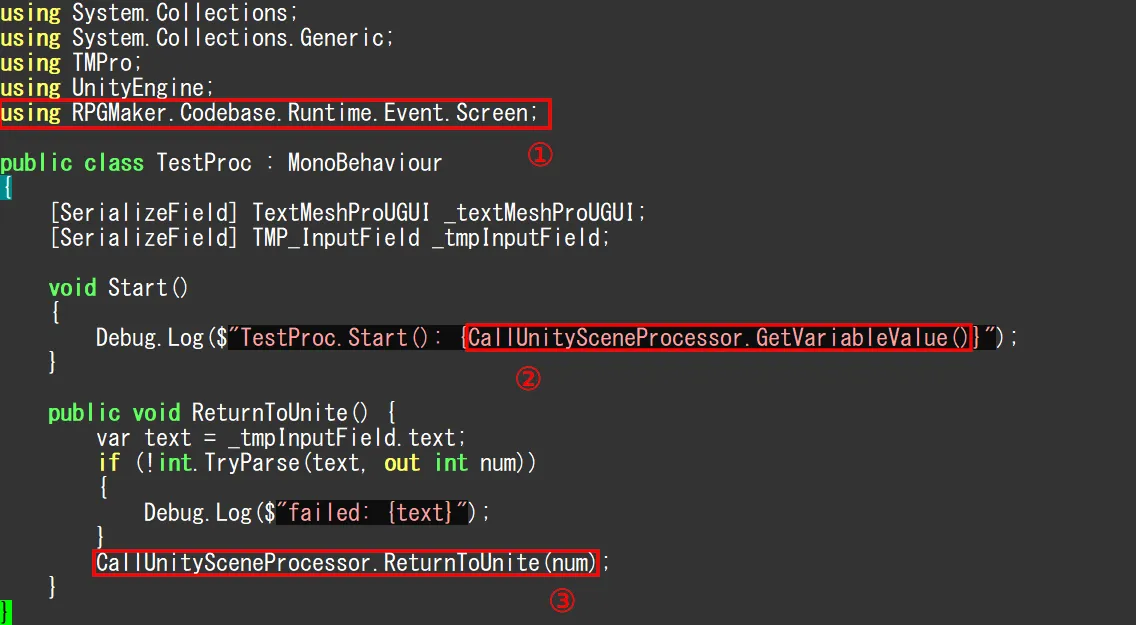
① namespace.
using RPGMaker.Codebase.Runtime.Event.Screen;
② Obtains the value of a “variable.
CallUnitySceneProcessor.GetVariableValue()
③ Return to UNITE scene with return value.
CallUnitySceneProcessor.ReturnToUnite(num)
The Unity scene is unloaded, the return value (num) is stored in a variable and returns to UNITE.
Unloading Scenes
When CallUnitySceneProcessor.ReturnToUnite() is called,
All loaded scenes are unloaded (except for DontDestroyOnLoad and SceneMap)
GameObjects that you do not want to be destroyed should be moved to DontDestroyOnLoad using Object.DontDestroyOnLoad().
Please make those GameObjects inactive by setting them to SetActive(false) whenever possible.
This is to reduce the possibility of conflict problems, for example, if there are multiple AudioListners.
GameObjects that have been deactivated should be set back to active when the Unity scene is called.
About Asset
The assets referenced by a Unity scene at runtime must be included in the assets managed by Unity, the assets referenced by the scene included in the build, or the assets under Resources, StreamingAssets.
AddressableAsset management performed by UNITE is for UNITE assets, so if your Unity scene references an AddressableAsset, you will need to take additional action.
Sample
Below is a sample of this functionality.
A Unity scene and an event that calls the Unity scene are set up.
Please try with a newly created empty project when importing.
The import method is shown below.
- Download the sample package
- Import the sample package
- Perform BuildSetting
- Perform test play
1. Download
Download sample data from here(https://cdn.tkool.jp/updata/unite/UnityScene_Sample.unitypackage).
The downloaded data is in unitpackage format.
2. Import the sample package
Open UNITE and select [Assets]>[Import Package]>[Custom Package...]. Select [Assets]>[Import Package]>[Custom Package...].

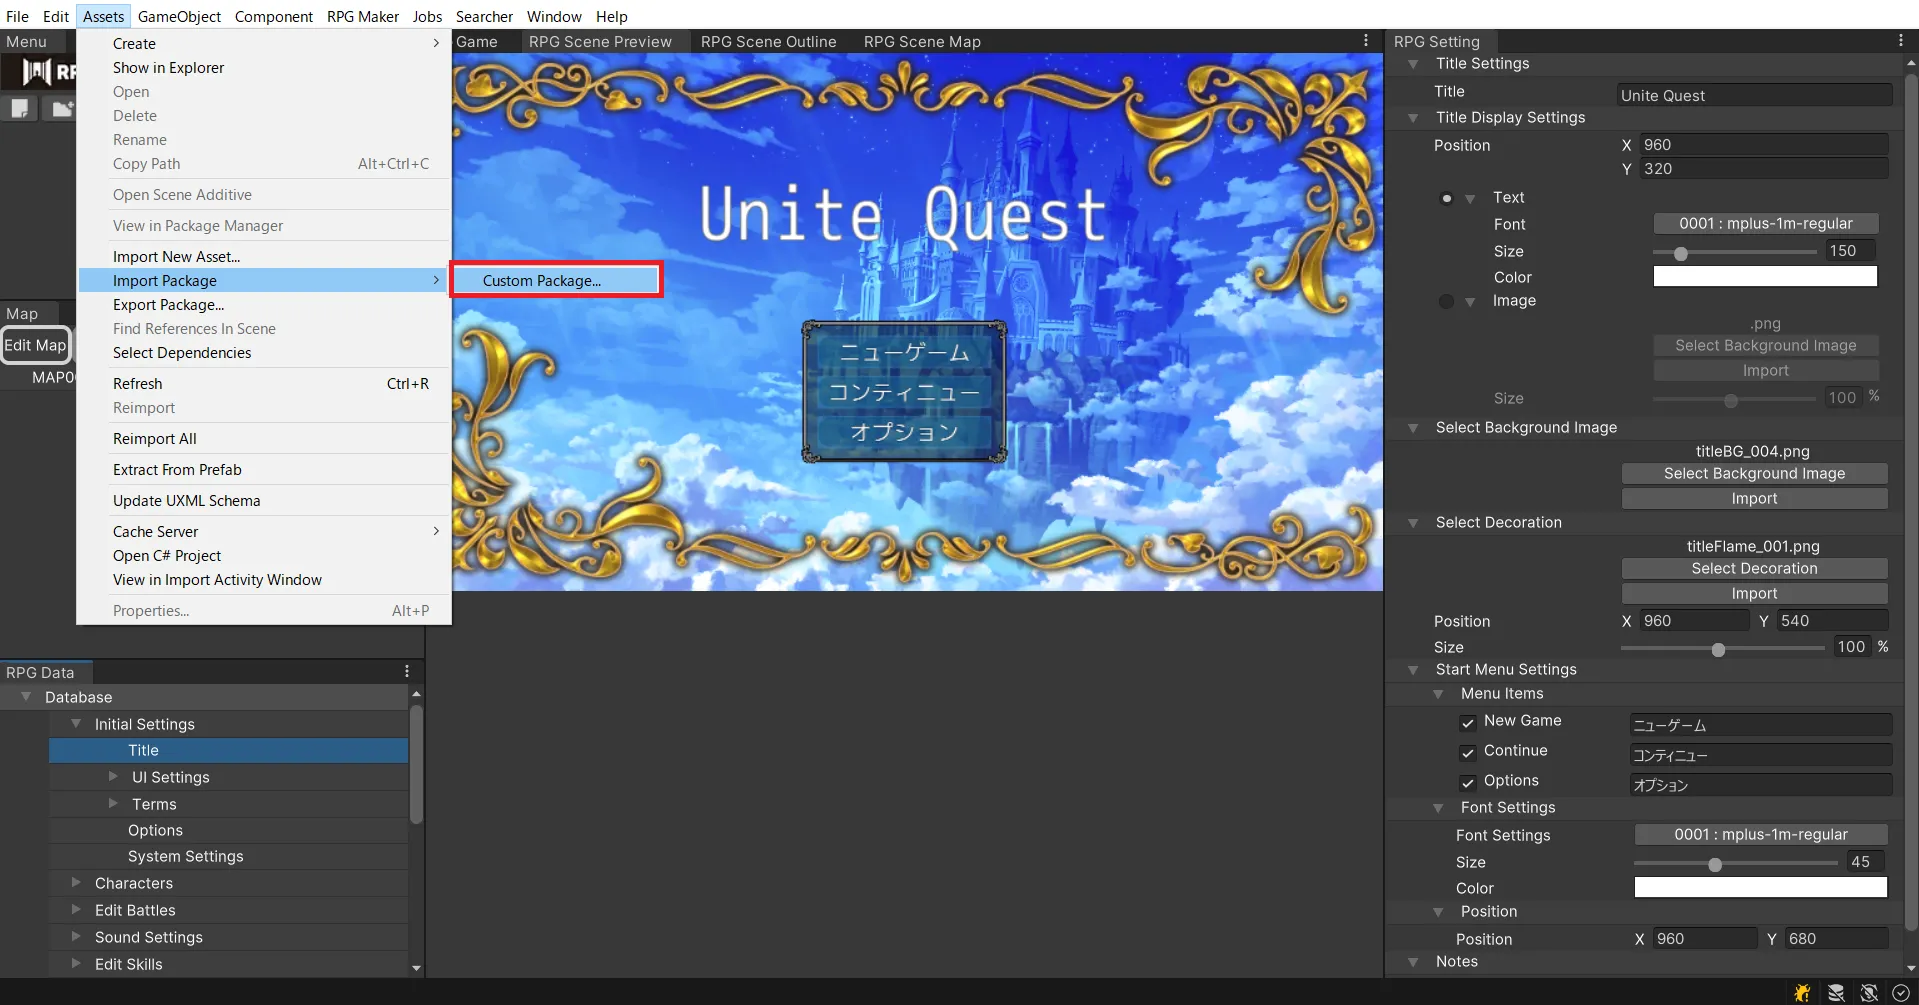
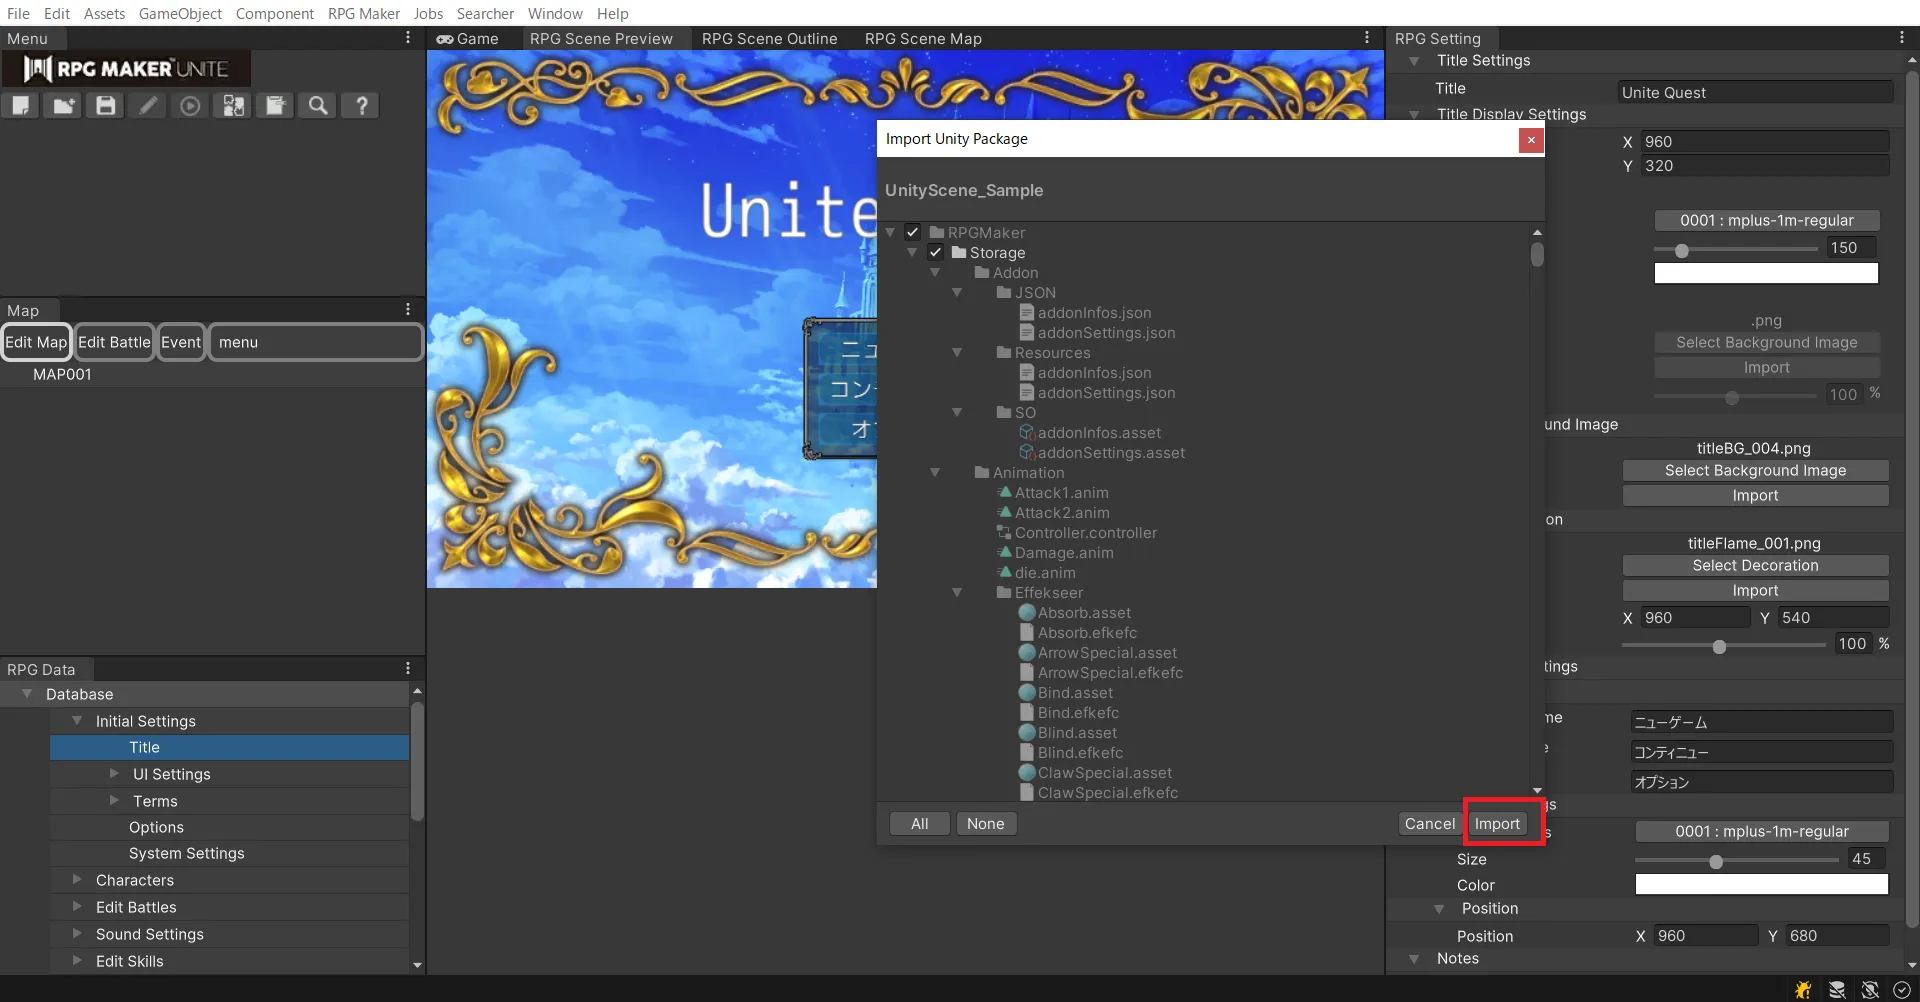
Select the downloaded unitypackage file and the following pop-up window will appear.
Click the “Import” button.

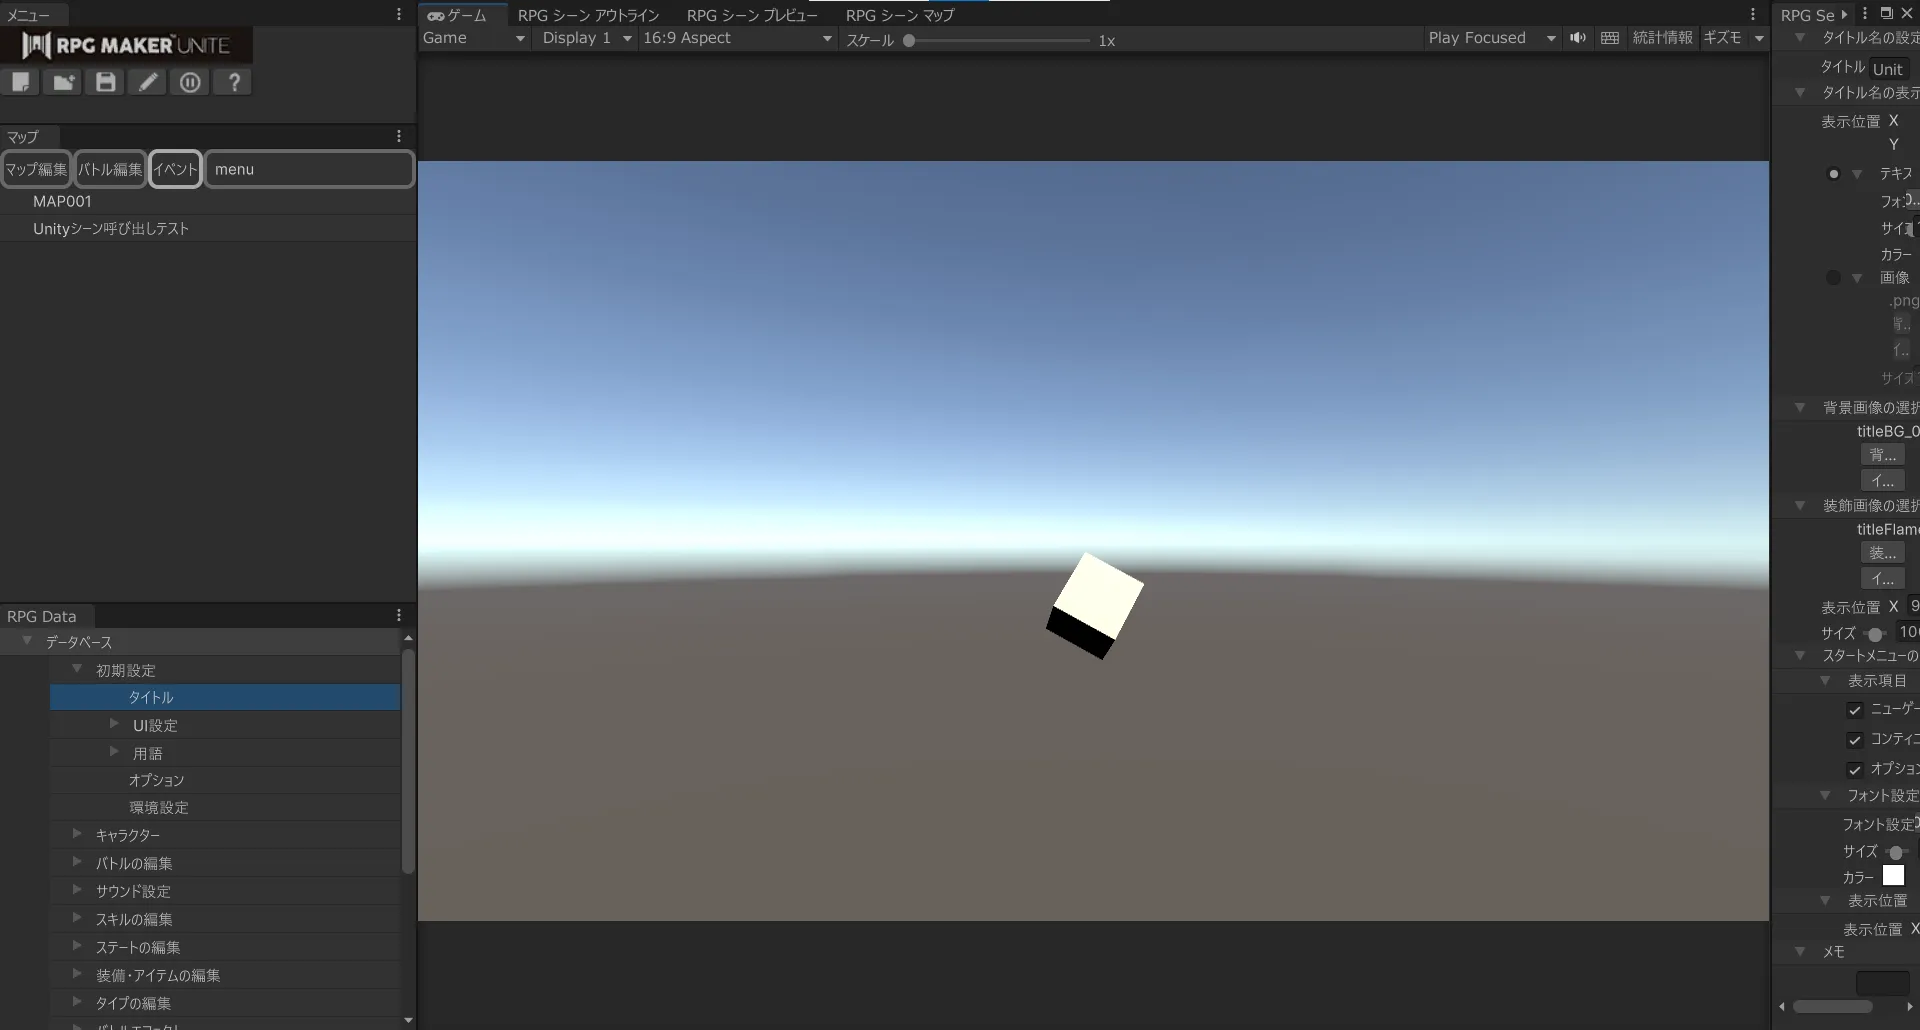
After a while, a map called “Unity Scene Calling Test” will be added.
(If the map is not added, please restart the program.)
3.BuildSetting
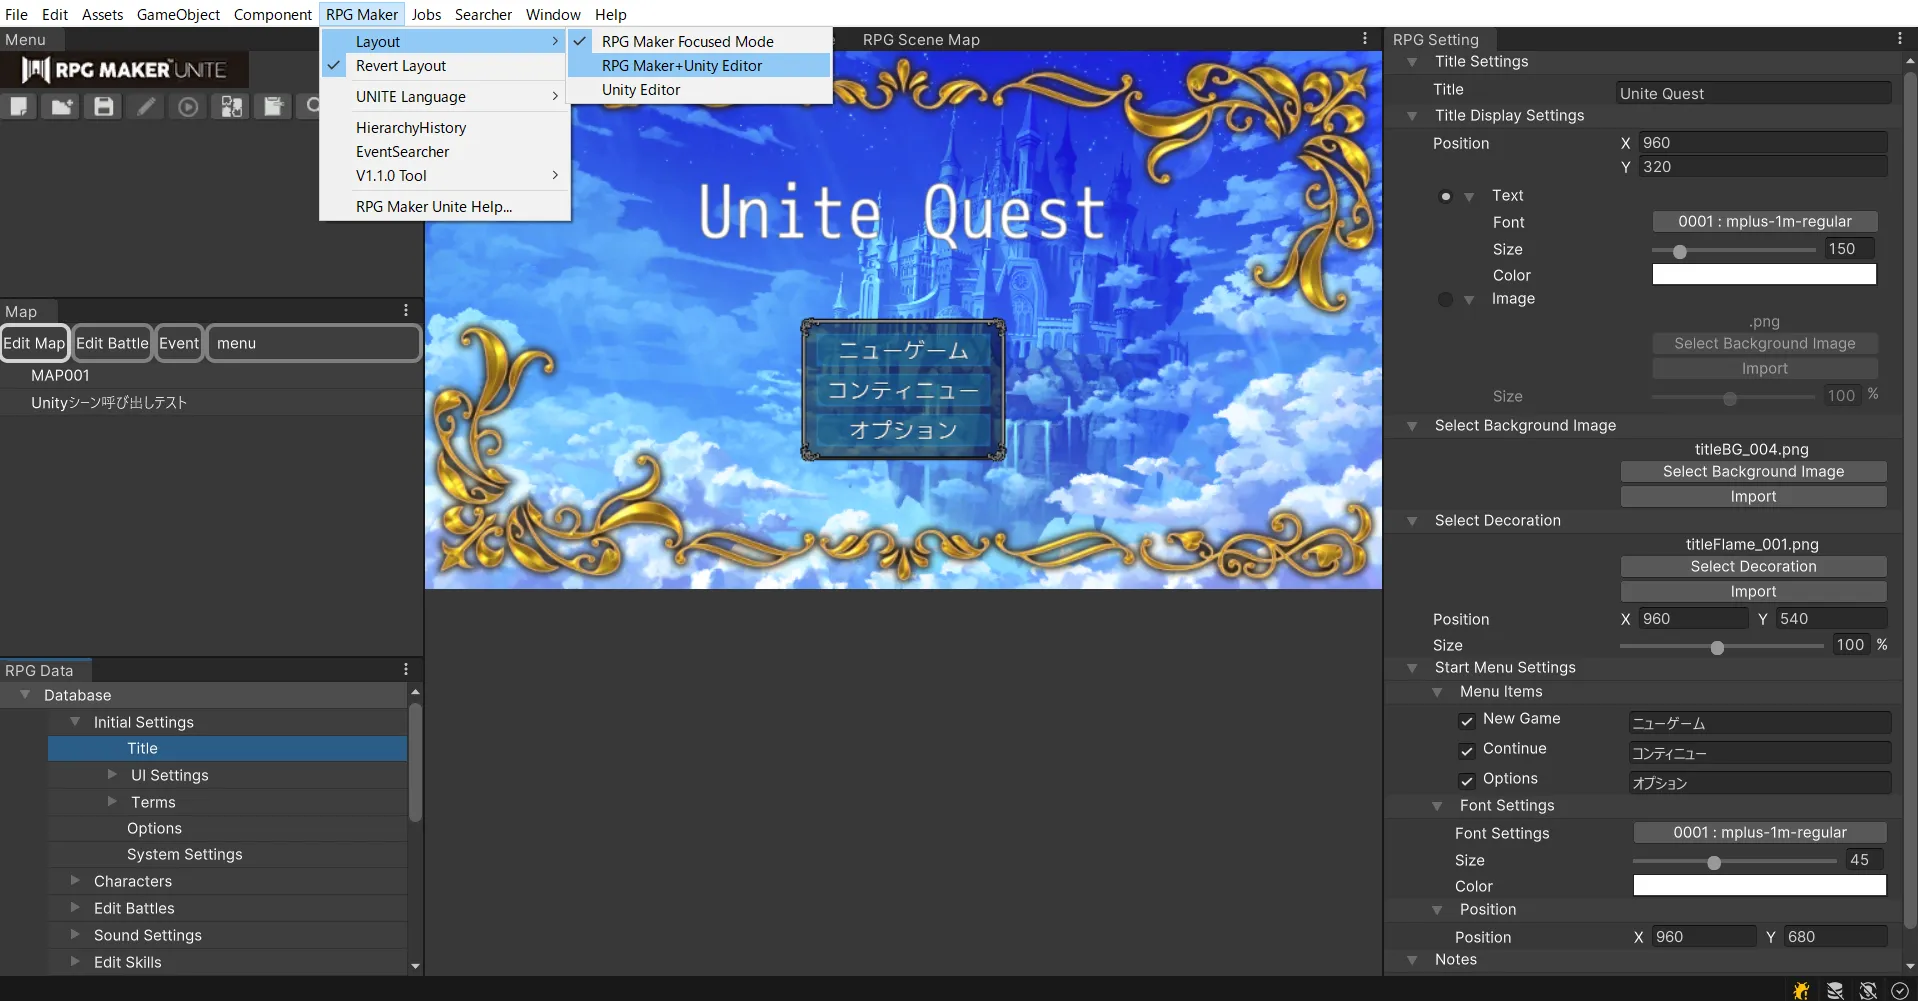
Select [RPG Maker]>[Layout]>[RPG Maker + Unity Editor].

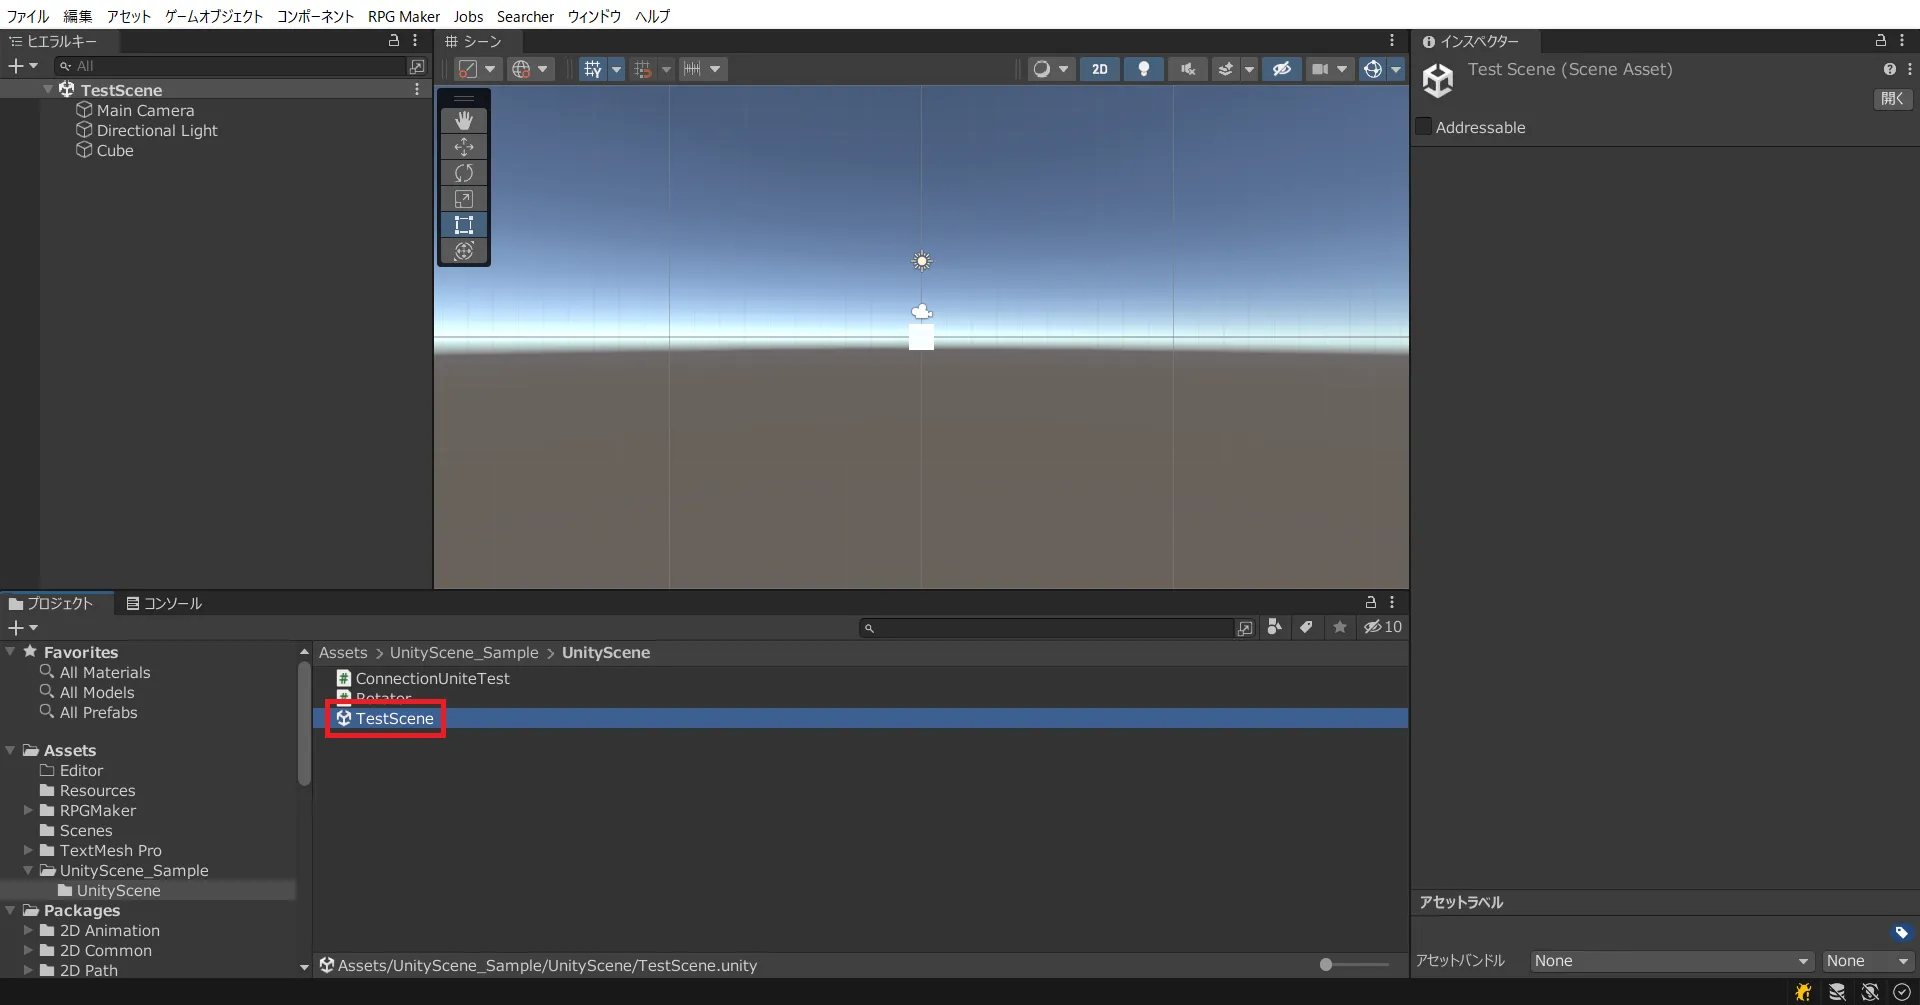
Double-click Assets\UnityScene_Sample\UnityScene\TestScene.unity to open the scene.

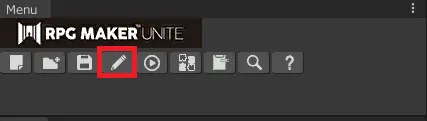
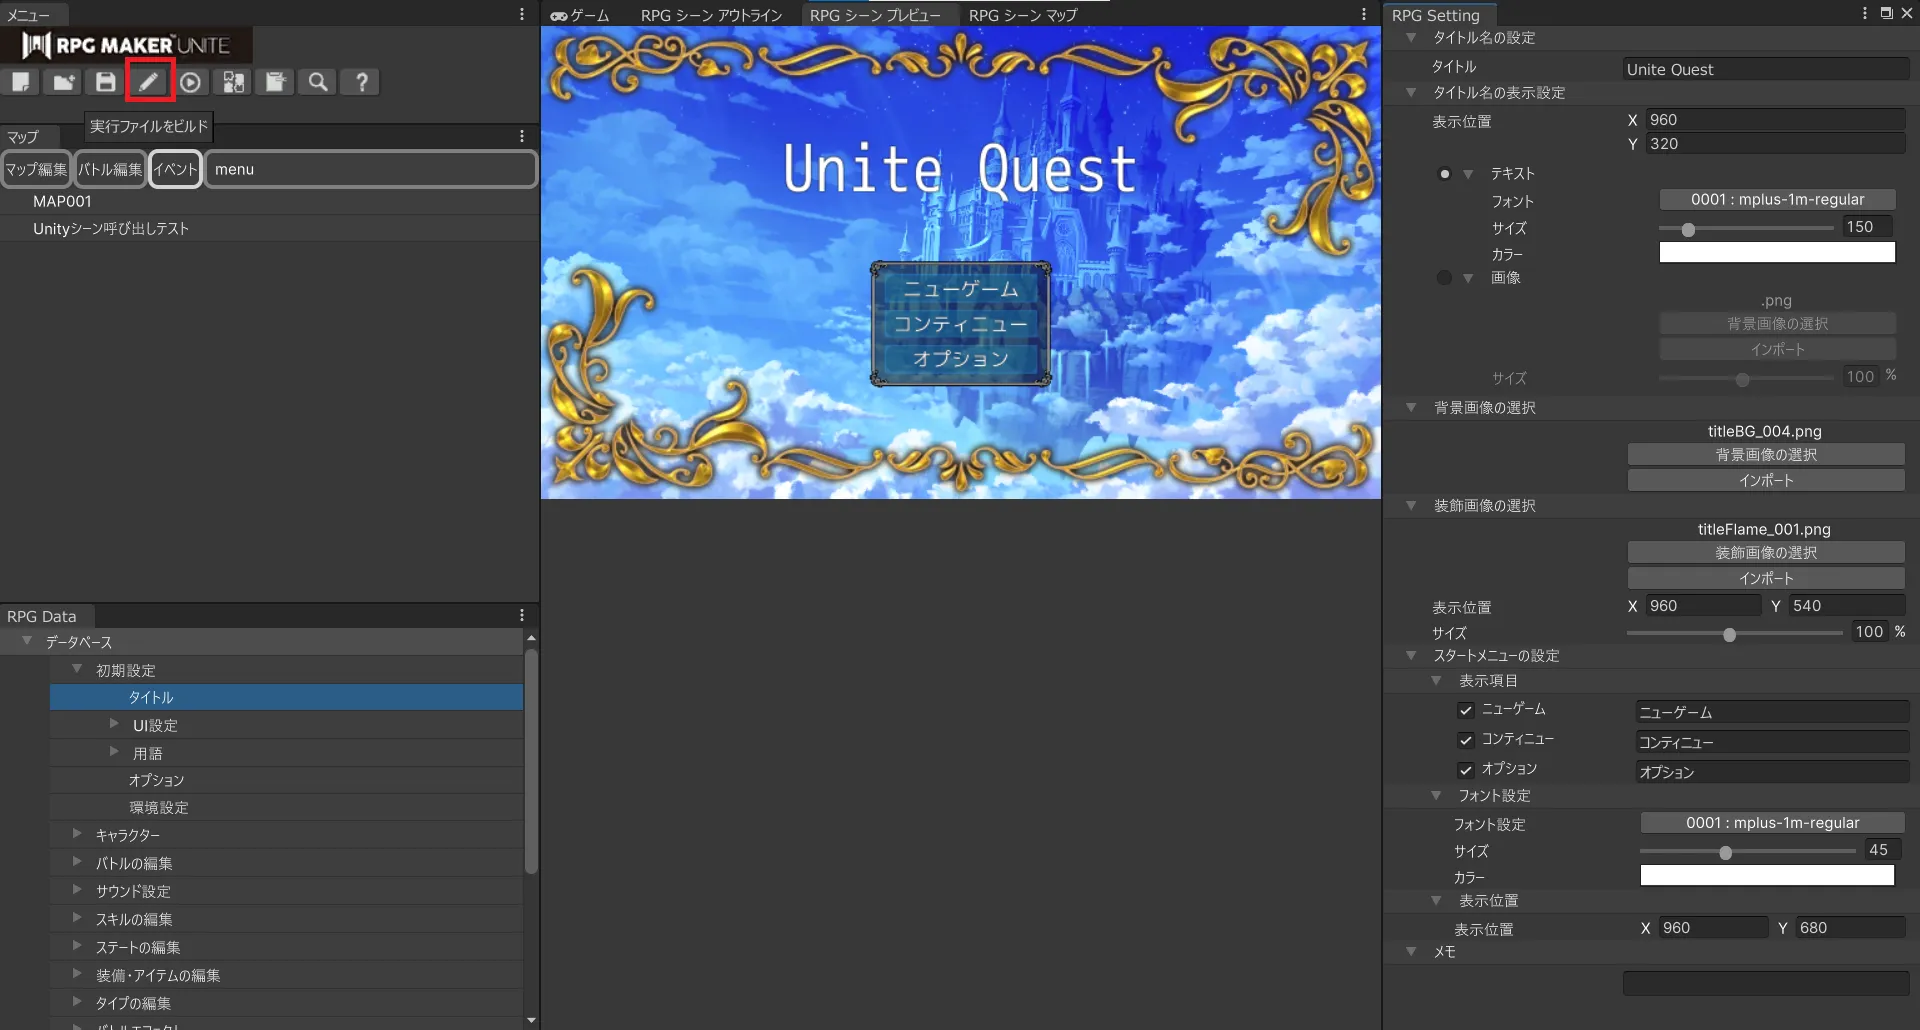
Return to the UNITE window and select the “Build executable file” icon.

Click the “Add Open Scene” button.
If “UnityScene_Sample/UnityScene/TestScene��” is added to the scenes included in the build, it is successful.

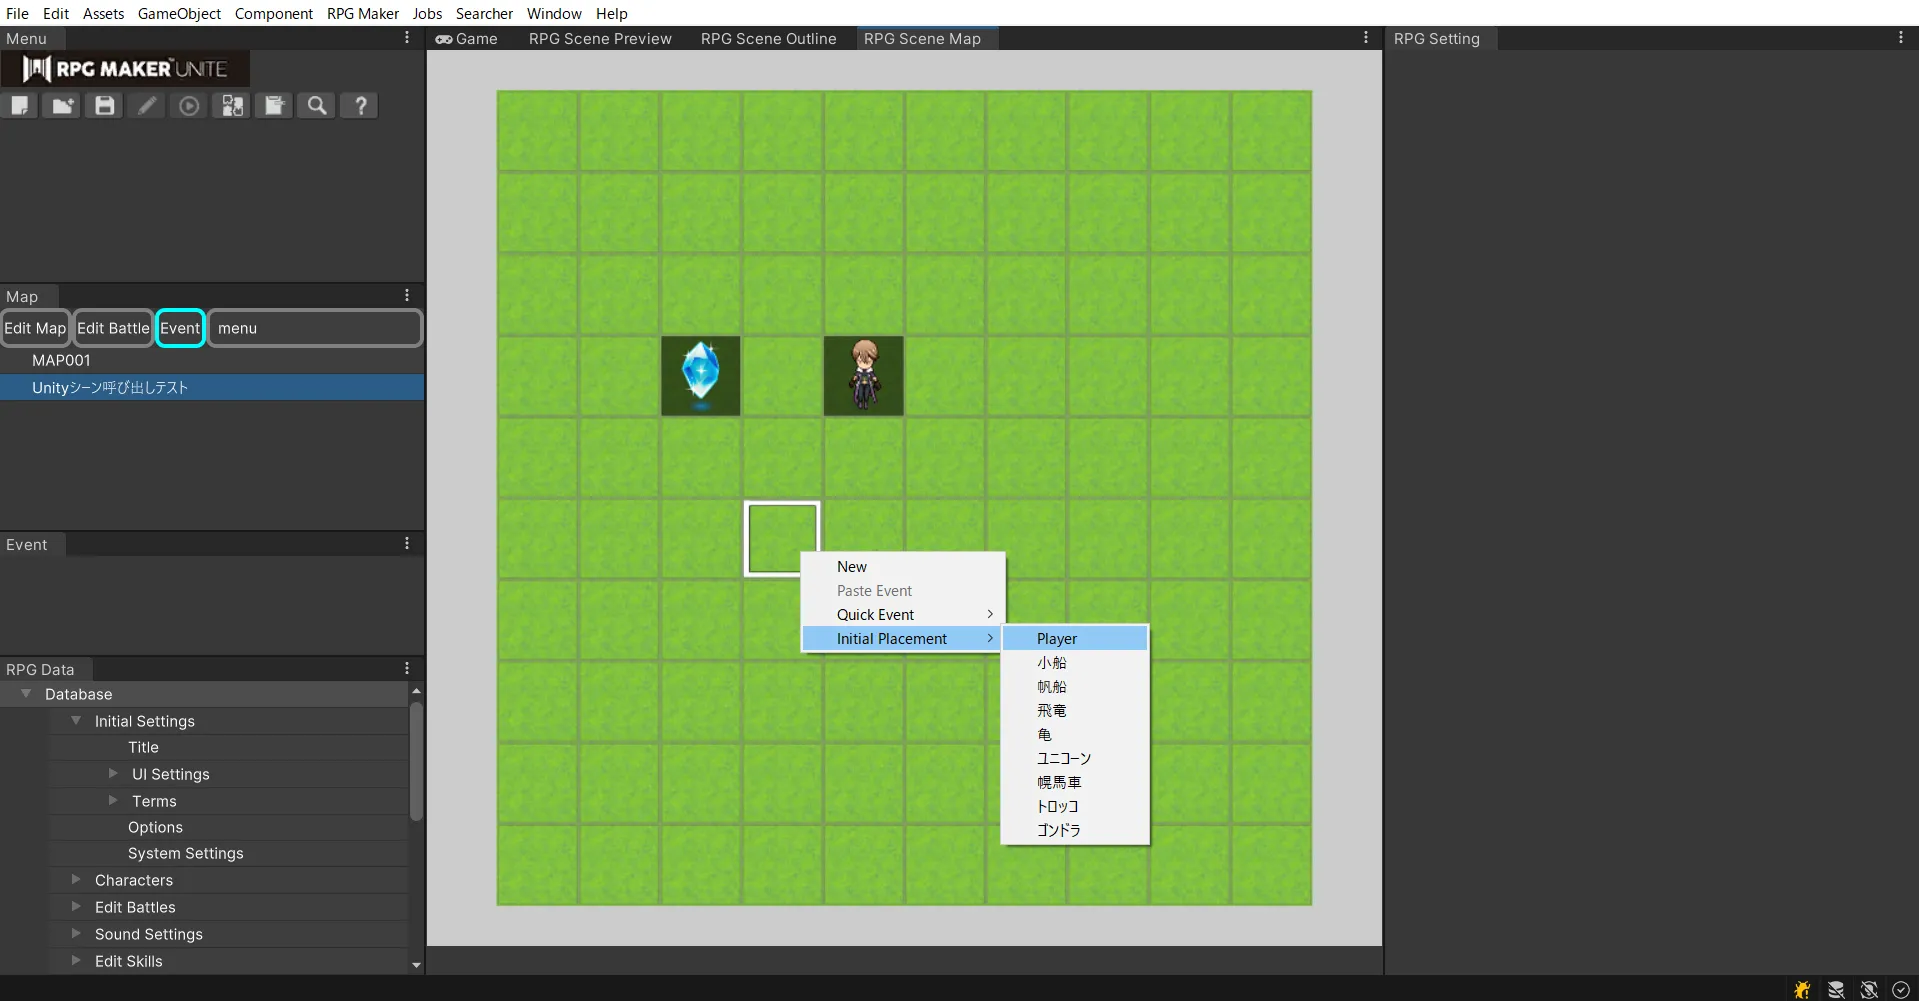
Return to the map and set the player's initial position.

Run a test play and action the crystal events.

If the following scene is displayed, the transition to the Unity scene was successful.
After 5 seconds, it will return to UNITE.