

◆Getting Started
●Support Status
As of January 2025, WebGL is a beta function. While the function generally works, it is still undergoing testing. Please use the Web GL function with caution.
●Additional Considerations
WebGL performance can be highly variable depending on the platform used.
More improvements to performance are being worked on, but at this time please be aware of the following:
- Playback and distribution methods for WebGL games is dependent on browser technology. Some awareness of different browsers is strongly recommended.
- Due to the need to load the game data into the browser, this can cause stability issues for larger games.
- On some environments, sound may be disabled by default.
- There may be differences depending on the hardware platform, even for the same browser. This includes Windows and MacOS as well as the different mobile platforms and form factors.
- Some Addons may not function on some platforms.
◆Creating A WebGL Build
●Adding the Web GL Build Package
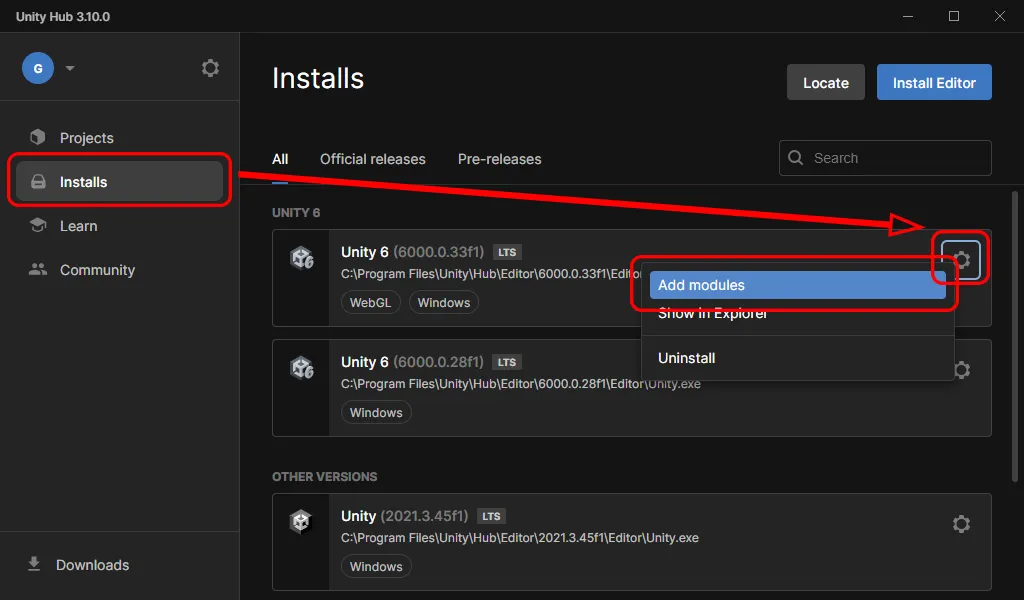
In order to create Web GL builds, the appropriate build package must be added via the Unity Hub. Open Unity Hub and switch to the Installs tab. Browse to the appropriate installation of the Unity Editor, click the gear mark to open a dropdown menu, and then select "Add modules".

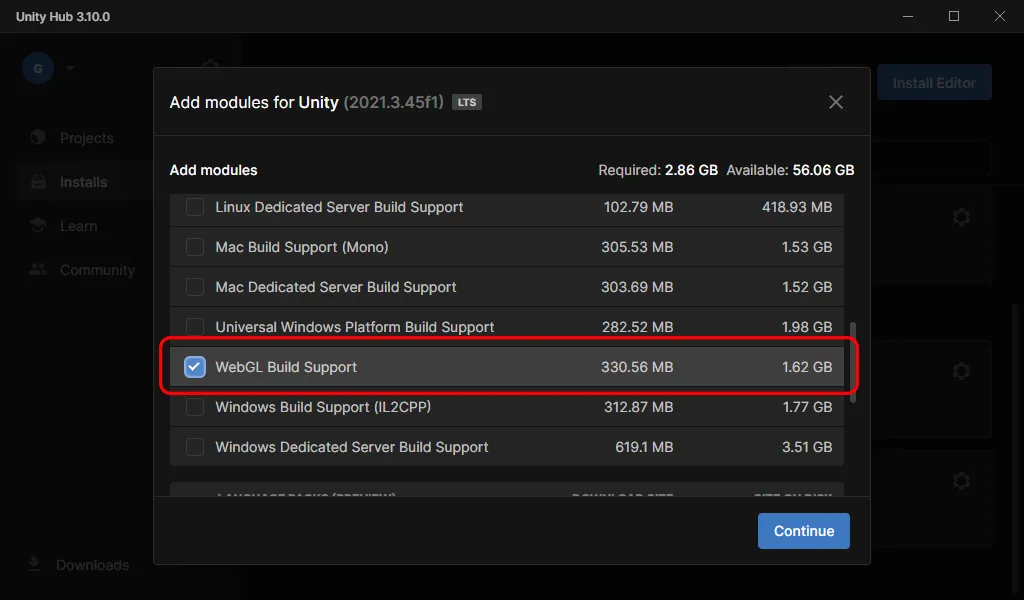
A list of available Modules will be displayed. scroll to the "WebGL Build Support" module and select it using the provided checkbox. Confirm that it is properly selected and that no other modules are selected then select "Continue".
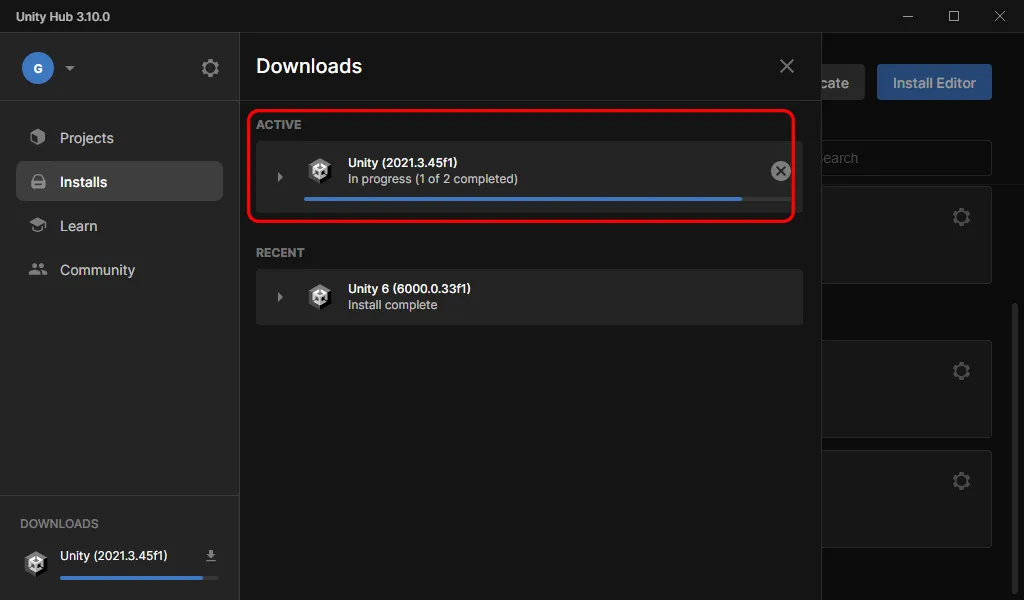
The module will then be installed, so please wait until it completes.
●Check Before Creating A Build
Before creating a build, it is required that the WebGL settings be confirmed. A failure to do so is highly likely to result in build failure.
- Select "Project Settings" from the "Edit" menu.
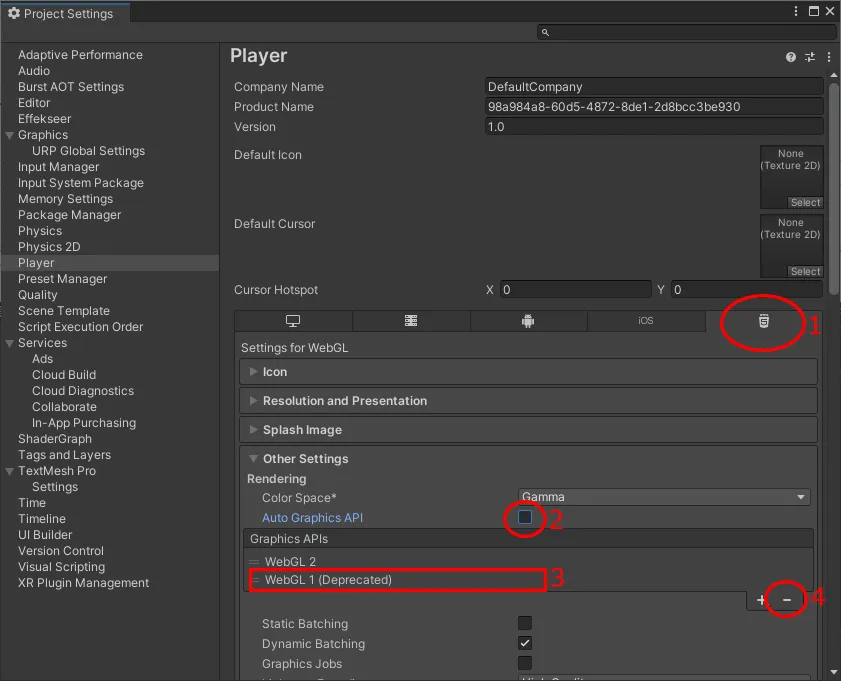
- Browse to the indicated WebGL (#1 in the image below) settings tab.
- Disable "Auto Graphics API" by unchecking it (#2).
- Select "WebGL 1 (Deprecated)" (#3) .
- Click the "ー" button (#4) to delete WebGL 1.
- This could still cause issues when building, so it is recommended that rebooting UNITE be performed in order to ensure the settings take effect.
After this has been completed, the process of creating a build should be the same as for other build targets.

●Playing A WebGL Build
As with other build types, simply use the "Create Build" button.

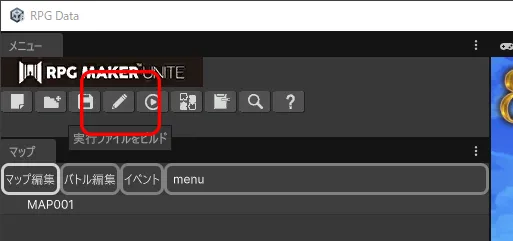
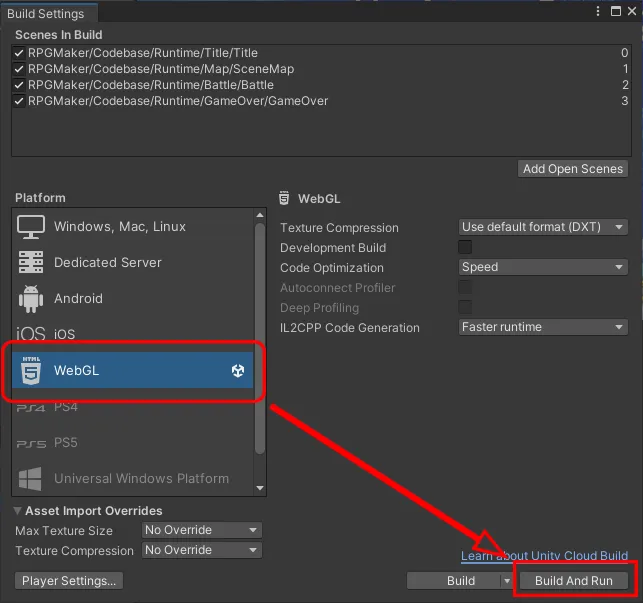
The Build Settings window will appear. Select WebGL from the Platform list and then click Build And Run. A build will automatically be generated, followed by your browser opening the game in a tab.

●Runtime Considerations
Depending on local environment settings, selecting "Build" may require the user to prepare their own web server. Selecting "Build And Run" causes Unity to generate a temporary and simple web server for the duration of the test. We strongly recommend this for most cases due to the ease of use it provides.