

Advance Preparation
If you have installed Unity Hub, Unity Editor(2021.3.16f1) before purchasing RPG MAKER UNITE, installation and play after purchase will go smoothly.
- Please install Unity Hub from the official Unity website
- To install the Unity Editor (2021.3.16f1), please refer to this section
Index
- Launch RPG MAKER UNITE
- Create a new project
- Open the selected project
- Delete selected projects
- Add an existing project
- Create a backup of project
- Upgrading Projects
- Open the project folder
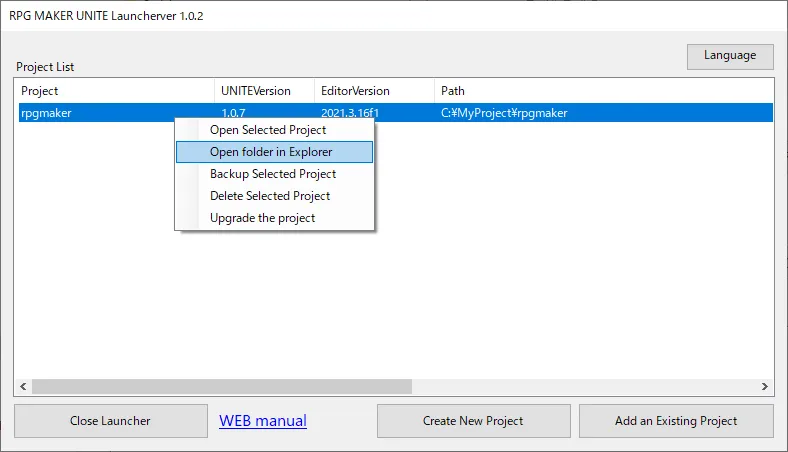
Launch RPG MAKER UNITE
Launch RPG MAKER UNITE. The launcher will appear. The display in the launcher will change to match the state of your machine.
If the Unity tools are not installed, please refer to the following article to complete the necessary setup process.
Epic Store: Unity Installation Procedure
Create a new project
Please prepare a folder to save the project in any location in advance.

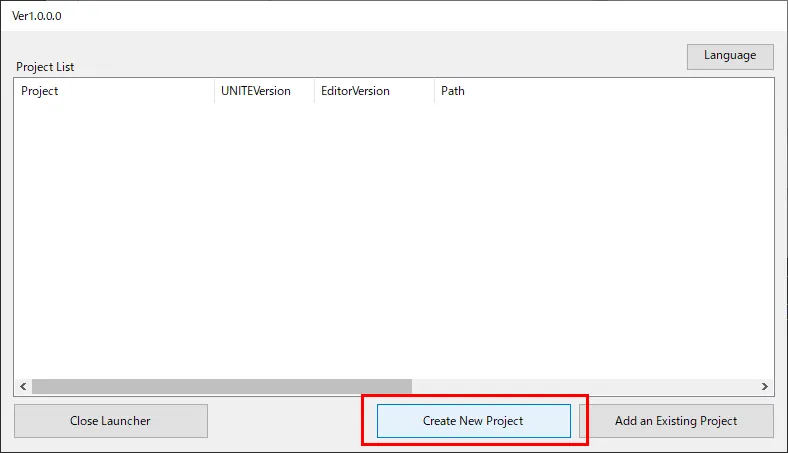
Click on "Create New Project.
The setup screen will appear.

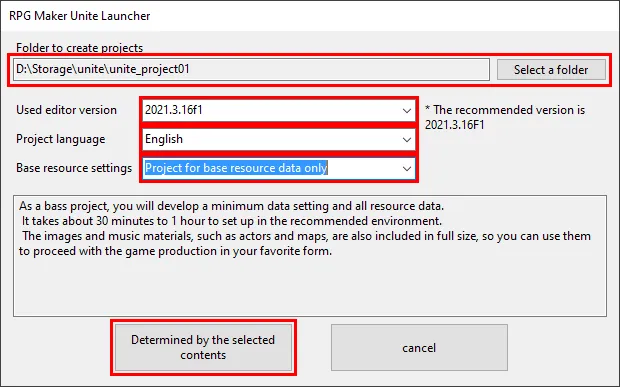
Click on "Choose Folder" and select the folder you have previously created.
Next, select the contents of "Editor Version Used," "Project Language," and "Base Resource Settings," and click "Decide with your selections.
A dialog box will appear.

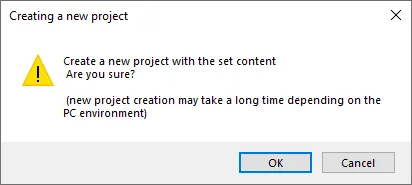
Click "OK." Project creation will begin.
*If a "Windows Security Important Report" is displayed during the process, click "Allow Access".

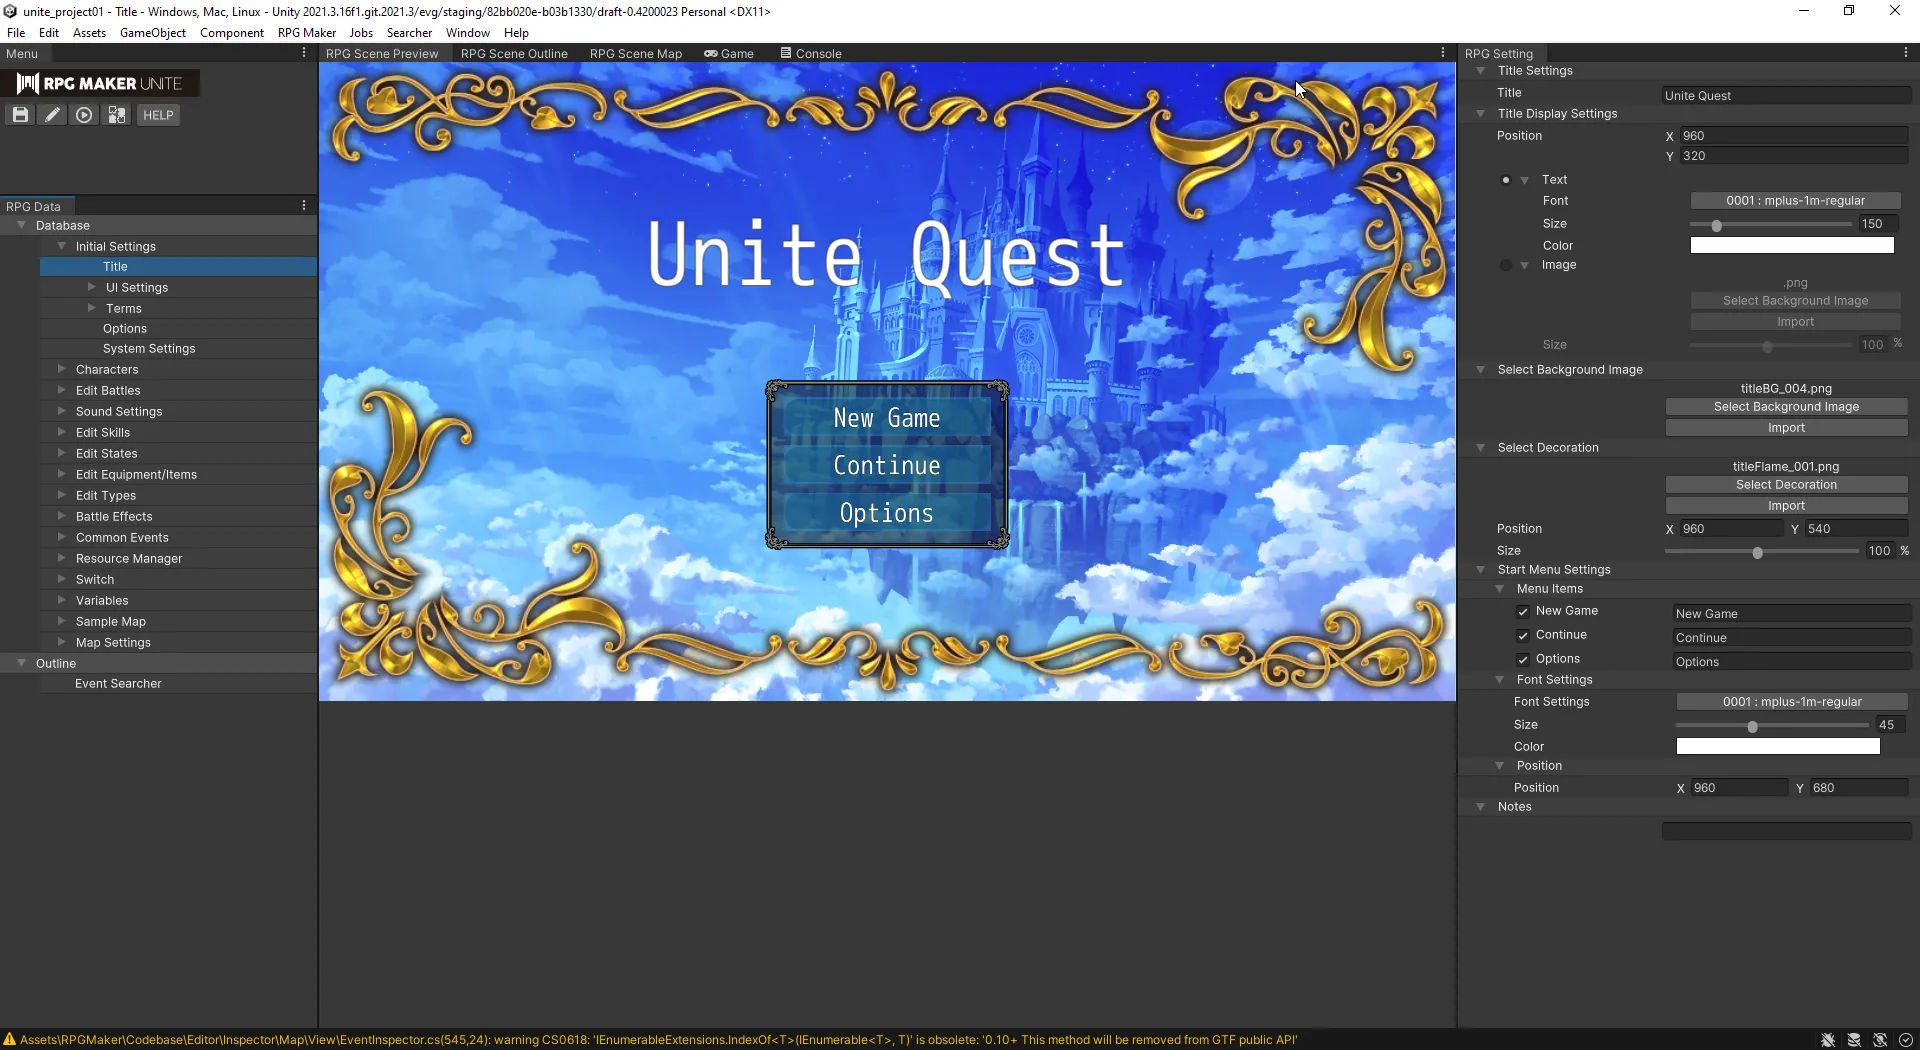
When the RPG MAKER UNITE editor starts and the screen shown here appears, project creation is complete.
Open the selected project
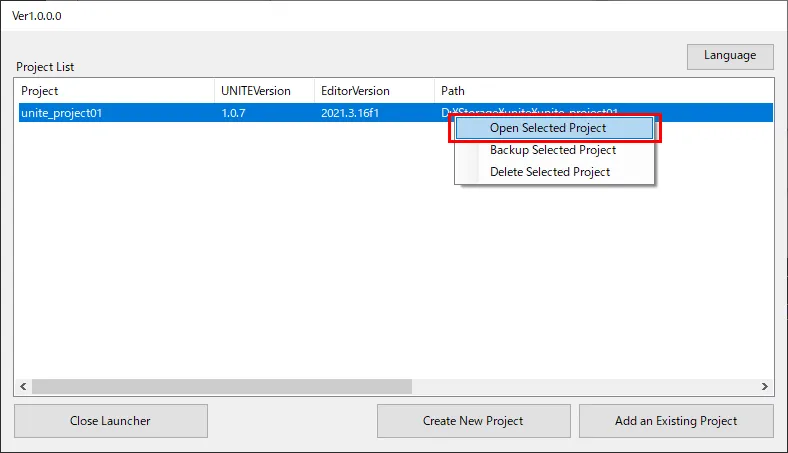
Right-click the project from the project list and click "Open Project". The RPG MAKER UNITE editor will start and open your project. *You can also open the project by double-clicking it.
Delete selected projects
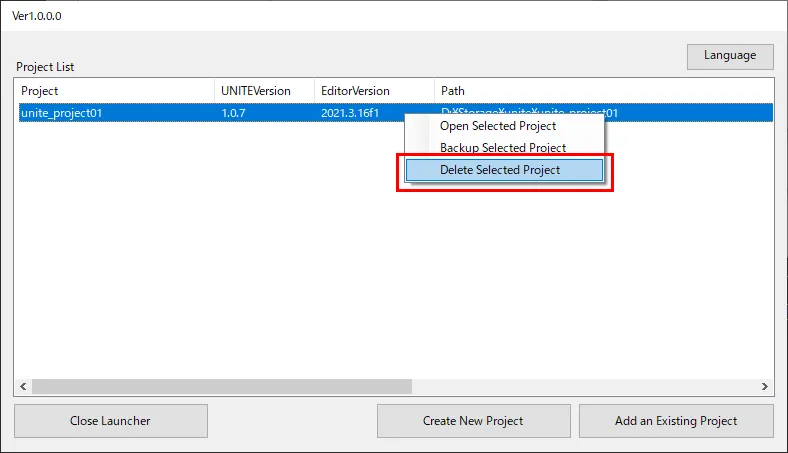
Select a project from the project list, right-click it, and click "Remove project from list". A dialog will appear.

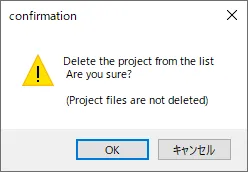
Click "OK." The project will be removed from the project list.
*Project files will not be deleted.
Add an existing project
Click on "Add an existing project". A folder selection screen will appear. Select a project folder.
The selected project is added to the project list.
Create a backup of project
You can create a backup copy of your project. If you take backups, make sure you have enough storage space.
Select the project from the project list, right-click it, and click "Backup copy project". The folder selection screen will be displayed, so select the backup destination folder. A dialog will appear
Click OK to start the backup
The backup process will proceed automatically.
When the backup process is completed, the backup project you created will be added to the project list.
Upgrading Projects
If a new version of RPG MAKER UNITE is available, you can upgrade your existing projects.
Upgrade Notes
Note the following items when you upgrade your projects;
- The fixes and new functionalities will be applied by upgrade UNITE.
- The behaviors of UNITE may change due to the process changes.
- If Unite Launcher was terminated during the upgrade, the project might be broken.
- If you made changes to UNITE directly, the upgrade may override them. Please be cautious, your overrides might be lost.
- We recommend you to make an backup or control versions to enable the project to be restored.
If you are ready, right-click the project and select "Upgrade the project".

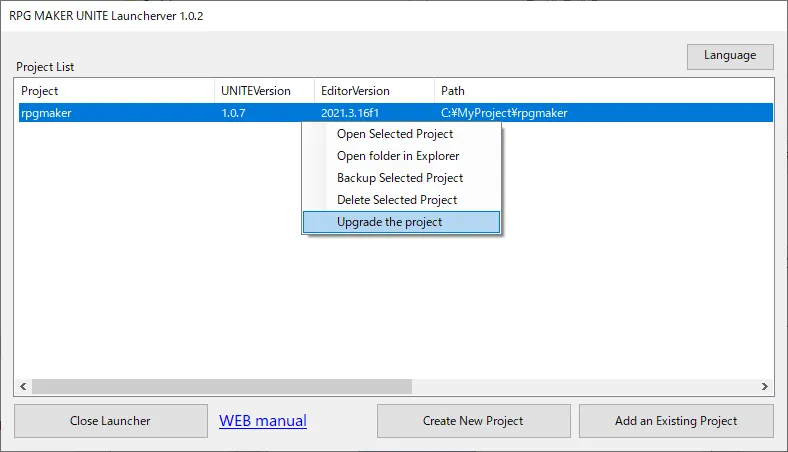
If the project uses the latest version of UNITE, "Upgrade the project" is not available. If it can be upgraded, the following window will appear.

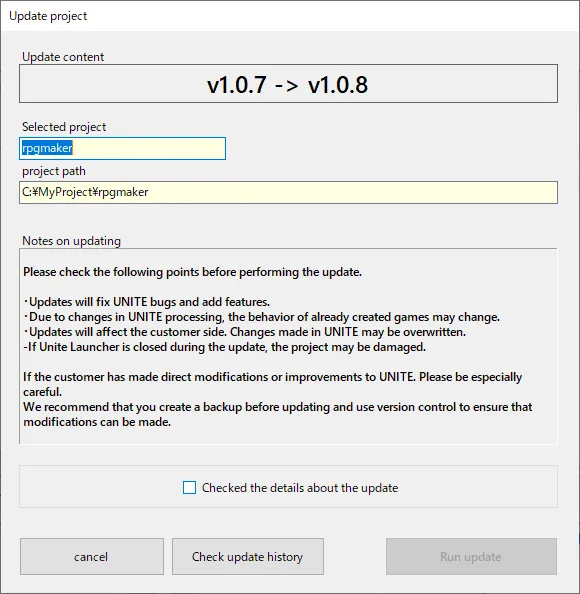
Read the notes and click the checkbox, if you agree, and then select "Run update". The upgrade process will be executed and the version of UNITE within the project will be updated.
Open the project folder
If you would like to see the project directly, use this functionality. You can open the folder where the Assets folder exists by the Explorer.
This functionality makes no change to the project.